Dinner · Part 1 of 3: Ingredients
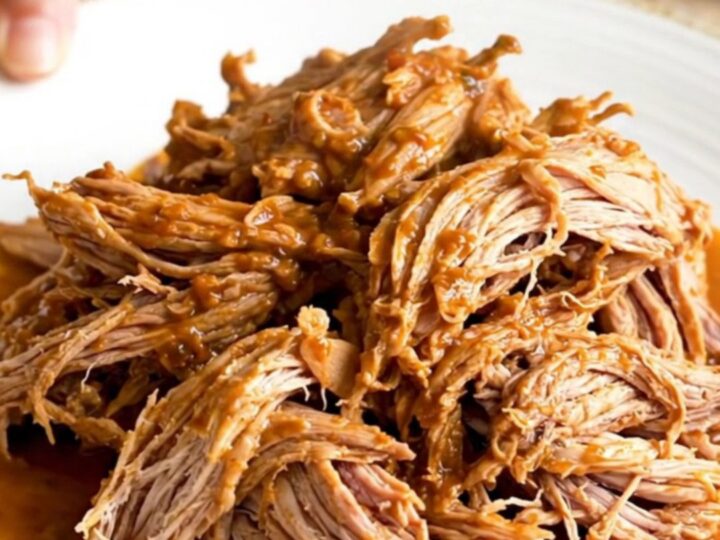
Easy Slow Cooker Pork Barbacoa for Tender Shredded Meat
- Prep
- Cook
- Total
- Serves
- 6
Master the art of slow-cooked perfection with this simple pork barbacoa recipe. By combining a few pantry staples with a high-quality cut of meat, this method creates a succulent, flavor-rich dish that practically cooks itself.
Whether preparing for a family gathering or a busy weeknight, this reliable technique delivers consistent results every single time, ensuring a tender, pull-apart texture that pairs beautifully with various sides or toppings for a complete meal.
Pork barbacoa is a beloved classic that relies on the slow, gentle heat of a slow cooker to transform tough cuts of meat into tender, delicious shreds. This recipe focuses on simplicity, using aromatics like onion, garlic, and chiles in adobo to build a deep, complex flavor profile without needing a long list of complicated ingredients.
By following this straightforward approach, the natural richness of the pork is highlighted, resulting in a versatile dish that can be enjoyed in tacos, over rice, or inside a fresh burrito. It is an essential recipe for any home cook looking to maximize flavor with minimal active effort.
Ingredients
Main
- 3 lb boneless pork shoulder roast
Aromatics
- 1 cup diced onion
- 3 tbsp chiles in adobo sauce
Seasoning
- 1 tsp ground cumin
- 1 tsp dried oregano
- 1 tbsp minced garlic
Liquid
- 1 cup beef broth
- 1 tbsp lime juice
Why this recipe works
The slow cooker method is ideal for pork shoulder because the low, steady temperature allows the connective tissues to break down slowly over several hours. This process converts tough collagen into gelatin, which keeps the meat incredibly moist and tender while allowing the spices and aromatics to penetrate deeply into the fibers of the roast, creating a cohesive and well-developed flavor throughout the entire cut.
By using a combination of acidic elements like lime juice and savory aromatics like chiles in adobo and cumin, the cooking liquid becomes a concentrated sauce that bastes the pork as it cooks.
This braising technique ensures the meat stays succulent rather than drying out, while the residual juices provide an intense, savory finish that can be drizzled over the shredded meat just before serving to add moisture and depth.
Notes and substitutions
When choosing a pork shoulder, look for a piece with good marbling, which contributes to the final tenderness of the dish. If the roast is too large for the slow cooker, it can be cut into two or three smaller pieces to ensure it fits comfortably and cooks evenly. Always use fresh aromatics such as onion and garlic to ensure the best possible flavor base, as these form the foundation of the final sauce.
The choice of slow cooker is important; ensure the stoneware is clean and the lid fits tightly to trap moisture. While the recipe calls for beef broth, a high-quality stock will yield superior results.
If a spicy profile is desired, additional chiles in adobo can be added, but start with the recommended amount to maintain balance. This recipe relies on the slow cooker to do the heavy lifting, so avoid the urge to stir the ingredients while they are cooking.
- beef broth: chicken or vegetable broth can be used for a slightly different flavor profile.
- boneless pork shoulder: pork butt is an excellent alternative that provides the same level of fat and connective tissue.
Equipment
- Slow cooker
- Small bowl
- Ramekin
- Glass pitcher
- Two forks
- Large plate
Up next · Part 2 of 3
3 steps · 8 h of cooking · what to look for at each stage
Step-by-step instructions (Part 2)