Dinner · Part 1 of 3: Ingredients
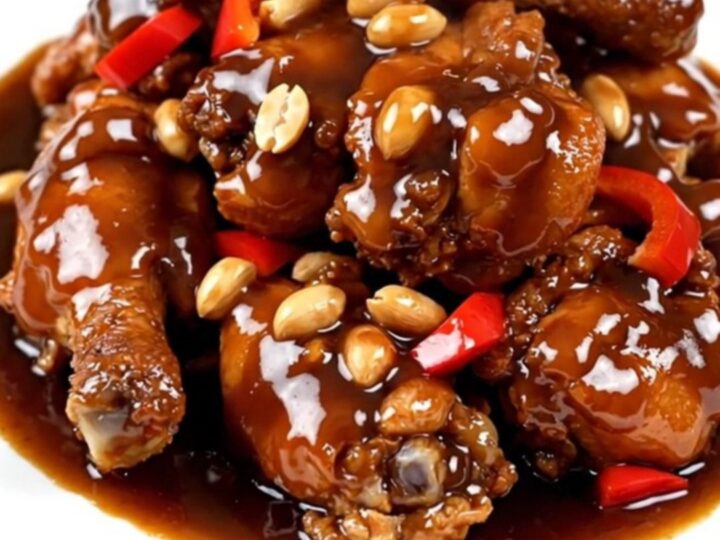
Easy Slow Cooker Kung Pao Chicken
- Prep
- Cook
- Total
- Serves
- 4
Discover the effortless way to enjoy a classic takeout favorite right in your own kitchen. This slow cooker Kung Pao chicken recipe delivers all the savory, slightly sweet flavors you love without the need for constant monitoring or high-heat stovetop cooking.
It is the perfect solution for busy evenings when a satisfying meal is non-negotiable but time is in short supply. Simply combine, cover, and let the slow cooker work its magic for a restaurant-quality result at home.
This recipe focuses on simplicity and depth of flavor, utilizing the slow cooker to gently braise chicken breasts in a rich, velvety hoisin sauce. The addition of red bell peppers provides a subtle sweetness and color, while dry roasted peanuts introduce a necessary crunch that defines the classic Kung Pao experience.
By using a slow cooker, the chicken remains incredibly moist, absorbing the complex notes of the sauce over several hours. This method is ideal for those who appreciate minimal cleanup and a stress-free cooking process while still serving a flavorful dinner to the table.
Ingredients
- 1 1/2 lb chicken breasts, cut into bite-sized pieces
- 1 cup red bell pepper, chopped
- 1/2 cup dry roasted peanuts
- 3/4 cup hoisin sauce
Why this recipe works
The slow cooking process allows the hoisin sauce to penetrate the chicken fibers deeply, resulting in a more intense flavor profile than quick stovetop stir-frying.
This gentle heat preserves the moisture in the lean chicken breast, preventing it from drying out, which is a common challenge when cooking this cut of meat quickly. The steady temperature also helps the bell peppers soften just enough to release their natural sweetness into the sauce without turning into mush.
Using a single pot for the entire cooking process significantly reduces cleanup time, making this an ideal weeknight dish. The ingredients are added in a specific order—chicken first, followed by vegetables, nuts, and finally the sauce—to ensure the chicken cooks thoroughly while the other components maintain their integrity.
This layering technique prevents the nuts from becoming overly soft while allowing them to toast slightly in the sauce, creating a balanced texture in every bite.
Notes and substitutions
When selecting chicken breasts, aim for uniform pieces roughly one inch in size. If the pieces are too small, they may become overcooked and stringy during the long simmer; if they are too large, they might not cook through evenly. If red bell peppers are unavailable, orange or yellow bell peppers make excellent substitutes, as they offer a similar sweetness and structural integrity when cooked slowly in the sauce.
The equipment required is minimal: a standard oval or round slow cooker is sufficient for this recipe. If your slow cooker has a tendency to run hot, check the internal temperature of the chicken about thirty minutes before the suggested time. While dry roasted peanuts are traditional, you can also use raw peanuts if you prefer to toast them yourself in a dry pan before adding them to the cooker for a deeper, nuttier flavor profile.
- chicken breasts: boneless skinless chicken thighs for a slightly richer texture and more forgiving cook time
- hoisin sauce: a mixture of soy sauce, brown sugar, and a touch of garlic powder if hoisin is unavailable
Equipment
- Slow cooker
- Cutting board
- Chef knife
- Measuring cups
Up next · Part 2 of 3
3 steps · 4 h of cooking · what to look for at each stage
Step-by-step instructions (Part 2)