Appetizers · Part 3 of 3: Tips & recipe card
Easy Slow Cooker Fried Pickle Dip Tips, FAQ & printable recipe
- Prep
- Cook
- Total
- Serves
- 8
Tips for success
To keep the dip warm throughout your party, leave the slow cooker on the 'warm' setting after the initial cooking is finished. This ensures the dip remains at a perfect, spreadable consistency for hours. If you notice the dip starting to thicken too much, simply stir in a tablespoon of milk or cream to loosen it back up. This simple trick keeps the appetizer inviting and delicious from the first scoop to the last, making it a reliable choice for long events.
For a more sophisticated presentation, serve the dip with a variety of dippers rather than just one. Toasted baguette slices, sturdy corn tortilla chips, and fresh celery sticks all offer different textures that complement the creamy nature of the dip.
You can also garnish the top with a sprinkle of fresh dill or a few extra pickle slices just before serving to add a pop of color and freshness. These small touches elevate the dish without adding any extra preparation time to your day.
Variations
- Spicy Pickle Dip: Add a tablespoon of chopped jalapeños or a dash of hot sauce into the slow cooker before starting. This variation adds a pleasant heat that complements the tang of the pickles perfectly.
- Bacon Pickle Dip: Stir in a half-cup of pre-cooked, crispy bacon bits during the final mixing step. The smokiness of the bacon adds a savory depth that pairs beautifully with the tangy dill pickles and cheddar.
Storage and make-ahead
- Fridge
- Store in an airtight container for up to 3 days.
- Reheat
- Reheat in the microwave in 30-second intervals, stirring in between, or on the stove over low heat until warm and smooth.
If you have leftovers, allow the dip to cool to room temperature for no more than two hours before transferring it to an airtight container. Place the container in the refrigerator immediately. The dip will keep for up to three days when stored properly.
Be aware that the texture may firm up significantly when cold, but it will return to its original, creamy state once it is gently reheated. Avoid leaving the dip out at room temperature for extended periods to maintain food safety.
You can prepare the layers in the slow cooker insert up to four hours in advance, keeping the unit in the refrigerator until you are ready to start cooking. When you are ready to serve, simply take the insert out, place it into the slow cooker base, and start the cooking cycle as instructed.
This method allows you to have everything prepped before guests arrive, so you can start the cooking process exactly when needed, ensuring the dip is hot and ready at the perfect time.
Serving ideas
Serve this dip warm directly from the slow cooker for the best texture and flavor. Place the slow cooker on a heat-safe surface and provide plenty of sturdy dippers. Since the dip is quite rich, consider providing smaller serving spoons so guests can easily portion it onto their plates.
It pairs exceptionally well with cold beverages, making it a balanced choice for a casual spread. The warmth of the dip provides a nice contrast to cold vegetable sticks or chilled drinks served alongside.
If you prefer a more formal presentation, you can transfer the dip to a decorative serving bowl just before placing it on the table. However, if the room is cool, the dip may begin to firm up quickly. To keep it warm for longer without the slow cooker, you can place the serving bowl over a small tea light warmer or use a double boiler setup. This ensures that the dip remains smooth and spreadable for as long as possible, keeping your guests happy throughout the gathering.
Frequently asked questions
Can this dip be made on the stovetop instead of a slow cooker?
Why does the dip become oily after sitting for a while?
Is it possible to use different types of cream cheese for this recipe?
Easy Slow Cooker Fried Pickle Dip
Ingredients
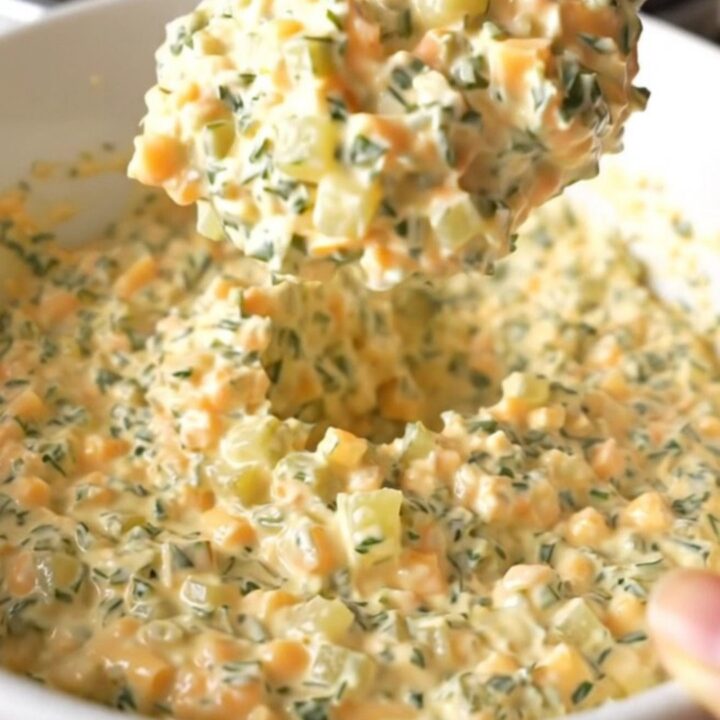
- 1 cup chopped dill pickles
- 2 cups shredded cheddar cheese
- 1 tsp dried dill
- 8 oz block cream cheese
Instructions
- Place the chopped dill pickles into the base of the slow cooker, ensuring an even layer across the bottom. Add the shredded cheddar cheese over the pickles, followed by a light dusting of the dried dill.
- Place the block of cream cheese in the center of the slow cooker on top of the other ingredients. Cover the slow cooker with the lid and set it to low heat for two hours until the cheese is melted and combined.
- Once the cooking time is complete, remove the lid and stir the mixture thoroughly until the melted cream cheese and cheddar form a creamy, uniform dip with the pickles and dill evenly distributed.
Estimated nutrition per serving
- Calories
- 280
- Protein
- 9.5 g
- Carbohydrates
- 4 g
- Fat
- 25 g
- Fiber
- 0.5 g
- Sugar
- 2 g
- Sodium
- 650 mg
Next recipe
Easy Slow Cooker Chicken Rangoon Dip
See the recipe → →This recipe is based on a short cooking video and is published under the pen name Clara Weller. It was checked before publication, but errors can slip through. Nutrition, when shown, is an estimate. Read more in our editorial policy and on our food safety page.
More recipes to try
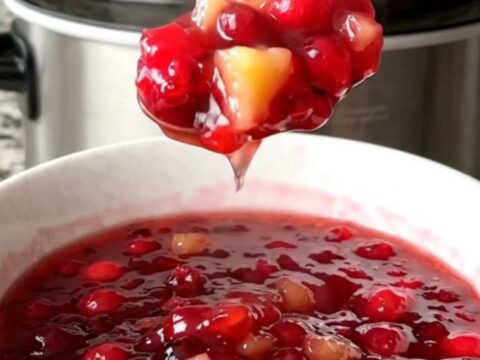
Slow Cooker Cranberry Pineapple Sauce for Easy Entertaining
Total time: 4 h 15 min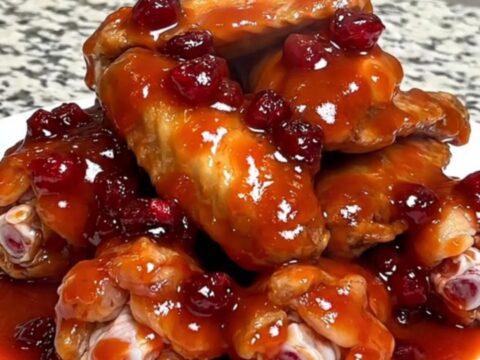
Slow Cooker Cranberry Chili Sauce Chicken Wings
Total time: 4 h 15 min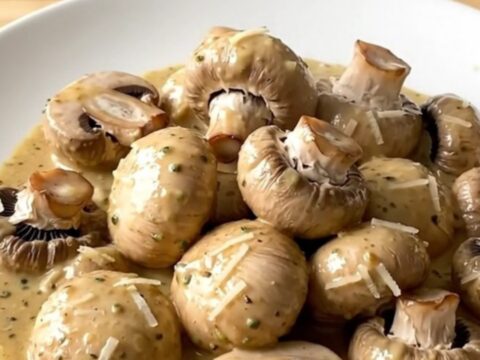
Crockpot Creamy Garlic Parmesan Mushrooms
Total time: 3 h 5 min
Creamy Crockpot Hissy Fit Sausage Dip
Total time: 2 h 10 min
Crispy Blooming Potato with Beer Cheese and Bacon
Total time: 53 min