Appetizers · Part 2 of 3: Instructions
Easy Slow Cooker Cheesy Buffalo Bacon Dip Step-by-step instructions
- Prep
- Cook
- Total
- Serves
- 8
Before you start
Before beginning, ensure that the cream cheese is at room temperature to facilitate faster melting. Prepare the bacon by cooking it until crisp, then chopping it into small, uniform pieces.
Shred the Monterey Jack cheese using a box grater for optimal melting results. Have all ingredients measured and ready to ensure the assembly process is efficient, and check that the slow cooker insert is clean and dry before starting the layering process.
Ingredients at a glance (4)
- 16 oz cream cheese, cubed
- 8 oz bacon, cooked and chopped
- 2 cups Monterey Jack cheese, shredded
- 1/2 cup buffalo sauce
Instructions
Layering the base
- Prepare the basePlace the cubed cream cheese into the bottom of the slow cooker insert to ensure even melting without scorching the bottom of the vessel.Look for The cream cheese is evenly distributed across the base.Tip Cut the cream cheese into uniform cubes to help it soften and melt more consistently during the cooking process.
At this stage, the cream cheese is cubed and placed at the bottom, creating a solid base. The bacon, cheese, and buffalo sauce are layered on top. Ensure the ingredients are distributed evenly across the surface of the slow cooker to promote uniform melting. The appearance is structured, with distinct layers clearly visible before the heating process begins. This setup is crucial for even cooking.
Cooking the dip
- Layer the flavorsScatter the chopped bacon over the cream cheese, then sprinkle the shredded Monterey Jack cheese evenly across the top. Pour the buffalo sauce over all the ingredients.Look for The sauce is drizzled over the cheese and bacon layers.Tip Distributing the ingredients evenly allows the flavors to meld together as the cheese melts throughout the cooking time.
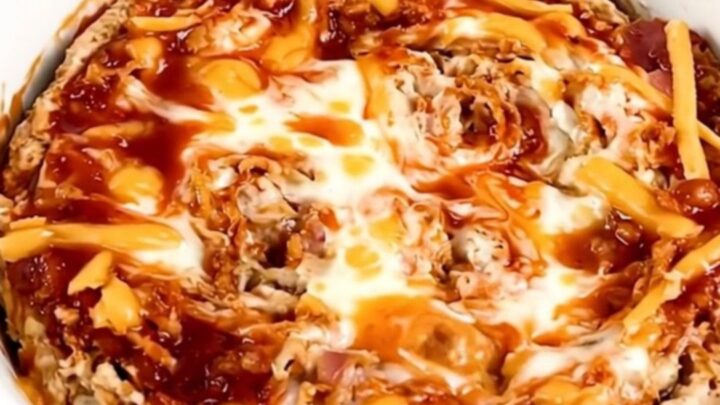
During the cooking phase, the slow cooker gently heats the ingredients. The cream cheese softens and begins to merge with the buffalo sauce, while the Monterey Jack cheese melts into a stretchy, cohesive mass.
The bacon pieces soften slightly but retain their savory profile. The aroma of melted cheese and tangy buffalo sauce will become noticeable. Check occasionally to ensure the edges are not bubbling too vigorously.
Final stir and serve
- Heat and serveCover and cook on low heat for 2 hours, or until the dip is hot and completely smooth. Stir well before serving the dip in a warm bowl.Look for The dip is glossy, steaming, and uniform in texture.Tip If the dip appears too thick, stir in an extra tablespoon of buffalo sauce to reach the desired consistency.
Once the cooking time is complete, the dip should be thoroughly stirred to combine all the melted components into a glossy, uniform, and creamy consistency. The bacon should be evenly distributed throughout the cheese mixture. The dip will be thick, steaming, and ready to be transferred to a serving bowl. A successful result is a smooth, pourable, and visually appealing dip that holds its heat well.
Common mistakes
Avoid overcooking the dip, which can cause the cheese to separate and become oily. If you notice the edges browning too quickly, reduce the heat to the warm setting immediately.
Another common mistake is using pre-shredded cheese, which may result in a grainy texture due to the potato starch coating. Always stir the dip thoroughly before serving to ensure the buffalo sauce is fully incorporated and the bacon is well distributed throughout the mixture.
How to tell it’s done
The dip is done when the mixture is completely melted, smooth, and steaming hot throughout. Use a spoon to check the center of the mixture; it should be uniform in color and texture with no visible chunks of unmelted cheese remaining.
The edges should be bubbly and glossy. Since this recipe does not contain raw protein, there is no specific internal temperature required for safety, but it should be served warm.
Up next · Part 3 of 3
2 variations · storage & make-ahead · 3 answers · printable card
Tips, FAQ & printable recipe (Part 3)← Back to the ingredients (Part 1)