Dinner · Part 2 of 3: Instructions
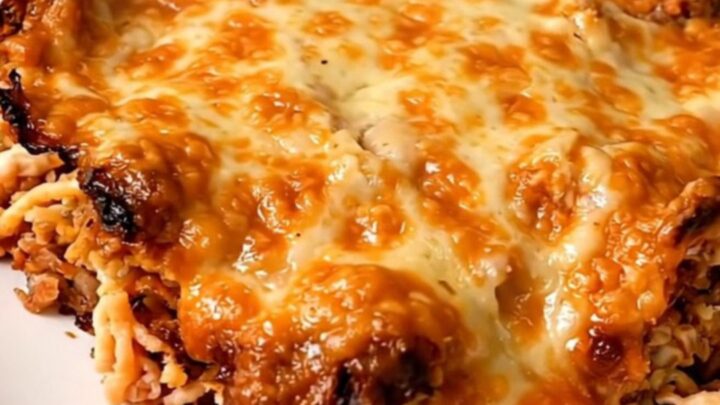
Easy Slow Cooker Beef and Rice Taco Casserole Step-by-step instructions
- Prep
- Cook
- Total
- Serves
- 6
Before you start
Before starting, ensure your slow cooker is clean and placed on a stable, heat-resistant surface. Gather all ingredients and have your measuring tools ready. No advanced preparation like chopping or pre-cooking is required for this recipe, making it an excellent choice for a quick assembly.
Simply ensure that your ground beef is fresh and that the salsa is at room temperature to help the slow cooker reach the target temperature faster during the initial phase of the cooking cycle.
Ingredients at a glance (4)
- 1 lb ground beef
- 1 cup uncooked white rice
- 1 packet taco seasoning
- 16 oz salsa
Instructions
Layering the ingredients
- Layer the ingredientsPlace the raw ground beef at the bottom of the slow cooker, breaking it up slightly with a spoon. Scatter the uncooked white rice evenly over the beef. Sprinkle the taco seasoning packet over the rice, then pour the jar of salsa over the top.Look for ensure the beef is spread in an even layer at the baseTip Do not stir the ingredients at this stage to allow the rice to cook properly in the salsa juices.
At this phase, the ingredients are neatly stacked in the slow cooker. The beef is at the bottom, topped with a layer of dry rice, the seasoning packet, and the salsa. Check that the ingredients are distributed evenly across the base of the slow cooker to ensure uniform heat distribution once the appliance is turned on.
Slow cooking cycle
- Slow cook the casseroleCover the slow cooker with the lid. Cook on the high setting for 3 to 4 hours or on low for 6 to 8 hours. Check that the ground beef reaches an internal temperature of 160°F (71°C) to ensure it is fully cooked through.Look for the beef is browned and the rice is tender and has absorbed the liquidSafe temperature 160°F (71°C) internal temperature (ground meat)Tip Avoid opening the lid frequently during the cooking process to maintain a consistent temperature inside the slow cooker.
During the cooking phase, the slow cooker will emit a savory, spiced aroma as the beef cooks and the rice steams. By the end of this phase, the liquid levels will have reduced, and the rice should be fully hydrated and tender. Check that the beef is thoroughly cooked and the mixture is hot throughout.
Final mixing and resting
- Finish and serveOnce the cooking time is complete, remove the lid and stir the casserole well to combine all the ingredients. Let the dish rest for 5 minutes before serving to allow the flavors to meld and the steam to subside.Look for the mixture is glossy and well-combinedTip Use a sturdy spoon to fluff the rice while mixing.
The final stage involves stirring the casserole to integrate the ingredients into a cohesive, flavorful dish. The texture should be soft and moist.
After stirring, let the casserole rest briefly. This resting period is crucial as it allows the starch in the rice to stabilize, resulting in a better overall mouthfeel before serving.
Common mistakes
A common mistake is stirring the ingredients before the cooking process is complete. The layering order is designed to facilitate even cooking, and early stirring can cause the rice to settle too low and potentially stick to the bottom of the slow cooker.
Additionally, ensure the lid remains securely closed throughout the cook time; lifting the lid releases heat and steam, which significantly increases the cooking time and can result in unevenly cooked rice that is hard or underdone.
How to tell it’s done
The casserole is done when the ground beef has reached a safe internal temperature of 160°F (71°C) and the rice is tender to the bite, having absorbed most of the liquid. The mixture should appear glossy and uniform, with no pockets of dry seasoning remaining.
If the rice still feels slightly firm or chalky, continue cooking for an additional 20 minutes on the high setting, adding a splash of water if the mixture appears too dry.
- Ground meat: 160°F (71°C) in the thickest part
Up next · Part 3 of 3
2 variations · storage & make-ahead · 3 answers · printable card
Tips, FAQ & printable recipe (Part 3)← Back to the ingredients (Part 1)