Dinner · Part 3 of 3: Tips & recipe card
Easy Sheet Pan Chicken and Pierogies with Buttered Onions Tips, FAQ & printable recipe
- Prep
- Cook
- Total
- Serves
- 4
Tips for success
To achieve extra crispy edges on the pierogies, you can lightly coat them in a small amount of oil before arranging them on the pan, though the butter usually provides sufficient browning. If you prefer more color, you can briefly broil the dish for the final 60 seconds of cooking, but watch it closely to ensure the dill does not burn.
If you find that the chicken is cooking much faster than the pierogies, you can move the pierogies to the center of the pan for the last few minutes of cooking. Conversely, if the onions are browning too quickly, you can gently toss them with the chicken juices or move them to a cooler part of the baking sheet to prevent them from becoming charred.
Variations
- Spicy Garlic Version: Add a half teaspoon of red pepper flakes to the garlic butter mixture before drizzling over the pan to introduce a subtle, warming heat that pairs perfectly with the savory pierogies.
- Vegetable Medley: Add sliced bell peppers or thin zucchini rounds to the sheet pan along with the onions for extra color, texture, and a boost of seasonal flavor to your roasted meal.
Storage and make-ahead
- Fridge
- Store in an airtight container for up to 3 days.
- Freezer
- Freezing is not recommended as the texture of the pierogies will degrade significantly upon reheating.
- Reheat
- Reheat in a 350°F (175°C) oven until warmed through, or use a skillet over medium heat to restore the crispiness of the pierogies.
Allow any leftovers to cool completely at room temperature for no more than 2 hours before transferring them to an airtight container.
Storing the food while it is still steaming can lead to excess moisture buildup, which will make the pierogies lose their crisp texture. Once cooled, place the container in the coldest part of your refrigerator to maintain freshness for up to 3 days.
While this dish is best served immediately, you can prepare the chicken and onions ahead of time and keep them refrigerated until you are ready to cook.
However, keep the frozen pierogies in the freezer until the very last second to ensure they do not become soft. You can also mix the garlic butter in advance and store it in a small bowl, letting it come to room temperature before pouring.
Serving ideas
Serve this dish directly from the sheet pan for a rustic, family-style presentation. It pairs beautifully with a simple side salad of crisp greens or a light vinaigrette to balance the savory, buttery notes of the pierogies.
The dish is substantial enough to stand alone as a complete meal, but a dollop of sour cream on the side is a classic addition that many enjoy with their pierogies.
For individual portions, use a metal spatula to lift the chicken, pierogies, and onions, ensuring each plate gets a good mix of the caramelized onions and crispy dumplings.
If serving to guests, garnish with a small extra sprinkle of fresh dill to add a pop of color and freshness. Ensure that the food is served warm, as the texture of the pierogies is most enjoyable immediately after roasting.
Frequently asked questions
Can this be made with fresh pierogies instead of frozen?
Is it possible to use different types of meat?
How can the pierogies be kept from sticking to the pan?
Easy Sheet Pan Chicken and Pierogies with Buttered Onions
Ingredients
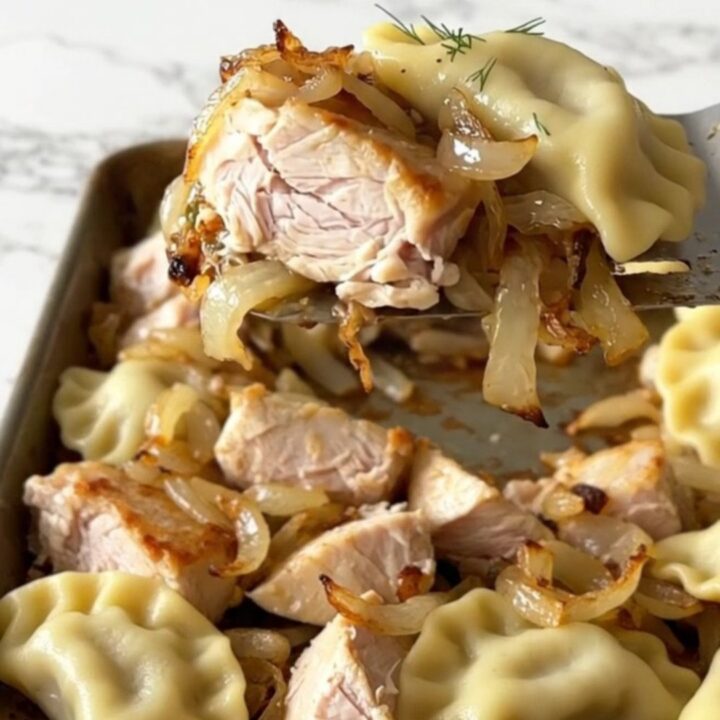
- 1 lb frozen pierogies
- 1 lb boneless skinless chicken breast, cut into chunks
- 1 large yellow onion, sliced
- 4 tbsp unsalted butter, melted and mixed with garlic
- 1 tbsp fresh dill, chopped
- 1/2 tsp black pepper, freshly cracked
Instructions
- Preheat your oven to 400°F (200°C). Line a large rimmed baking sheet with parchment paper to ensure easy cleanup. Cut the chicken breast into uniform one-inch chunks and slice the onion into thin half-moons. Ensure the chicken is handled safely by washing your hands thoroughly after contact with raw poultry.
- Arrange the pierogies, chicken chunks, and onion slices in a single layer across the parchment-lined baking sheet. Drizzle the melted garlic butter evenly over the ingredients. Sprinkle the chopped fresh dill and black pepper over the top to season everything uniformly. Place the pan into the preheated oven carefully.
- Bake the sheet pan for 20 to 25 minutes. The dish is finished when the pierogies have golden, crispy edges and the chicken reaches an internal temperature of 165°F (74°C). Remove the pan from the oven and allow the chicken to rest for at least 5 minutes before serving to ensure the juices redistribute.
Estimated nutrition per serving
- Calories
- 420
- Protein
- 28 g
- Carbohydrates
- 45 g
- Fat
- 15 g
- Fiber
- 2 g
- Sugar
- 3 g
- Sodium
- 650 mg
Next recipe
Slow Cooker Southern Pork Chops with Okra and Tomatoes
See the recipe → →This recipe is based on a short cooking video and is published under the pen name Clara Weller. It was checked before publication, but errors can slip through. Nutrition, when shown, is an estimate. Read more in our editorial policy and on our food safety page.
More recipes to try
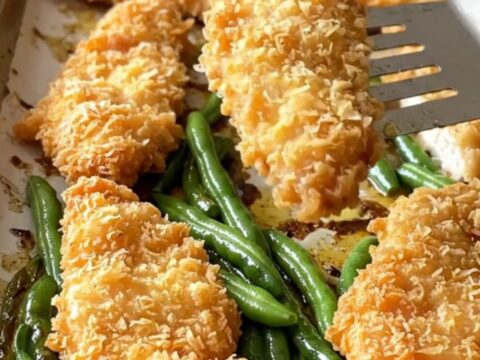
Sheet Pan Crispy Chicken Schnitzel Tenders with Green Beans
Total time: 30 min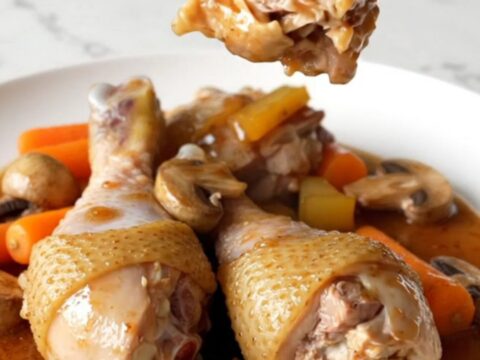
Slow Cooker Red Wine Drumsticks with Mushrooms and Carrots
Total time: 4 h 15 min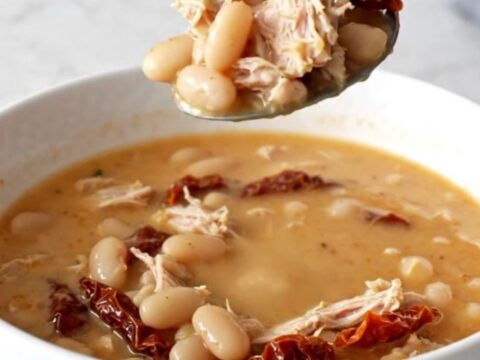
Crockpot Creamy Tuscan Ground Turkey Soup
Total time: 4 h 10 min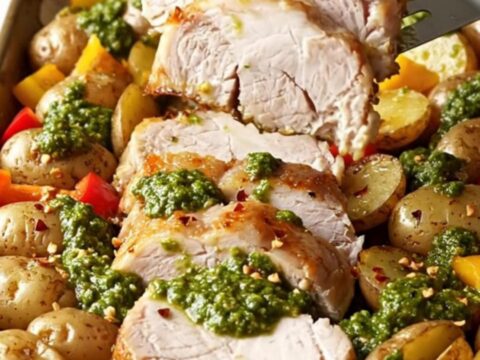
Sheet Pan Chimichurri Pork Tenderloin with Peppers
Total time: 50 min
Slow Cooker Cola Soy Pork Bites
Total time: 4 h 15 min