Desserts · Part 1 of 3: Ingredients
Easy Pumpkin Pie Truffles for the Perfect Fall Treat
- Prep
- Cook
- Total
- Serves
- 12
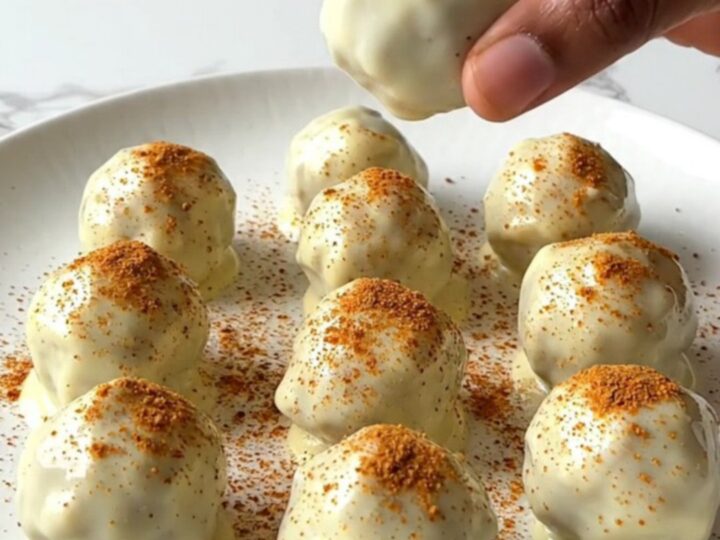
Discover the ultimate seasonal indulgence with these simple pumpkin pie truffles. Combining the warmth of traditional fall spices with a creamy, decadent white chocolate coating, these treats are perfect for any occasion.
Whether you are hosting a festive gathering or simply craving a sweet afternoon snack, this easy recipe delivers professional-looking results with minimal effort. Follow these straightforward steps to create a beautiful batch of homemade confections that capture the essence of autumn in every single bite.
These pumpkin pie truffles are a fantastic way to enjoy classic autumn flavors in a sophisticated, bite-sized format. By blending creamy pumpkin and spiced crumb filling, you create a rich, flavorful center that pairs perfectly with a silky white chocolate exterior.
The process is approachable for cooks of all levels, requiring only basic mixing, rolling, and dipping techniques. With no baking required, this recipe is an efficient way to satisfy your sweet tooth while showcasing the wonderful, comforting notes of pumpkin pie spice. Prepare to impress your guests with these elegant, delicious, and perfectly portioned seasonal delights.
Ingredients
Truffle Centers
- 1 cup canned pumpkin puree
- 4 oz cream cheese, softened
- 2 cups graham cracker crumbs
- 1 tsp pumpkin pie spice
Coating
- 12 oz white chocolate chips
Garnish
- pumpkin pie spice, for serving
Why this recipe works
The combination of cream cheese and crushed crumbs creates a stable, fudgy base that holds its shape beautifully when rolled. This texture provides a satisfying density that contrasts perfectly with the smooth, thin shell of white chocolate.
By chilling the pumpkin centers before dipping, you ensure that the coating sets quickly and evenly, resulting in a professional finish that prevents the truffles from losing their structure during the dipping process.
Using pumpkin pie spice throughout the filling and as a final garnish adds depth and a vibrant aromatic quality to the truffles. This layering effect ensures that the spice profile is present from the first bite to the last. The white chocolate acts as a neutral, sweet canvas that allows the warm, earthy notes of the pumpkin and spice to shine through, creating a balanced and harmonious dessert that is neither too heavy nor overly sweet.
Notes and substitutions
When selecting ingredients for this recipe, ensure the cream cheese is fully softened to room temperature. This is crucial for achieving a smooth, lump-free filling that blends easily with the pumpkin and crumbs.
Always use high-quality white chocolate chips, as they melt more smoothly and provide a better flavor balance against the spiced filling. If you prefer a different texture, you can experiment with finely ground cookies, provided they are fine enough to create a smooth dough.
The equipment required is minimal, making this an excellent recipe for those who want to avoid a cluttered kitchen. A simple hand mixer is sufficient to combine the base, while a small bowl and spoon are all you need for the dipping phase. If the kitchen is particularly warm, keep the pumpkin balls in the refrigerator until the very last second before dipping to prevent them from softening, which makes the coating process much easier and cleaner.
- graham cracker crumbs: finely crushed vanilla wafers or gingersnaps
- white chocolate chips: almond bark or white melting wafers for a smoother finish
Equipment
- Large mixing bowl
- Baking sheet
- Parchment paper
- Small bowl
- Spoon
- Electric hand mixer
Up next · Part 2 of 3
3 steps · 5 min of cooking · what to look for at each stage
Step-by-step instructions (Part 2)