Desserts · Part 1 of 3: Ingredients
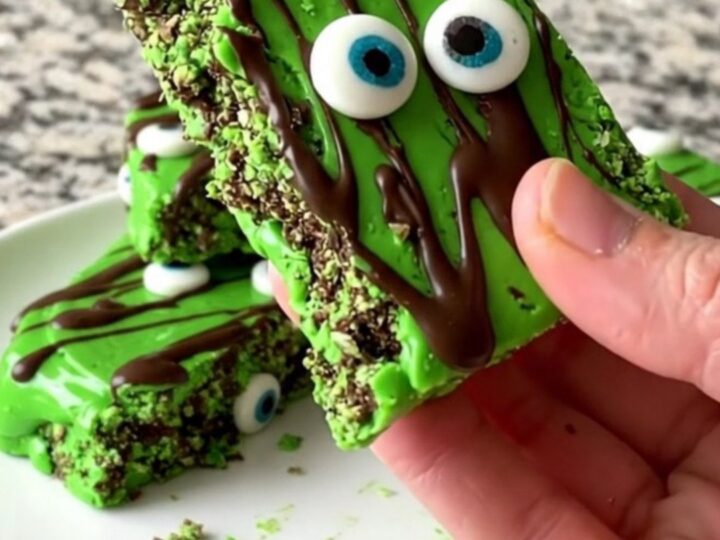
Easy Monster Eyeball Bark for Halloween Parties
- Prep
- Cook
- Total
- Serves
- 12
Transform simple pantry staples into a spine-chilling centerpiece that delights guests of all ages. This monster eyeball bark combines vibrant color with decadent chocolate for a treat that looks as good as it tastes.
Whether hosting a neighborhood bash or simply celebrating at home, this recipe provides a foolproof way to bring a touch of playful, spooky fun to the dessert table without hours of complicated kitchen preparation or advanced culinary skills.
The magic of this recipe lies in its simplicity and visual impact. By using high-contrast colors and whimsical candy eyes, you create a dessert that captures the essence of Halloween. The process is remarkably straightforward, focusing on layering and texture.
Because it relies on melting and drizzling, it is an accessible project for cooks of all levels. The final result is a collection of crunchy, chocolatey shards that offer a satisfying snap with every bite, making it a reliable addition to any seasonal celebration menu.
Ingredients
Base
- 16 oz bright green candy melts
Topping
- 1/4 cup dark chocolate chips
- 1/4 cup round candy eyes
Why this recipe works
The method relies on the rapid cooling properties of candy melts and chocolate. By spreading the base thinly, the candy sets into a brittle texture that is easy to snap into individual portions later. This creates the signature bark texture that is both satisfying to break and easy to serve to a crowd, ensuring consistent results every time.
Layering the chocolate over the still-tacky green base allows the two components to bond securely as they cool. This technique ensures that the drizzle remains integrated with the surface, preventing the decoration from flaking off.
The final step of cooling allows the fats in the candy and chocolate to stabilize, resulting in a clean, professional finish.
Notes and substitutions
Select high-quality candy melts for the best flavor and texture. If using standard chocolate chips for the green base, ensure they are high-quality to avoid seizing during the melting process.
You can use parchment paper to ensure easy removal, as it prevents the sugar-based candy from sticking to the baking sheet surface during the cooling period.
The choice of equipment is minimal. A standard rimmed baking sheet provides the necessary space to spread the mixture, while a simple spoon is sufficient for the drizzling technique. If you find the chocolate is too thick for a fine drizzle, stir in a tiny amount of vegetable oil to loosen the consistency without affecting the flavor profile.
- bright green candy melts: white chocolate tinted with green food coloring
- dark chocolate chips: semi-sweet chocolate chips
Equipment
- baking sheet
- parchment paper
- spatula
- spoon
- microwave-safe bowl
Up next · Part 2 of 3
3 steps · 5 min of cooking · what to look for at each stage
Step-by-step instructions (Part 2)