Desserts · Part 1 of 3: Ingredients
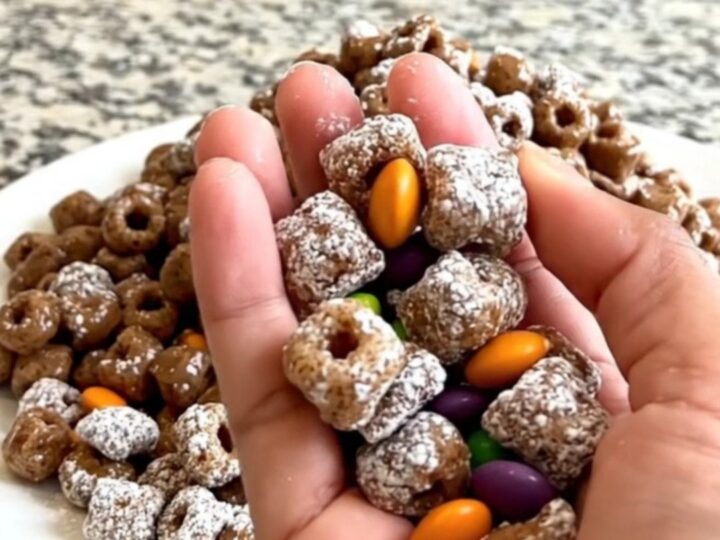
Easy Halloween Puppy Chow for Festive Snacking
- Prep
- Cook
- Total
- Serves
- 8
Transform simple pantry staples into a festive Halloween masterpiece with this quick and easy puppy chow recipe. This snack is the perfect combination of textures and flavors, making it a must-have for any seasonal celebration or casual get-together with friends and family during the spooky season.
Halloween puppy chow is a classic American snack that brings together the rich, comforting flavors of chocolate and peanut butter with the satisfying crunch of cereal. By adding a generous dusting of powdered sugar and festive, colorful candies, this recipe elevates the traditional treat into a visually stunning dessert that fits perfectly with the Halloween theme.
It is straightforward, requires no baking, and allows for quick preparation, leaving more time to enjoy the festivities. Whether you are hosting a party or just looking for a fun weekend activity, this recipe delivers consistent, delicious results every single time.
Ingredients
base
- 8 cups rice cereal squares
- 1 cup melted chocolate peanut butter mixture
topping
- 1 cup powdered sugar
- 1 cup orange and purple candy-coated chocolates
Why this recipe works
The method of spreading the coated cereal on a parchment-lined baking sheet is highly effective because it allows the chocolate and peanut butter mixture to set properly without sticking. This technique ensures that each piece of cereal remains distinct and crispy rather than clumping together into a dense, unappealing mass.
The use of a fine-mesh sieve for the powdered sugar is essential for achieving an even, professional-looking finish that mimics the appearance of fresh snow, ensuring that every bite has the perfect balance of sweetness and texture.
Adding the candy-coated chocolates in the final step is crucial for maintaining their vibrant appearance and structural integrity. By introducing these elements last, the colors remain bright and distinct against the white sugar, creating an attractive contrast that is visually appealing.
This phased approach to assembly ensures that the delicate balance of ingredients is preserved, resulting in a snack that is both beautiful to look at and consistently delicious to eat. The simplicity of the process makes it an accessible project for cooks of any skill level.
Notes and substitutions
When selecting ingredients, opt for high-quality chocolate and creamy peanut butter to ensure the best flavor profile. Using rice cereal squares provides the classic crunch associated with traditional puppy chow, but ensure they are fresh to avoid any staleness.
The choice of candy-coated chocolates can be customized based on preference, but sticking to orange and purple colors enhances the seasonal theme. Always ensure the powdered sugar is finely ground; if it appears lumpy, whisking it before sifting will help achieve a smoother distribution over the cereal.
The equipment required is minimal, which is one of the great advantages of this recipe. A large, rimmed baking sheet is ideal for holding the cereal, while parchment paper is non-negotiable for easy removal and cleanup. A fine-mesh sieve is the most effective tool for dusting the sugar, as it provides better control than a shaker or spoon. If a sieve is not available, a clean, dry tea strainer can serve as a suitable alternative to achieve the same light and even coverage across the snack.
- rice cereal squares: corn cereal squares for a slightly different texture and flavor profile
- orange and purple candy-coated chocolates: any seasonal colored chocolate-covered candies or chocolate chips
Equipment
- Large baking sheet
- Parchment paper
- Fine-mesh sieve
- Large mixing bowl