Dinner · Part 1 of 3: Ingredients
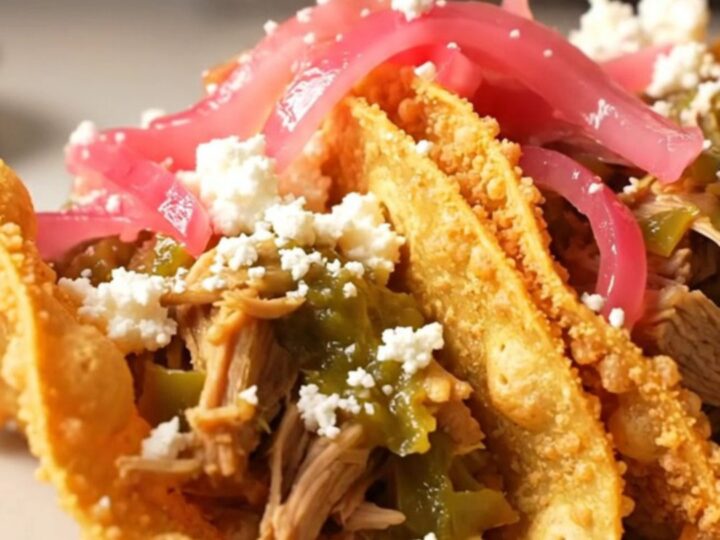
Easy Crockpot Salsa Verde Pulled Pork Tacos
- Prep
- Cook
- Total
- Serves
- 8
Discover the secret to effortless weeknight dinners with this foolproof slow cooker salsa verde pulled pork recipe. By combining just five simple ingredients, you can create a restaurant-quality meal that is perfect for any occasion.
The slow cooking process transforms standard cuts of pork into succulent, flavor-packed ribbons of meat that are ideal for tacos, sandwiches, or rice bowls. Get ready to elevate your home cooking with minimal effort and maximum satisfaction using this reliable, time-saving method.
This recipe is designed for maximum flavor with minimal kitchen time. The combination of charred tomatillo salsa verde and diced Hatch green chiles provides a tangy, herbaceous base that perfectly complements the rich, fatty nature of a pork butt.
Because the pork slow-cooks in its own juices and the added sauce, it remains moist and tender throughout the entire process. Whether you are hosting a casual gathering or simply need a hearty meal for the family, this pulled pork delivers consistent, mouthwatering results every single time.
Ingredients
Main
- 4 lb boneless pork butt
Seasoning
- 1 tbsp roasted cumin
- 1 tbsp garlic powder
Sauce
- 16 oz charred tomatillo salsa verde
- 2 cans diced Hatch green chiles
Serving
- flour tortillas for serving
- cotija cheese for serving
- pickled red onions for serving
Why this recipe works
The slow-cooker method is ideal for this recipe because it breaks down the connective tissues in the pork butt over several hours. This process ensures the meat becomes fork-tender rather than tough, allowing it to soak up all the vibrant, tangy notes from the salsa verde and green chiles.
The low, steady heat also helps the spices penetrate deep into the fibers of the meat, creating a cohesive flavor profile that would be difficult to achieve with faster cooking techniques.
Cooking with a lid on the crockpot traps the steam and moisture, which is essential for preventing the pork from drying out. This technique creates a self-basting environment where the pork remains succulent as it simmers in the verde sauce.
Because the cooking process is largely hands-off, it is a highly effective way to prepare a large quantity of food for a group or for meal prepping, ensuring you have a delicious base for many different meals throughout the week.
Notes and substitutions
When choosing your pork butt, look for a piece with good marbling, as the fat will render down during the long cooking time, keeping the meat moist and flavorful. While you can use a shoulder roast interchangeably, ensure it is boneless for easier shredding at the end. The quality of the salsa verde is important, so select a variety that lists tomatillos as the primary ingredient to ensure the right level of acidity and depth of flavor for your finished tacos.
If you find the sauce is too thin after shredding the pork, you can remove the lid and switch the crockpot to high for 15 to 20 minutes to allow some of the liquid to evaporate. This will concentrate the flavors further, resulting in a richer, more coating sauce for your taco meat. For the best texture, always shred the meat while it is still hot, as this allows it to better absorb the remaining juices in the pot.
- boneless pork butt: boneless pork shoulder is a perfect swap as it has a similar fat content and texture
- Hatch green chiles: mild or medium diced green chiles work well if Hatch chiles are unavailable
Equipment
- Crockpot
- Two forks
- Tongs
- Knife
Up next · Part 2 of 3
3 steps · 8 h of cooking · what to look for at each stage
Step-by-step instructions (Part 2)