Dinner · Part 2 of 3: Instructions
Easy Crockpot Mexican Shredded Pork Chimichanga Filling Step-by-step instructions
- Prep
- Cook
- Total
- Serves
- 6
Before you start
Before beginning, ensure your slow cooker is clean and placed on a flat, heat-resistant surface.
Trim any large, exterior pieces of fat from the pork butt if desired, though some fat is beneficial for moisture. Measure out your enchilada sauce and have your taco seasoning and canned chiles ready.
Ensure you have two sturdy forks available for the shredding process later on. Having all ingredients prepped and within reach simplifies the assembly process, allowing you to get the pork into the slow cooker quickly and efficiently.
Ingredients at a glance (4)
- 2 lb pork butt, cut into large chunks
- 1 can (4 oz) diced green chiles
- 1 packet (1 oz) taco seasoning
- 1 cup red enchilada sauce
Instructions
Assembly and Seasoning
- Prepare the Slow CookerPlace the pork butt chunks into the base of the slow cooker. Distribute the diced green chiles evenly over the meat, then sprinkle the taco seasoning packet over the entire mixture to ensure all pieces are well coated.Look for The pork chunks should be arranged in a single or slightly overlapping layer.Tip Removing excess fat from the pork butt before cooking results in a cleaner sauce.
The pork chunks are neatly arranged in the slow cooker, coated with taco seasoning, and topped with green chiles. The ingredients look ready to be braised, with the seasoning starting to moisten as it contacts the surface of the meat.
Braising and Cooking
- Add Sauce and CookPour the red enchilada sauce over the seasoned pork. Cover the slow cooker with its lid and cook on the low setting for 8 hours, or on the high setting for 4 hours, until the meat is fork-tender, reaches an internal temperature of at least 145°F (63°C), and let the meat rest at least 3 minutes.Look for The sauce will bubble and the pork will look soft and easily pull apart.Safe temperature 145°F (63°C) internal temperature (steaks, chops and roasts)Tip Avoid lifting the lid too often, as this releases heat and increases the required cooking time.
The pork is submerged in the enchilada sauce. After the required cooking time, the meat should be soft, fragrant, and easily pierced with a fork, indicating that the connective tissues have broken down and the flavors have fully melded.
Shredding and Finishing
- Shred and FinishOnce the cooking time is complete, remove the pork chunks to a plate. Use two forks to shred the meat, then return it to the slow cooker to toss with the remaining sauce.Look for The pork should shred effortlessly with minimal pressure from the forks.Tip If the sauce is too thin, leave the lid off for the final 20 minutes of cooking to reduce and thicken it.
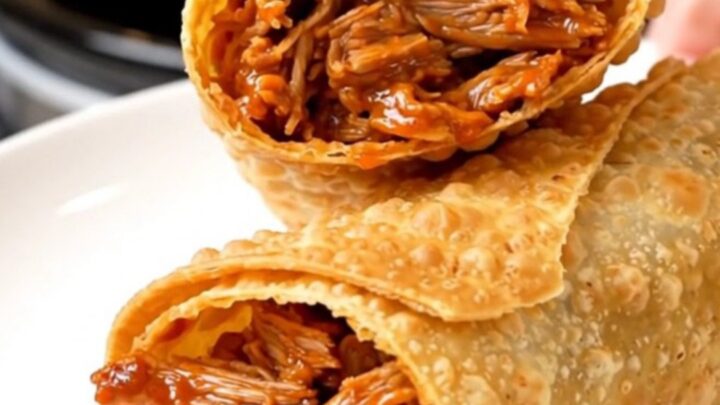
The pork is shredded into uniform pieces and tossed thoroughly with the thickened sauce. The final result should be a glossy, cohesive filling that is ready to be stuffed into tortillas for frying or baking into chimichangas.
Common mistakes
A common mistake is adding too much liquid, which can lead to a watery filling; stick to the specified cup of enchilada sauce. Another error is over-shredding the meat until it becomes mushy; aim for distinct, bite-sized shreds that still retain some texture.
Additionally, failing to rest the meat for 3 minutes before serving can lead to a loss of natural juices. Finally, do not skip the initial seasoning step, as it provides the foundation of flavor for the entire dish.
How to tell it’s done
The pork is done when it is fork-tender and reaches a minimum internal temperature of 145°F (63°C). Use a meat thermometer to check the thickest part of the meat; it should slide in without resistance.
Once cooked, the meat will be glossy, moist, and easily pull apart into distinct shreds. If the meat still feels firm or tough, continue cooking for an additional 30 minutes, as cooking times can vary depending on the specific model of slow cooker and the size of the pork chunks used.
- Steaks, chops and roasts: 145°F (63°C) in the thickest part, then a 3-minute rest
Up next · Part 3 of 3
2 variations · storage & make-ahead · 3 answers · printable card
Tips, FAQ & printable recipe (Part 3)← Back to the ingredients (Part 1)