Desserts · Part 1 of 3: Ingredients
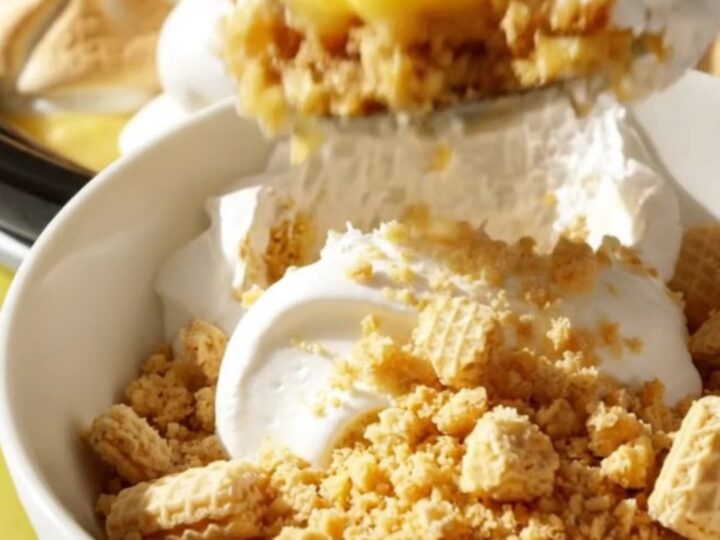
Crockpot Lemon Meringue Pie Spoon Pudding: No Crust Rolling
- Prep
- Cook
- Total
- Serves
- 8
This Crockpot Lemon Meringue Pie Spoon Pudding delivers all the tangy, creamy, and toasty flavors of a classic lemon meringue pie without any crust rolling. Dump crushed vanilla wafers, a sweet-tart lemon custard, and lemon cake batter into the slow cooker, then let it work its magic.
After two hours, pile on fluffy marshmallow meringue and watch it melt into gooey perfection. Scoop it warm straight into bowls for the ultimate comfort dessert.
Slow cooker desserts are the ultimate set-and-forget treat, and this spoon pudding turns the beloved lemon meringue pie into an effortless, spoonable dessert. Layers of buttery vanilla wafer crumbs, a velvety lemon custard made with sweetened condensed milk, and a tender lemon cake base come together in the Crockpot.
The final flourish of marshmallow meringue melts into a glossy, gooey topping that mirrors the classic pie's meringue. Serve it warm, straight from the slow cooker, for a dessert that feels both nostalgic and new. No oven, no rolling pin, and no complicated steps—just simple ingredients and a slow cooker.
Ingredients
- 2 cups crushed vanilla wafers
- 1/2 cup unsalted butter, melted
- 1 can (14 oz) sweetened condensed milk
- 3/4 cup fresh lemon juice
- 1 box lemon cake mix, prepared according to package directions
- 3 cups marshmallow meringue (store-bought or homemade)
Why this recipe works
The slow cooker creates a gentle, even heat that bakes the cake layer while allowing the lemon custard to bubble and thicken underneath. This low-and-slow method mimics a water bath, preventing the custard from curdling and keeping it silky smooth. The result is a dessert with distinct layers that still meld together beautifully when scooped.
Using sweetened condensed milk as the base for the lemon custard adds richness and a natural sweetness that balances the tart lemon juice.
The condensed milk thickens as it heats, creating a luscious curd without the need for constant stirring or tempering eggs. This dump-and-go approach makes the recipe nearly foolproof, perfect for busy home cooks.
Notes and substitutions
For the crust, use store-bought vanilla wafer crumbs or crush whole wafers in a zip-top bag with a rolling pin. The melted butter binds the crumbs and creates a sturdy base that holds up to the moist custard. If using salted butter, reduce any additional salt in the recipe, though none is added here.
The lemon cake mix can be any brand; prepare it according to the package directions, but you may reduce the oil to 1/3 cup if the mix calls for 1/2 cup, to keep the cake layer light.
Marshmallow meringue is available in jars at most supermarkets; if using homemade meringue, ensure it is made with pasteurized egg whites if you plan to serve it without further cooking. The slow cooker's heat will warm the meringue, but it will not cook it to a safe temperature if using raw eggs.
- vanilla wafers: Graham cracker crumbs or shortbread cookie crumbs work well for the crust layer.
- sweetened condensed milk: Use a dairy-free sweetened condensed milk alternative for a non-dairy version.
- lemon cake mix: Yellow cake mix with 1 tablespoon lemon zest can replace the lemon cake mix.
- marshmallow meringue: Fluffy marshmallow creme or a homemade meringue made with pasteurized egg whites can be used.
Equipment
- 6-quart slow cooker
- Mixing bowls
- Whisk
- Measuring cups and spoons
- Rubber spatula
- Serving spoon
Up next · Part 2 of 3
5 steps · 2 h of cooking · what to look for at each stage
Step-by-step instructions (Part 2)