Desserts · Part 1 of 3: Ingredients
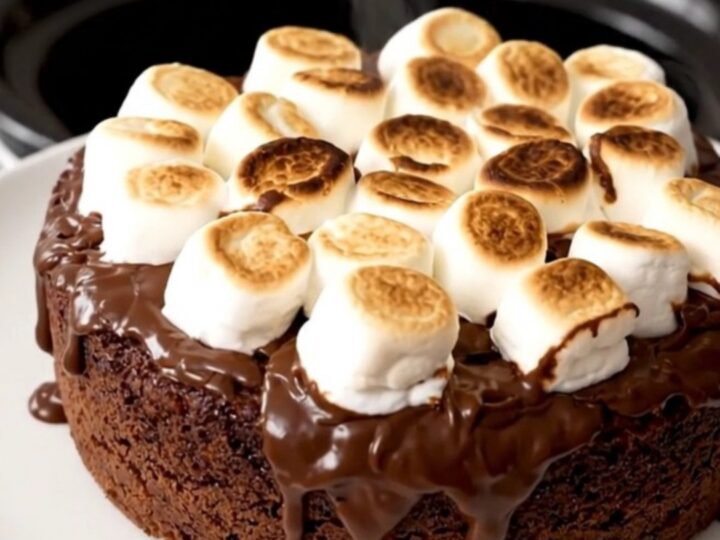
Easy Crockpot Chocolate S’mores Dump Cake
- Prep
- Cook
- Total
- Serves
- 8
Discover the ultimate effortless dessert with this slow cooker chocolate s'mores dump cake. By layering simple pantry staples, you create a rich, gooey, and comforting treat that tastes like a campfire favorite without ever stepping outside. This recipe is designed for maximum flavor with minimal kitchen time, making it an ideal choice for busy evenings or casual gatherings when you need something sweet and satisfying on the table quickly.
The beauty of a dump cake lies in its simplicity and the magic that happens inside the slow cooker. By combining the crunch of graham cracker crumbs with the sweetness of marshmallows and the richness of chocolate cake, you achieve a complex texture that ranges from crisp edges to a molten, gooey center.
This recipe eliminates the need for complex mixing or precise measurements, relying instead on the heat of the slow cooker to meld the ingredients into a harmonious, warm dessert that appeals to all ages.
Ingredients
- 1 cup graham cracker crumbs
- 2 cups mini marshmallows
- 1 package (15.25 oz) chocolate cake mix
- 1/2 cup unsalted butter, melted
Why this recipe works
The slow cooker environment provides gentle, consistent heat that allows the chocolate cake mix to absorb the melted butter while the marshmallows soften and create a decadent, sticky layer.
Because the ingredients are layered rather than stirred, the graham crackers maintain a distinct texture at the base, providing a necessary contrast to the soft, molten top. This method ensures the cake remains moist throughout the cooking process, preventing the dry edges often associated with oven-baked cakes.
By utilizing a dump-and-go approach, this recipe maximizes efficiency without sacrificing quality. The slow cooker acts as a self-contained oven, trapping moisture and heat to ensure the marshmallows melt into the chocolate, creating a sauce-like consistency that permeates the cake.
This technique is particularly effective for large batches, as the oval shape of the slow cooker allows for even heat distribution across the entire cake, resulting in a consistent, professional finish every single time you cook it.
Notes and substitutions
When selecting a chocolate cake mix, ensure it is a standard 15.25-ounce box for the best ratio of dry ingredients to butter. If you prefer a richer flavor, a dark chocolate or devil's food mix works exceptionally well.
The butter must be fully melted before pouring to ensure it penetrates the dry cake mix evenly; cold or partially solid butter can result in powdery spots on top of the finished cake. Using unsalted butter is recommended to maintain complete control over the final flavor profile.
The choice of slow cooker is important for the success of this recipe. A 4 to 6-quart oval model is ideal, as it provides enough surface area for the cake to cook evenly without becoming too deep. If using a larger slow cooker, the cake may spread thinner and cook faster, so begin checking for doneness after 90 minutes. Ensure that the power cord is clear of any water sources and that the slow cooker is placed on a stable, heat-resistant surface throughout the entire cooking process.
- chocolate cake mix: yellow or white cake mix for a different flavor profile
- unsalted butter: salted butter, omitting any additional salt adjustments
Equipment
- Slow cooker (oval, 4-6 quart capacity)
- Measuring cups
- Glass pouring vessel
- Serving spoon
Up next · Part 2 of 3
4 steps · 2 h of cooking · what to look for at each stage
Step-by-step instructions (Part 2)