Desserts · Part 1 of 3: Ingredients
Easy Crockpot Caramel Apple Dump Cake
- Prep
- Cook
- Total
- Serves
- 8
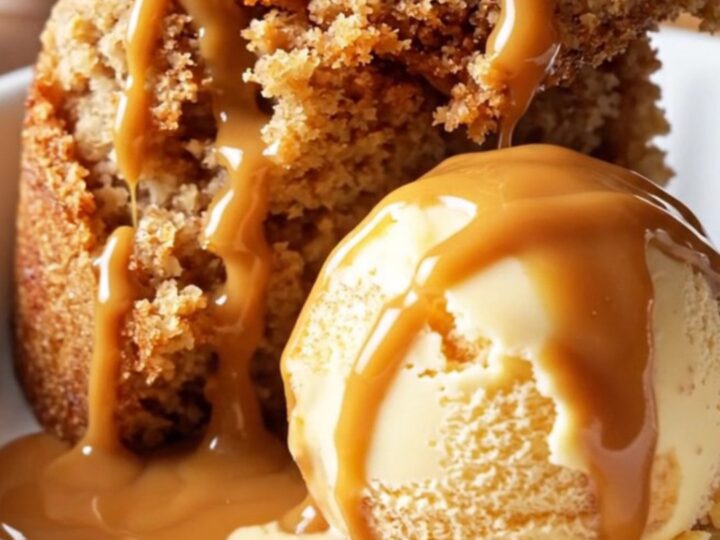
Discover the ultimate solution for a crowd-pleasing dessert that takes minutes to assemble. This Crockpot caramel apple dump cake is a masterpiece of convenience, blending tender spiced apples with a golden, buttery crust that tastes like it came straight from an oven.
Perfect for chilly evenings, this slow-cooked treat brings the warmth of autumn right to your kitchen table. With only four main components, it is the definition of simple, effective, and indulgent comfort food for any occasion.
The magic of this recipe lies in its simplicity. By layering spiced apple pie filling with rich caramel sauce and a box of spice cake mix, the slow cooker creates a unique texture where the bottom layer becomes a luscious, caramelized fruit compote while the top transforms into a crumbly, buttery streusel.
This dessert is designed for those who appreciate deep, complex flavors without spending hours in the kitchen. It is the perfect centerpiece for a cozy dinner party or a quiet family night at home.
Ingredients
Cake Base
- 42 oz spiced apple pie filling
- 1/2 cup salted caramel sauce
- 1 box spice cake mix
- 12 slices cold butter
Serving
- cinnamon ice cream for serving
- extra salted caramel sauce for serving
Why this recipe works
The slow cooker environment is ideal for this recipe because it provides consistent, gentle heat that allows the fruit to release its natural juices slowly. As the apple juices combine with the caramel sauce and the butter-infused cake mix, a natural syrup forms that permeates the entire dessert.
This process prevents the cake from becoming dry, ensuring that every spoonful is moist, flavorful, and perfectly balanced between the sweetness of the caramel and the warmth of the cinnamon-spiced apples.
Another reason this method excels is the efficiency of the layering technique. By scattering the dry cake mix and topping it with slices of butter rather than mixing it into a batter, you allow the butter to melt and soak into the cake mix gradually.
This creates the signature dump cake crust that is golden and slightly crispy on top while remaining soft and tender underneath. It is a foolproof technique that guarantees a professional-looking result every single time without the need for complex baking skills.
Notes and substitutions
When choosing your ingredients, opt for high-quality spiced apple pie filling to ensure the best flavor profile. The quality of the caramel sauce also makes a difference; a thicker, premium salted caramel will provide a better contrast to the sweetness of the apples. If you cannot find a pre-made spice cake mix, a yellow or white cake mix works perfectly if you stir in an extra teaspoon of ground cinnamon and a dash of nutmeg before adding it to the pot.
Regarding equipment, a standard 6-quart Crockpot is perfect for this recipe. Ensure your slow cooker is clean and that the lid creates a tight seal. While the recipe calls for 12 slices of butter, you can adjust this slightly depending on your preference for a richer crust. If you find the butter is not melting evenly, ensure the slices are spread across the entire surface of the cake mix, leaving no dry patches of powder visible before you start the cooking cycle.
- spice cake mix: yellow cake mix with a teaspoon of ground cinnamon
- salted caramel sauce: dulce de leche
Equipment
- 6-quart Crockpot
- copper spoon
- serving dish
Up next · Part 2 of 3
3 steps · 3 h of cooking · what to look for at each stage
Step-by-step instructions (Part 2)