Dinner · Part 2 of 3: Instructions
Easy Crockpot Bean and Cheese Burrito Soup Step-by-step instructions
- Prep
- Cook
- Total
- Serves
- 6
Before you start
Before beginning, gather all your canned goods and ensure your slow cooker is clean and positioned on a stable, heat-resistant surface. Open all cans beforehand to streamline the assembly process. Have a sturdy whisk and a large spoon ready.
If your slow cooker has a removable insert, ensure it is properly seated in the base. Clear enough counter space to accommodate your ingredients and tools so that the assembly phase remains organized and efficient.
Ingredients at a glance (5)
- 2 cans pinto beans, drained and rinsed
- 1 can diced tomatoes with green chiles
- 2 cups processed cheese cubes
- 2 cups vegetable broth
- 1 can refried beans
Instructions
Layering the Base
- Combine Base IngredientsAdd the drained pinto beans into the slow cooker insert. Spoon in the diced tomatoes with green chiles and scatter the processed cheese cubes evenly over the top of the beans.Look for ensure beans are evenly distributed at the bottom of the crockpotTip use a large spoon to ensure all ingredients are well settled
At the end of this phase, the bottom of your slow cooker should be covered with the beans, tomatoes, and cheese. Check that the ingredients are spread in an even layer to ensure consistent heating.
The visual contrast between the dark beans, bright tomatoes, and the cubes of cheese will be clear at this stage. Ensure no ingredients are clinging to the sides of the crockpot to prevent uneven cooking or burning during the long simmer.
Integrating the Liquid
- Whisk and Pour BrothIn a separate measuring cup, whisk together the vegetable broth and the refried beans until smooth. Pour this mixture over the beans and cheese in the slow cooker.Look for the mixture should be uniform and lump-free before pouringTip whisking thoroughly ensures the soup thickens evenly during the cooking process
Once the broth and refried bean mixture is poured over the top, the soup should look well-distributed. The liquid should settle between the layers of beans and cheese. Check that the whisked mixture is fully incorporated into the crockpot. The surface should look slightly textured but generally uniform. This is the last step before starting the slow cooker, so ensure the lid is properly placed to seal in the moisture and heat.
Simmering to Perfection
- Cook and ServeCover the slow cooker and cook on low for 3 hours until the cheese is completely melted and the soup is hot. Stir well before serving into shallow bowls.Look for the soup should appear thick, creamy, and steaming hotTip allow the soup to rest for five minutes after turning off the heat
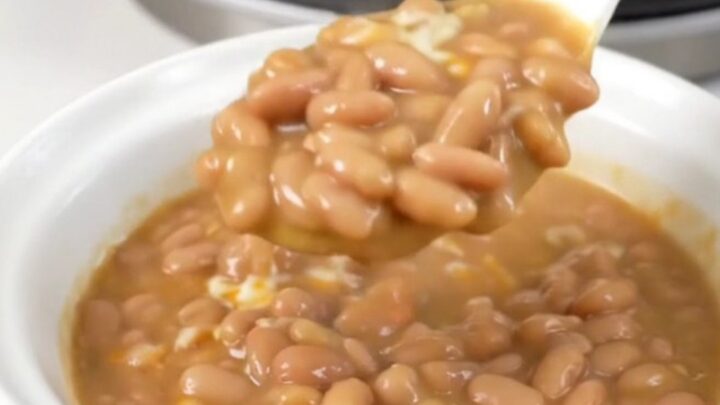
After the cooking time, the soup should have transformed into a cohesive, thick, and creamy dish. The cheese should be completely melted, and the ingredients should be soft and tender. The aroma will be savory and inviting.
Before serving, give the soup a thorough stir to combine any settled solids with the creamy liquid. The final texture should be consistent throughout, with a rich, velvety appearance that indicates it is perfectly cooked.
Common mistakes
A common mistake is failing to whisk the refried beans thoroughly with the broth, which can lead to lumps in the final soup. Always take the extra time to ensure the mixture is completely smooth before adding it to the crockpot.
Another error is using a heat setting that is too high; ensure the slow cooker is set to low to prevent the cheese from scorching at the edges, which can negatively impact both the flavor and the texture of the dish.
How to tell it’s done
The soup is ready when the cheese has fully incorporated into the broth, creating a uniform, creamy orange-hued base. The beans should be tender and the entire mixture should be steaming hot. Use a spoon to lift some of the soup to check for any unmelted cheese clumps; if any persist, stir for an additional few minutes. The consistency should be thick enough to coat the back of a spoon, indicating it is ready to be served.
Up next · Part 3 of 3
2 variations · storage & make-ahead · 3 answers · printable card
Tips, FAQ & printable recipe (Part 3)← Back to the ingredients (Part 1)