Dinner · Part 1 of 3: Ingredients
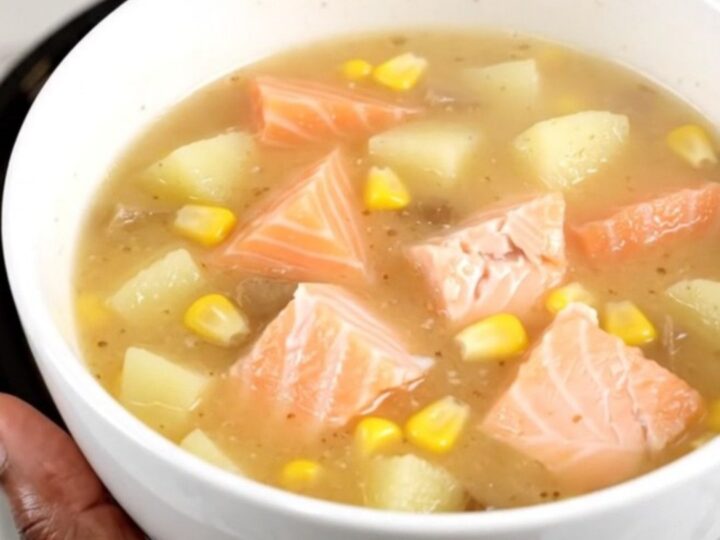
Easy Creamy Salmon Corn Chowder for a Cozy Dinner
- Prep
- Cook
- Total
- Serves
- 4
Transform simple pantry staples and fresh salmon into a restaurant-quality meal with minimal effort. This slow cooker chowder is the ultimate solution for those busy evenings when you want something hearty, wholesome, and delicious without spending hours in the kitchen.
By utilizing the gentle heat of a slow cooker, the salmon stays perfectly tender and flaky, while the potatoes and corn soak up all the savory seasoning and broth, resulting in a comforting bowl of goodness that satisfies every craving.
This creamy salmon corn chowder recipe is designed for maximum convenience and flavor. It relies on the slow cooker to do the heavy lifting, allowing the ingredients to simmer together until they reach a perfect, tender consistency.
It is an ideal dish for family dinners or a quiet night in, providing a warm and satisfying experience with very little active preparation time. Simply layer your ingredients, set the timer, and come home to a kitchen filled with the inviting aromas of a slow-cooked seafood meal.
Ingredients
Main Ingredients
- 1 lb salmon fillet, skin removed
- 2 cups sweet corn, fresh or frozen
- 2 cups diced potatoes
- 1 tbsp seafood seasoning
- 4 cups vegetable broth
Why this recipe works
The slow cooking method is ideal for salmon, as it prevents the delicate fish from drying out or overcooking. By submerging the fillet in broth, it gently poaches, resulting in a buttery texture that flakes easily. The potatoes and corn benefit from the long, slow simmer, as they absorb the savory seafood seasoning, ensuring that every spoonful is packed with a balanced and cohesive flavor profile throughout the entire dish.
Using a slow cooker simplifies the cleanup process, as only one vessel is used for the entire cooking duration. This method also allows for excellent flavor development, as the ingredients have time to interact and meld together without requiring constant monitoring or stirring. It is a highly efficient way to prepare a filling meal, making it a reliable choice for anyone looking to optimize their time in the kitchen while still enjoying a quality home-cooked dinner.
Notes and substitutions
When selecting salmon for this recipe, any fresh or thawed fillet will work perfectly. Ensure the fish is free of bones for the best eating experience.
The type of potato used can also influence the outcome; waxy potatoes like Yukon Gold hold their shape well, while starchy potatoes like Russets may break down slightly, which can contribute to a naturally thicker broth. Adjust the potato variety based on your preference for a firmer or creamier texture in the final chowder.
The seafood seasoning plays a crucial role in bringing the dish together. If a specific blend is not available, a mixture of dried herbs, garlic powder, onion powder, and a touch of paprika can create a similar flavor profile.
Ensure the vegetable broth used is of good quality, as it forms the base of the soup. Equipment-wise, any standard slow cooker will suffice, provided it is large enough to hold the ingredients comfortably without being overfilled, which ensures even heat distribution.
- vegetable broth: chicken broth or fish stock can be used for a slightly different depth of flavor.
- sweet corn: canned corn drained or frozen corn thawed can be substituted for fresh corn.
Equipment
- slow cooker
- measuring cups
- knife
- cutting board
- ladle
Up next · Part 2 of 3
3 steps · 4 h of cooking · what to look for at each stage
Step-by-step instructions (Part 2)