Dinner · Part 1 of 3: Ingredients
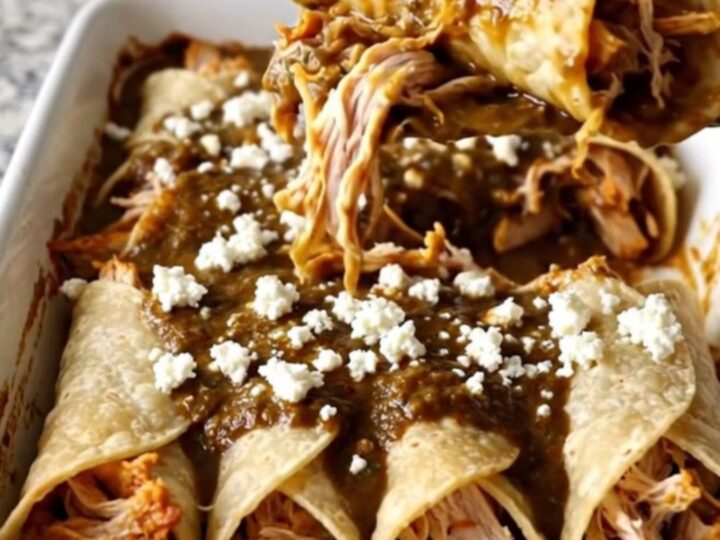
Easy Chicken Mole Enchilada Bake
- Prep
- Cook
- Total
- Serves
- 6
Elevate your weeknight dinner rotation with this rich and comforting chicken mole enchilada bake. By combining tender shredded chicken with deep, flavorful mole sauce and salty, crumbly queso fresco, this dish offers a sophisticated profile that requires minimal effort in the kitchen. It is a satisfying meal that brings warmth to the table and is sure to become a staple in your home for those evenings when you crave something truly special yet easy to prepare.
This chicken mole enchilada bake is designed for efficiency without sacrificing the depth of flavor associated with traditional mole dishes. By utilizing pre-cooked chicken and a high-quality prepared mole sauce, the preparation time is significantly reduced, allowing you to focus on the assembly and baking process.
The result is a cohesive, delicious casserole where the tortillas soften into the sauce and the chicken remains juicy, topped with the fresh, tangy bite of queso fresco. It is a straightforward approach to a classic favorite that relies on the quality of your ingredients to shine.
Ingredients
Main
- 12 count corn tortillas
- 3 cups shredded cooked chicken
Sauce
- 2 cups mole sauce, store-bought or made ahead
Topping
- 1/2 cup queso fresco, crumbled
Why this recipe works
The assembly method of lining the tortillas tightly in a baking dish allows them to absorb the mole sauce thoroughly during the baking process. As the mole simmers in the oven, the corn tortillas hydrate and soften, creating a tender texture that complements the shredded chicken filling. This tight arrangement also ensures that the enchiladas remain intact when lifted from the pan, providing a professional presentation for such a simple home-cooked meal.
Using queso fresco as a finishing element provides a necessary contrast to the deep, earthy, and slightly sweet notes of the mole sauce. Unlike melting cheeses that can become greasy, queso fresco maintains its structure and provides a fresh, milky flavor that cuts through the richness of the sauce.
This balance of flavors, combined with the heat-retaining properties of the ceramic baking dish, ensures that every serving is warm, balanced, and texturally satisfying.
Notes and substitutions
When selecting a mole sauce, opt for a variety that aligns with your preferred level of spice and sweetness, as these profiles can vary significantly between brands. If you are preparing the mole sauce from scratch, ensure it is fully cooled before assembly to prevent the tortillas from becoming overly soggy.
The shredded chicken can be prepared using a rotisserie chicken or poached breast, provided it is seasoned simply so it does not compete with the bold flavors of the mole.
A rectangular ceramic baking dish is ideal for this recipe as it retains heat effectively and provides a beautiful vessel for serving. If you find that your tortillas are cracking during the rolling process, ensure they are fresh and warm them slightly before filling.
While queso fresco is the traditional choice for this dish, you can substitute it with cotija cheese if you prefer a saltier, firmer texture that does not melt, maintaining the authentic character of the finished enchilada bake.
- queso fresco: cotija cheese or mild feta cheese
- mole sauce: red enchilada sauce for a milder flavor profile
Equipment
- 9x13 inch ceramic baking dish
- spatula
- mixing bowl
Up next · Part 2 of 3
3 steps · 25 min of cooking · what to look for at each stage
Step-by-step instructions (Part 2)