Dinner · Part 3 of 3: Tips & recipe card
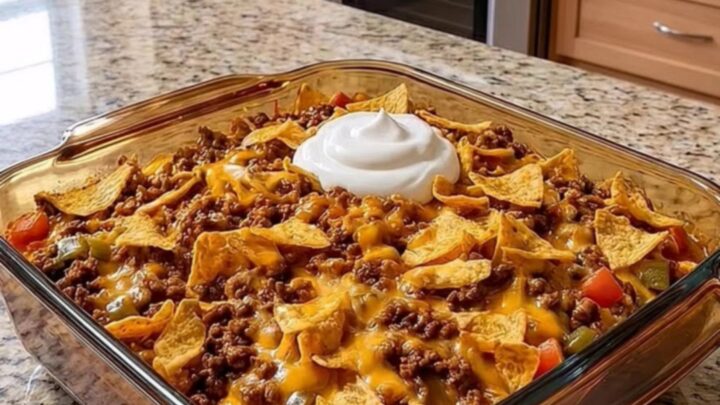
Easy Cheesy Walking Taco Bake with Crunchy Toppings Tips, FAQ & printable recipe
- Prep
- Cook
- Total
- Serves
- 6
Tips for success
To add extra depth to your taco bake, consider mixing a small amount of salsa or canned green chilies directly into the browned ground beef before layering. This adds a subtle acidity and complexity that complements the richness of the cheese. Always taste your beef after seasoning to ensure it meets your flavor preferences before transferring it to the baking dish for the final assembly.
If you are serving a larger crowd, you can easily double this recipe by using two separate baking dishes. Avoid overloading a single dish, as this can result in uneven cooking and soggy chips.
For an extra touch, you can garnish the finished casserole with fresh cilantro or diced green onions right before it hits the table, adding a pop of color and a fresh, herbaceous note to the final dish.
Variations
- Spicy Taco Bake: Add a tablespoon of diced jalapeños or a dash of hot sauce to the ground beef while browning to give the dish a pleasant, spicy kick.
- Black Bean Taco Bake: Stir in a half-cup of rinsed and drained black beans to the beef mixture for added texture and a boost of plant-based fiber in every bite.
Storage and make-ahead
- Fridge
- Store in an airtight container for up to 2 days. Reheat individual portions in the oven or microwave.
- Freezer
- Freezing is not recommended as the texture of the chips will become compromised upon thawing.
- Reheat
- Reheat in a 350°F oven for 10 minutes or until the cheese is hot and the center is warmed through.
If you have leftovers, allow the casserole to cool completely at room temperature for no more than two hours before transferring it to an airtight container. Keep the container in the refrigerator to maintain freshness.
Because the chips will soften over time due to the moisture in the beef and cheese, it is best to consume leftovers within two days for the best possible texture and flavor quality.
You can prepare the seasoned beef base up to 24 hours in advance and store it in the refrigerator. When you are ready to serve, simply layer the cold beef with the cheese and chips in your baking dish and proceed with the baking instructions. This shortcut saves significant time on busy evenings while ensuring that the final dish tastes as fresh as if you had made it entirely from scratch.
Serving ideas
When serving, use a sharp spatula to cut through the layers, ensuring each portion includes a good mix of the beef, cheese, and crunchy chips. Place each portion onto a warm plate to help keep the cheese melted and stretchy for as long as possible.
The dish is hearty enough to stand on its own, but it pairs beautifully with a simple side salad or extra lime wedges for those who enjoy a bit of brightness.
Since the sour cream is a cool topping, serve it on the side or add a dollop to each individual plate rather than baking it into the casserole. This allows guests to control their portion of the creamy element.
The contrast between the hot, savory casserole and the cool, tangy sour cream is essential to the overall experience, so ensure the sour cream is taken out of the refrigerator just before you start serving the meal.
Frequently asked questions
Can this be made ahead of time?
Why do the chips get soggy?
What is the best cheese for melting?
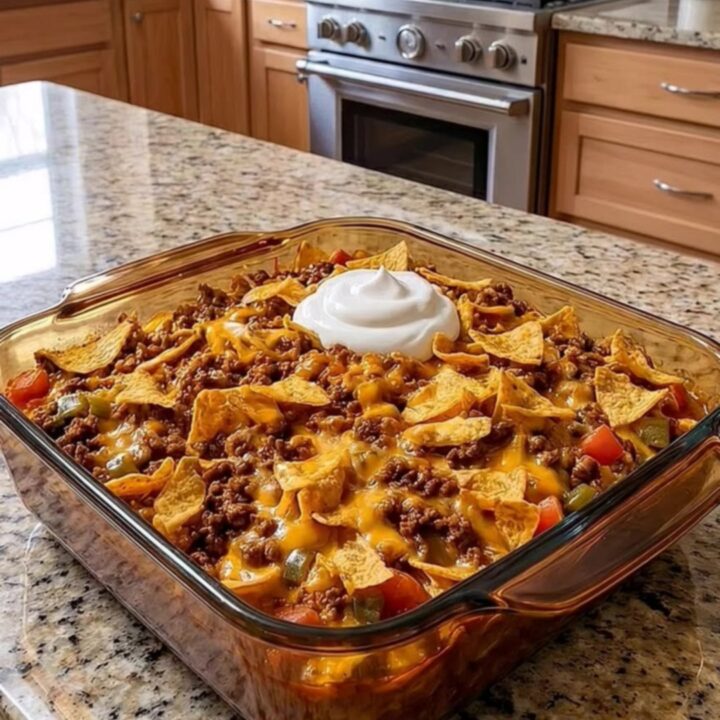
Easy Cheesy Walking Taco Bake with Crunchy Toppings
Ingredients
- 1 lb ground beef
- 2 cups shredded cheddar cheese
- 3 cups crushed tortilla chips
- 1 cup sour cream
Instructions
- Heat a large skillet over medium-high heat. Add the ground beef and cook, breaking it apart with a spatula, until fully browned. Ensure the internal temperature reaches 160°F (71°C) to confirm it is safe to eat. Drain any excess grease from the pan.
- Preheat your oven to 375°F (190°C). In a 9x13 inch casserole dish, layer the browned ground beef evenly across the bottom. Sprinkle a generous layer of shredded cheddar cheese over the meat. Top with the crushed tortilla chips, ensuring even coverage for maximum crunch.
- Place the casserole dish into the preheated oven and bake for 15 to 20 minutes, or until the cheese is bubbling and melted. Remove from the oven and let it rest for 5 minutes. Before serving, top with a generous dollop of cool sour cream to balance the heat.
Estimated nutrition per serving
- Calories
- 480
- Protein
- 28.5 g
- Carbohydrates
- 22 g
- Fat
- 31 g
- Fiber
- 2.5 g
- Sugar
- 1.5 g
- Sodium
- 650 mg
Next recipe

Chicken Cordon Bleu Stromboli with Melted Cheese
See the recipe → →This recipe is based on a short cooking video and is published under the pen name Clara Weller. It was checked before publication, but errors can slip through. Nutrition, when shown, is an estimate. Read more in our editorial policy and on our food safety page.
More recipes to try
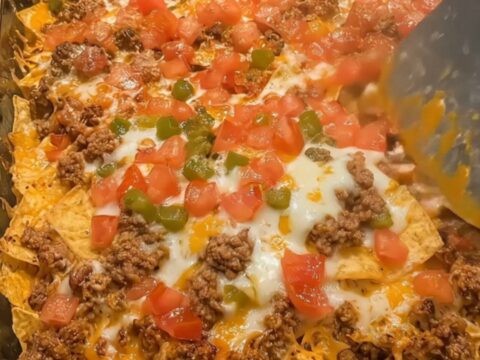
Loaded Beef Nacho Bake for Easy Weeknight Dinners
Total time: 40 min
Easy Reuben Casserole with Savory Layers
Total time: 50 min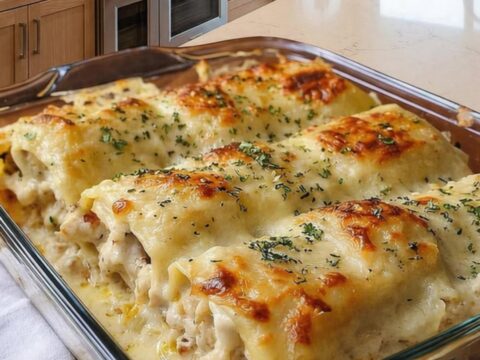
Creamy Chicken Alfredo Lasagna Rolls for a Quick Dinner
Total time: 55 min
Creamy Baked Potato Chicken and Broccoli Casserole
Total time: 1 h 15 min
Easy Reuben Crescent Bake for a Savory Weeknight Meal
Total time: 40 min