Dinner · Part 3 of 3: Tips & recipe card
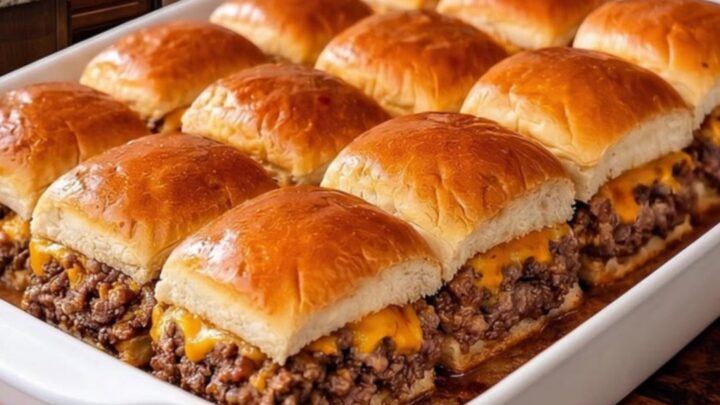
Easy Cheesy Beef Sliders for a Satisfying Meal Tips, FAQ & printable recipe
- Prep
- Cook
- Total
- Serves
- 12
Tips for success
If you prefer a bit of extra flavor, you can brush the tops of the buns with a mixture of melted butter and a sprinkle of garlic powder or dried parsley before placing them in the oven. This adds a nice savory crust to the tops of the sliders and makes them smell even more incredible.
For those who like a little kick, consider adding a thin layer of mustard or a dash of hot sauce to the buns before adding the beef.
This creates a balanced flavor profile that cuts through the richness of the cheese and the savory, seasoned beef, elevating the overall taste of the sliders.
Variations
- Bacon Cheeseburger Sliders: Add crispy, cooked bacon pieces on top of the cheese layer before closing the buns. This adds a smoky, salty crunch that pairs perfectly with the savory beef.
- Onion Cheeseburger Sliders: Sauté finely diced onions with the ground beef during the initial cooking phase. The sweetness of the onions complements the savory meat and melted cheese beautifully.
Storage and make-ahead
- Fridge
- Store in an airtight container in the refrigerator for up to 3 days.
- Freezer
- Wrap tightly in foil and place in a freezer bag for up to 1 month.
- Reheat
- Reheat in a 350°F oven until warmed through and the cheese is melted.
If you have any leftovers, allow them to cool completely within two hours before transferring them to an airtight container. Keep the container in the refrigerator to maintain freshness.
Proper storage ensures that the buns do not become overly soft or dry, allowing you to enjoy the sliders again within a reasonable timeframe.
You can prepare the beef filling a day in advance and store it in the refrigerator. When you are ready to serve, simply assemble the sliders and bake them as directed.
This is a great way to save time during busy days or when preparing for guests, ensuring you have a hot meal ready with minimal effort.
Serving ideas
Serve the sliders warm directly from the baking dish. They are best enjoyed as a standalone meal or accompanied by a simple side salad or vegetable dish. Because they are already portioned, they are easy to serve to a group, allowing everyone to grab a slider as they please.
Consider setting out a selection of condiments like ketchup, pickles, or extra mustard on the side.
This allows each individual to customize their slider to their own liking, making the meal even more interactive and enjoyable for your family or guests during a casual lunch or dinner gathering.
Frequently asked questions
Can these sliders be made ahead of time?
What is the best way to keep the buns from getting soggy?
Can these be frozen after baking?
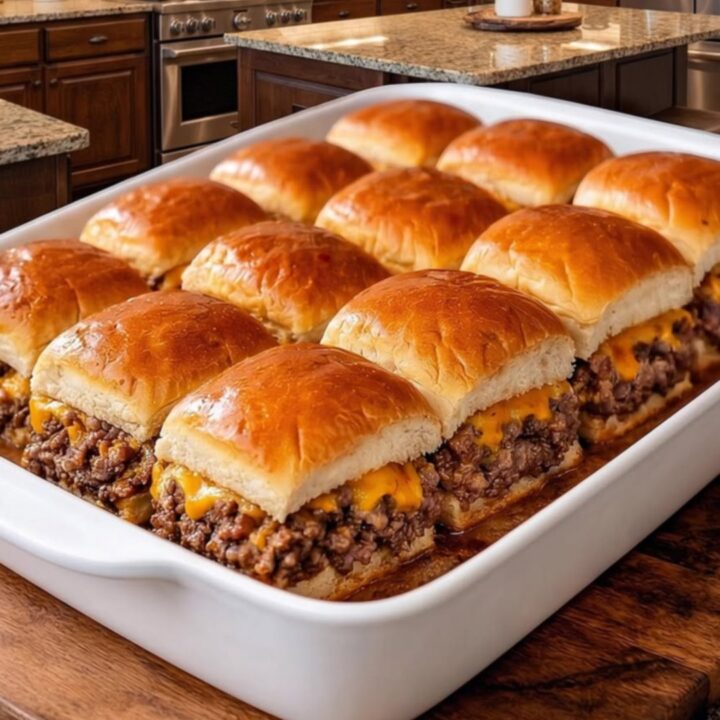
Easy Cheesy Beef Sliders for a Satisfying Meal
Ingredients
- 1 lb ground beef
- 1 tbsp all-purpose seasoning
- 12 slider buns
- 6 slices cheddar cheese
Instructions
- Heat a large skillet over medium-high heat. Add the ground beef and cook until browned, breaking it up with a spatula. Stir in the seasoning and continue to cook until the meat reaches an internal temperature of 160°F (71°C). Drain any excess fat if necessary.
- Slice the slider buns in half horizontally. Place the bottom halves into a baking dish. Spoon the cooked ground beef evenly over the buns. Layer the cheddar cheese slices on top of the beef to ensure full coverage.
- Place the top halves of the buns onto the cheese. Bake in a preheated oven at 350°F (175°C) for about 10 to 15 minutes, or until the buns are toasted and the cheese is melted and bubbling. Let the sliders rest for 5 minutes before slicing and serving warm.
Estimated nutrition per serving
- Calories
- 320
- Protein
- 18 g
- Carbohydrates
- 22 g
- Fat
- 16 g
- Fiber
- 1 g
- Sugar
- 3 g
- Sodium
- 450 mg
Next recipe
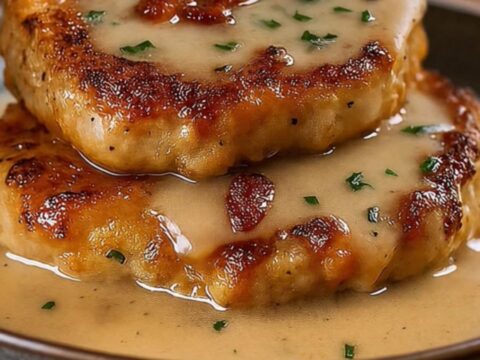
Crispy Country Fried Pork Chops with Creamy Bacon Gravy
See the recipe → →This recipe is based on a short cooking video and is published under the pen name Clara Weller. It was checked before publication, but errors can slip through. Nutrition, when shown, is an estimate. Read more in our editorial policy and on our food safety page.
More recipes to try
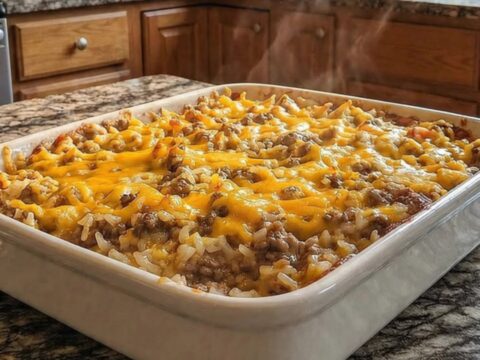
Cheesy Hamburger Rice Casserole for a Quick Dinner
Total time: 1 h
Cheesy Potato and Ground Beef Casserole
Total time: 1 h 15 min
Baked Chicken with Herb Potatoes and Green Beans
Total time: 1 h 5 min
Bacon-Wrapped Stuffed Meatloaf with Melted Cheese
Total time: 1 h 30 min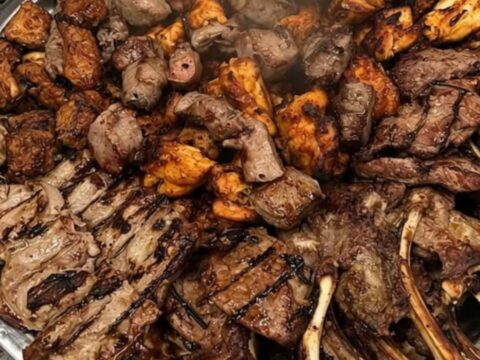
Juicy Mixed Grill Platter with Tender Lamb Chops and Kebabs
Total time: 40 min