Dinner · Part 2 of 3: Instructions
Easy Cheddar Bay Chicken Cobbler Step-by-step instructions
- Prep
- Cook
- Total
- Serves
- 6
Before you start
Before beginning, ensure that all chicken is fully cooked and shredded. Prepare the vegetables by ensuring they are clean and chopped if necessary.
Preheat the oven to the specified temperature and prepare the 9x13 inch casserole dish by lightly greasing it if desired.
Gather all measuring tools and mixing bowls to streamline the process, and ensure all ingredients are at room temperature for the best mixing results.
Ingredients at a glance (8)
- 2 lbs chicken breasts, cooked and shredded
- 1 cup frozen peas
- 1 cup carrots, sliced
- 1 cup corn kernels
- 2 cups creamy sauce, homemade or store-bought
- 2 cups biscuit mix
- 1 cup shredded cheddar cheese
- 1 tsp dried herbs
Instructions
Filling preparation
- Prepare the fillingPreheat the oven to 375°F (190°C). In a large mixing bowl, combine the shredded chicken, peas, carrots, corn, and the creamy sauce. Mix until the vegetables and chicken are evenly coated in the sauce. Pour the mixture into a 9x13 inch casserole dish and spread it into an even layer.Look for The mixture should be thoroughly combined and spread evenly in the dish.Tip Ensure the chicken is shredded into bite-sized pieces for the best texture.
The filling should be a uniform, creamy mixture where the chicken and vegetables are well-distributed. It should look moist but not overly liquid. Ensure everything is combined before transferring to the baking dish to ensure consistent flavor in every serving.
Topping application
- Prepare the biscuit toppingIn a separate bowl, combine the biscuit mix, shredded cheddar cheese, and dried herbs until a soft dough forms. Do not overmix the dough as this can make the biscuits tough. Drop spoonfuls of the biscuit dough evenly over the top of the chicken filling in the casserole dish.Look for The dough should be just combined and soft, with the cheddar cheese distributed throughout.Tip Use a large spoon to portion the dough for uniform biscuit sizes.
The dough should be thick enough to be dropped by the spoonful and hold its shape. It should look like a soft, slightly sticky biscuit dough. Ensure the cheese is evenly incorporated so that every biscuit topping has a balanced flavor profile.
Baking and finishing
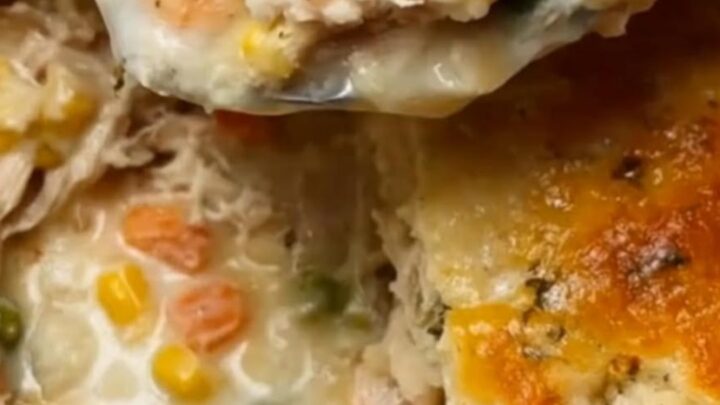
- Bake the cobblerPlace the casserole dish in the preheated oven and bake for 30 to 35 minutes, or until the biscuit topping is golden brown and the filling is bubbling hot. Ensure the internal temperature of the chicken reaches 165°F (74°C). Remove from the oven and let it rest for 5 minutes before serving to allow the sauce to set.Look for The biscuits are golden brown and the filling is bubbly.Safe temperature 165°F (74°C) internal temperature (poultry)Tip Cover loosely with foil if the biscuits brown too quickly.
The cobbler is finished when the biscuits are tall, golden, and dry on top. The filling should be hot and bubbling. Check the center to ensure the chicken is cooked through and the sauce has reached a thick, gravy-like consistency.
Common mistakes
Avoid overmixing the biscuit dough, as this develops the gluten and results in tough, dense biscuits instead of light, fluffy ones. Ensure the filling is spread evenly in the casserole dish; if the layer is too thin in some areas, the chicken may dry out.
Finally, do not rush the cooling process; allowing the cobbler to rest is crucial for the texture of the sauce and the overall structure of the dish.
How to tell it’s done
The cobbler is done when the biscuit topping is golden brown, firm to the touch, and the filling is bubbling vigorously around the edges. Use a food thermometer to verify that the internal temperature of the chicken filling has reached at least 165°F (74°C).
Allow the dish to rest for 5 minutes after removing it from the oven, which helps the sauce thicken and prevents the dish from being too runny when served.
- Poultry: 165°F (74°C) in the thickest part
Up next · Part 3 of 3
2 variations · storage & make-ahead · 3 answers · printable card
Tips, FAQ & printable recipe (Part 3)← Back to the ingredients (Part 1)