Breakfast · Part 1 of 3: Ingredients
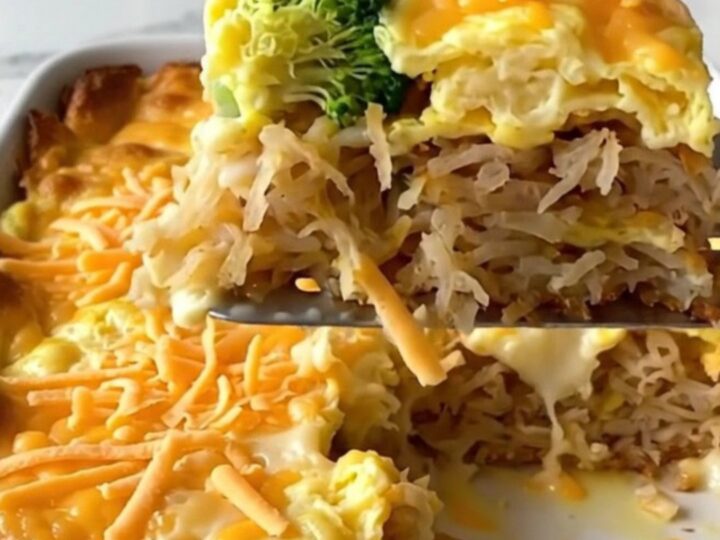
Easy Broccoli Cheddar Hash Brown Egg Bake
- Prep
- Cook
- Total
- Serves
- 6
Discover the effortless way to elevate your morning routine with this broccoli cheddar hash brown egg bake. This one-dish wonder combines hearty, crispy potatoes, fresh broccoli, and savory cheese into a comforting meal that requires minimal preparation.
It is an ideal solution for those who want a hot, delicious breakfast without spending their entire morning in the kitchen. Simply layer, pour, and bake your way to a perfect start to the day.
The beauty of this breakfast bake lies in its simplicity and the way it brings together classic comfort food ingredients. By using pre-shredded hash browns and fresh broccoli, you eliminate the need for complex prep work, allowing the oven to do most of the heavy lifting.
The eggs provide a fluffy foundation that holds everything together, while the sharp cheddar adds a bold, melted finish that creates a golden, bubbling crust. It is a reliable dish that works just as well for a slow weekend brunch as it does for a quick family meal, offering a balance of textures and flavors that satisfy every palate.
Ingredients
- 4 cups shredded hash brown potatoes
- 2 cups broccoli florets, cut into small pieces
- 8 large eggs, beaten
- 1/2 cup whole milk
- 2 cups sharp cheddar cheese, shredded
Why this recipe works
The method of layering the hash browns and broccoli first allows the potatoes to crisp slightly at the bottom while the broccoli softens in the egg bath.
Because the ingredients are arranged in a single layer, heat circulates efficiently, ensuring the eggs cook evenly throughout the entire dish. This approach prevents the common issue of a soggy middle while maintaining a delightful contrast between the fluffy egg and the crispy edges.
Pouring the beaten egg mixture over the solid components allows the liquid to penetrate the layers, binding the hash browns and broccoli into a cohesive bake. This technique creates a structured, sliceable square that is easy to serve.
The addition of sharp cheddar at the end provides a protective layer that browns beautifully while keeping the interior moist and tender, resulting in a perfectly baked breakfast every single time you prepare it.
Notes and substitutions
For the best results, use fresh broccoli florets cut into small, even pieces. If using frozen broccoli, be sure to thaw and pat it completely dry with paper towels to avoid adding excess moisture to the bake, which could prevent the eggs from setting properly. Sharp cheddar is recommended for its robust flavor, but you can experiment with other meltable cheeses like Colby Jack or Gruyere if desired.
The choice of baking dish is important; a 9x13 inch ceramic dish is ideal for providing even heat distribution and a professional finish. If you only have glass, keep in mind it may take a few minutes longer to heat up. Always ensure your eggs are at room temperature before whisking, as this helps them incorporate more easily with the milk, resulting in a smoother, more uniform custard texture throughout the final bake.
- whole milk: half-and-half or heavy cream for a richer texture
- sharp cheddar: mild cheddar, Monterey Jack, or a blend of cheeses
Equipment
- 9x13 inch ceramic baking dish
- mixing bowl
- whisk
- spatula
Up next · Part 2 of 3
3 steps · 35 min of cooking · what to look for at each stage
Step-by-step instructions (Part 2)