Dinner · Part 1 of 3: Ingredients
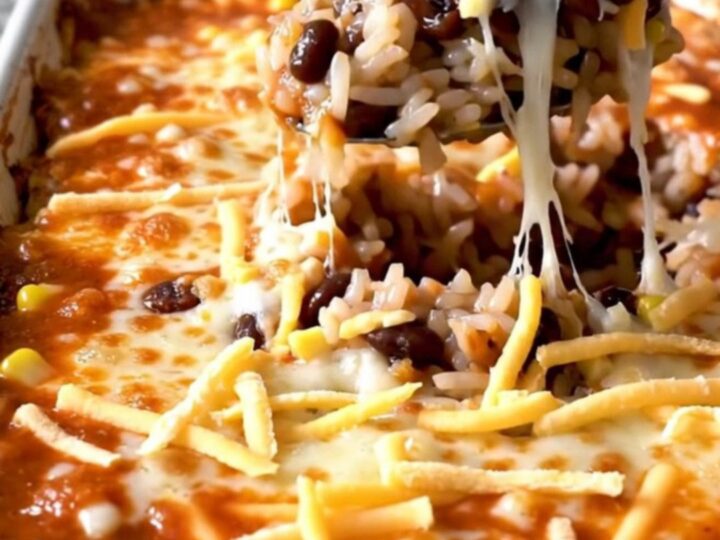
Easy Black Bean Enchilada Rice Bake
- Prep
- Cook
- Total
- Serves
- 6
This black bean enchilada rice bake is a masterclass in simplicity, proving that minimal effort can result in a truly satisfying, cohesive meal for the whole family. By layering raw ingredients directly into the baking dish, the rice absorbs all the savory, spiced flavors of the enchilada sauce as it cooks, creating a texture that is both tender and flavorful. It is an ideal solution for those evenings when time is short but the desire for a warm, comforting dinner remains high.
The beauty of this dish lies in its straightforward assembly, which eliminates the need for precooking components or managing multiple pots on the stove. This recipe relies on the oven to perform the dual task of cooking the rice and melding the ingredients together.
With the combination of black beans, zesty enchilada sauce, and a generous topping of melted cheese, it provides a hearty meal that requires nothing more than a quick assembly and a stint in the oven. The result is a bubbling, cheesy casserole that serves as a perfect main course.
Ingredients
base
- 2 cups long-grain white rice, uncooked
- 15 oz black beans, rinsed and drained
sauce
- 20 oz enchilada sauce with corn
topping
- 2 cups shredded Mexican-blend cheese
Why this recipe works
The method of baking uncooked rice directly with liquid is highly efficient because it allows the grains to steam in the flavor-packed enchilada sauce. As the sauce heats up, it releases its spices and corn content, which the rice absorbs fully, ensuring that every bite is seasoned throughout. This process also ensures that the starch from the rice helps thicken the sauce, resulting in a cohesive, casserole-like consistency rather than a soupier dish.
Additionally, the direct-bake technique simplifies cleanup significantly, as only the baking dish is required for the entire cooking process. Because the ingredients are layered rather than stirred, the integrity of each component is maintained.
The black beans remain distinct, the corn adds texture, and the cheese creates a protective layer on top that keeps the moisture inside, preventing the rice from drying out during the extended baking time required for the grains to become perfectly tender.
Notes and substitutions
For the best results, use a standard long-grain white rice. Avoid using instant or minute rice, as these will become mushy long before the sauce and beans have reached the proper consistency.
If using brown rice, note that the cooking time will need to be significantly increased, and additional liquid, such as vegetable broth, may be necessary to ensure the grains hydrate properly. The enchilada sauce should be a standard red variety, though green sauce can be used if a tangier flavor profile is desired.
When selecting a baking dish, ensure it is deep enough to prevent the liquid from bubbling over during the intense heat of the oven. A standard 9x13 inch ceramic or glass dish is ideal.
If the cheese begins to brown too quickly before the rice is fully cooked, cover the top of the dish loosely with aluminum foil for the remainder of the cooking time. The cheese can be substituted with other melting varieties like pepper jack or sharp cheddar depending on the preferred level of spice and creaminess.
- long-grain white rice: brown rice requires a longer cooking time and more liquid
- Mexican-blend cheese: shredded cheddar or Monterey Jack cheese
Equipment
- 9x13 inch rectangular baking dish
- measuring cups
- serving spoon
Up next · Part 2 of 3
3 steps · 45 min of cooking · what to look for at each stage
Step-by-step instructions (Part 2)