Dinner · Part 3 of 3: Tips & recipe card
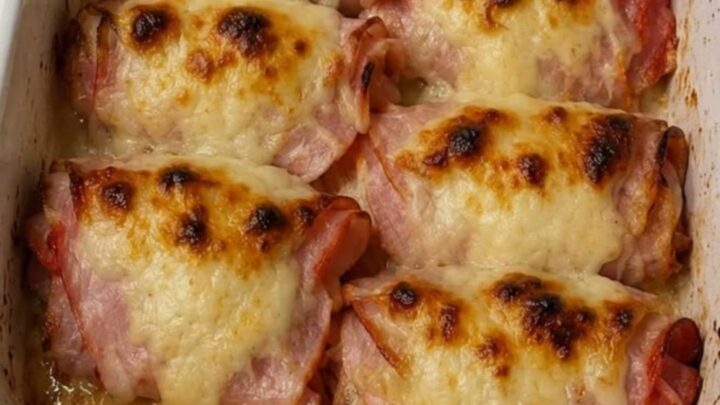
Easy Baked Ham and Cheese Rolls for Quick Meals Tips, FAQ & printable recipe
- Prep
- Cook
- Total
- Serves
- 6
Tips for success
To add a touch of flavor, consider brushing the tops of the rolls with a little melted butter mixed with garlic powder or dried herbs before placing them in the oven. This creates a savory, fragrant crust that enhances the overall experience of the dish. You can also experiment with different types of deli meats or cheeses to customize the rolls to your preference, making this a versatile recipe that can be adapted to suit various tastes and occasions.
If the rolls are being served to a crowd, keep them in the baking dish to retain their warmth for as long as possible. Providing a small spatula makes it easier for guests to serve themselves without the rolls falling apart or losing their cheesy filling. Serving them directly from the oven-safe dish adds a rustic and inviting touch to the table, making it a great option for casual gatherings or family meals where comfort and ease are the top priorities.
Variations
- Spicy Ham and Cheese: Add a thin slice of pickled jalapeño or a dash of hot sauce to each roll before adding the cheese for a spicy kick.
- Herbed Butter Topping: Mix melted butter with finely chopped fresh parsley or chives and brush it over the tops of the rolls before baking for added aromatics.
Storage and make-ahead
- Fridge
- Store in an airtight container for up to 3 days in the refrigerator.
- Freezer
- Wrap individually in plastic wrap and store in a freezer bag for up to 1 month.
- Reheat
- Reheat in a 350°F (175°C) oven until warmed through, or use a microwave for 30 seconds.
If there are leftovers, allow them to cool completely at room temperature for no more than two hours. Once cooled, place them in an airtight container to maintain their freshness. Storing them correctly prevents the bread from becoming stale or absorbing other odors in the refrigerator.
Proper storage is key to ensuring that the rolls remain as delicious as possible for the next day, allowing you to enjoy them again with just a quick reheat in the oven or microwave.
These rolls can be assembled in the baking dish up to two hours before baking. Cover the dish tightly with plastic wrap and keep it in a cool place or the refrigerator. When ready to bake, remove the plastic wrap and place the dish directly into the preheated oven.
This make-ahead method is perfect for planning meals in advance, saving you time during busy days while still providing a fresh, hot, and satisfying meal that tastes as if it were just prepared.
Serving ideas
Serve the rolls while they are still warm to enjoy the best texture and the gooey, melted quality of the cheese. They pair exceptionally well with a side of fresh vegetable sticks, a crisp green salad, or a bowl of warm soup for a complete and satisfying spread.
The contrast between the warm, cheesy rolls and a cool, crunchy side dish creates an appealing combination that is sure to please everyone at the table, making it a great choice for any lunch or dinner.
For a more casual presentation, place the baking dish directly on the table on a heat-proof mat. This allows everyone to grab a roll as needed. Ensure there are enough napkins available, as the melted cheese can be quite warm and soft when first served.
This informal style of serving encourages a relaxed atmosphere, making the meal feel more approachable and enjoyable for friends and family alike, especially when sharing a batch of these delicious, warm, and cheesy rolls.
Frequently asked questions
Can these rolls be made ahead of time?
What type of cheese works best for this recipe?
How can the bread be kept from getting too crispy?
Easy Baked Ham and Cheese Rolls for Quick Meals

Ingredients
- 6 dinner rolls, split horizontally
- 6 slices deli ham
- 1 cup shredded mozzarella cheese
Instructions
- Preheat the oven to 350°F (175°C). Cut the dinner rolls horizontally to create top and bottom halves. Arrange the bottom halves of the rolls inside a ceramic baking dish to ensure they fit snugly for even heating.
- Layer the slices of deli ham onto the bottom halves of the rolls. Follow this by generously sprinkling the shredded mozzarella cheese over the ham. Place the top halves of the rolls over the cheese layer to close the sandwiches securely.
- Place the baking dish in the preheated oven and bake for 15 to 20 minutes, or until the rolls are golden brown and the cheese is thoroughly melted and bubbly. Remove from the oven and let them rest for 5 minutes before serving warm.
Estimated nutrition per serving
- Calories
- 280
- Protein
- 12.5 g
- Carbohydrates
- 28 g
- Fat
- 13 g
- Fiber
- 1.2 g
- Sugar
- 3.5 g
- Sodium
- 650 mg
Next recipe

Classic Cafeteria Style Sausage Sheet Pan Pizza
See the recipe → →This recipe is based on a short cooking video and is published under the pen name Clara Weller. It was checked before publication, but errors can slip through. Nutrition, when shown, is an estimate. Read more in our editorial policy and on our food safety page.
More recipes to try

Classic Garlic Herb Prime Rib Roast for Special Occasions
Total time: 3 h 5 min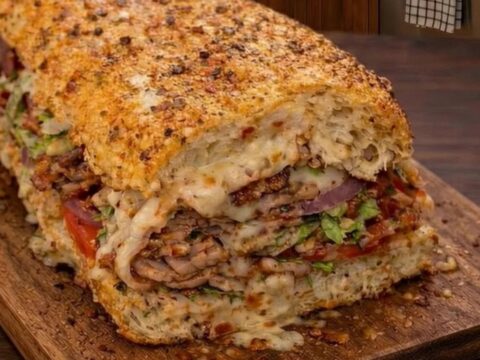
Italian Loaded Cheese Melt Sandwich for an Easy Meal
Total time: 25 min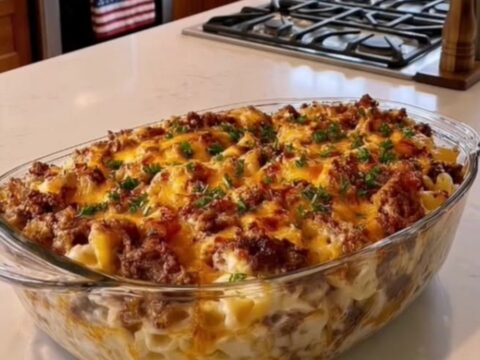
Creamy Beef and Macaroni Casserole for a Comforting Meal
Total time: 50 min
Creamy Garlic Butter Steak with Roasted Vegetables
Total time: 45 min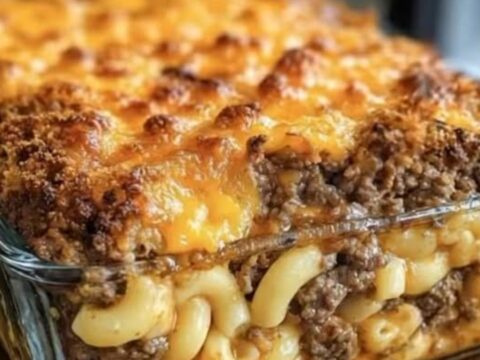
Cheesy Mac and Cheese Meatloaf Casserole
Total time: 1 h 20 min