Appetizers · Part 3 of 3: Tips & recipe card
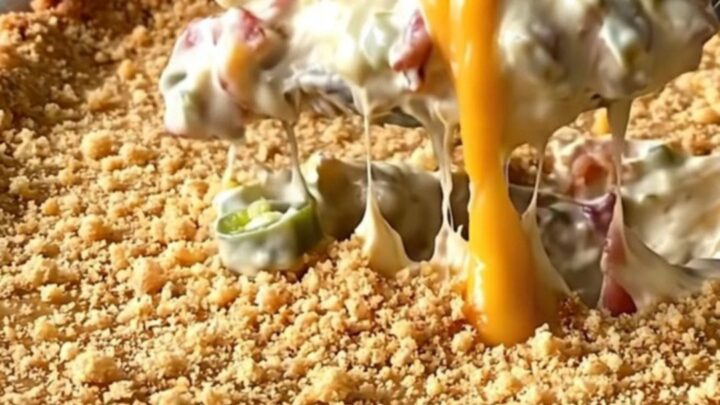
Easy Bacon Jalapeno Popper Dip Bake Tips, FAQ & printable recipe
- Prep
- Cook
- Total
- Serves
- 8
Tips for success
To add extra depth to the flavor, consider stirring a small amount of garlic powder or onion powder into the cheddar sour cream mixture before spreading it over the dip.
This small addition enhances the savory notes without overpowering the natural taste of the bacon and jalapenos. Always use fresh jalapenos instead of pickled ones, as the fresh peppers provide a crisp texture and a cleaner heat that holds up better during the baking process.
If the cracker crust begins to brown too quickly before the center of the dip is fully heated, loosely cover the baking dish with a piece of aluminum foil for the remainder of the cooking time.
This simple trick allows the dip to reach the desired serving temperature without risking a burnt or bitter crust. Always serve with a variety of sturdy dippers, such as tortilla chips, fresh celery sticks, or additional crackers, to provide different textures for the guests.
Variations
- Spicy Version: Add a few dashes of your favorite hot sauce to the cream cheese base or stir in some diced serrano peppers along with the jalapenos for an extra kick of heat.
- Herb-Infused: Mix a tablespoon of fresh chopped chives or green onions into the cheddar sour cream mixture to provide a bright, fresh herbal note that cuts through the rich cheese.
Storage and make-ahead
- Fridge
- Store in an airtight container in the refrigerator for up to 3 days. Ensure the dip has cooled for no more than 2 hours before refrigerating.
- Freezer
- Freezing is not recommended as the cream cheese and sour cream base will likely separate and lose its smooth texture upon thawing.
- Reheat
- Reheat in a preheated oven at 350°F (175°C) for 10-15 minutes until heated through. Add a fresh layer of cracker crumbs if desired for added crunch.
If any dip remains, allow it to cool completely for no more than 2 hours before transferring it to an airtight container. Keep the container in the refrigerator to maintain freshness. It is best to consume the leftovers within 2 to 3 days. Note that the texture of the cracker crust may soften significantly after being stored in the refrigerator, so it is recommended to refresh the top with new crackers if reheating for a second serving.
The dip can be assembled up to 24 hours in advance and stored in the refrigerator, covered tightly with plastic wrap. When ready to serve, remove the dish from the refrigerator and let it sit on the counter for about 20 minutes to take the chill off before placing it into the preheated oven.
Add the cracker topping just before baking to ensure it remains as crispy as possible rather than absorbing moisture from the dip while sitting in the fridge.
Serving ideas
Serve this dip immediately while it is still hot and bubbling for the best experience. Place the baking dish on a heat-resistant trivet in the center of the table, surrounded by an assortment of dipping options.
Providing a mix of salty chips and fresh, crunchy vegetables like celery or bell pepper strips offers a nice contrast to the richness of the cheese dip, allowing guests to choose their preferred vessel for enjoying the creamy, spicy, and savory mixture.
When serving, use a large, sturdy spoon to ensure that guests can easily scoop through the crispy crust and reach the creamy, cheesy base in one motion. If the dip is being served at a large party, consider placing the baking dish on a warming tray to keep it at an optimal temperature for a longer period. Remind guests that the dish will be hot, and ensure that plenty of napkins are available for the indulgent, cheesy experience.
Frequently asked questions
Can this dip be made ahead of time?
What is the best way to reheat leftovers?
Why did the dip become oily after baking?
Easy Bacon Jalapeno Popper Dip Bake
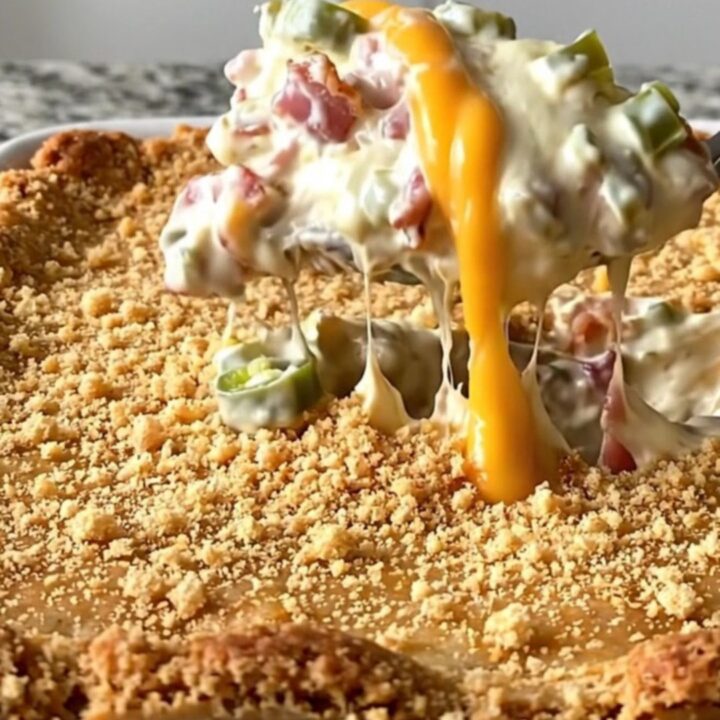
Ingredients
- 16 oz cream cheese, softened
- 3 whole jalapeno peppers, seeded and diced
- 8 slices bacon, cooked and crumbled
- 1 cup cheddar sour cream mixture
- 1 cup buttery cracker crumbs
Instructions
- Spread the softened cream cheese evenly across the bottom of a 9x13 inch ceramic baking dish. Sprinkle the diced jalapenos and half of the crumbled bacon over the cream cheese layer, pressing down gently to incorporate the flavors into the base.
- Spoon the cheddar sour cream mixture over the cream cheese and jalapeno layer, smoothing it out with a spatula. Sprinkle the buttery cracker crumbs and the remaining crumbled bacon over the top to create a textured, golden crust once baked.
- Preheat the oven to 350°F (175°C). Place the baking dish in the center of the oven and bake for 20 minutes, or until the edges are bubbling and the cracker crust has turned a golden brown color. Remove from the oven and let rest for 5 minutes before serving.
Estimated nutrition per serving
- Calories
- 320
- Protein
- 8.5 g
- Carbohydrates
- 12 g
- Fat
- 26 g
- Fiber
- 0.5 g
- Sugar
- 3 g
- Sodium
- 450 mg
Next recipe

Cranberry Brie Crescent Bake for Quick Appetizers
See the recipe → →This recipe is based on a short cooking video and is published under the pen name Clara Weller. It was checked before publication, but errors can slip through. Nutrition, when shown, is an estimate. Read more in our editorial policy and on our food safety page.
More recipes to try
Creamy Sausage Stuffed Mushroom Dip for Easy Entertaining
Total time: 2 h 15 min
Crockpot Pineapple Jalapeno Kielbasa Bites
Total time: 3 h 5 min
Easy Garlic Parmesan Snack Mix
Total time: 25 min
Easy Slow Cooker Black Bean Queso Dip
Total time: 1 h 40 min
Slow Cooker Buffalo Mini Smoked Sausages
Total time: 2 h 5 min