Desserts · Part 2 of 3: Instructions
Decadent Three-Layer Black Velvet Chocolate Cake Step-by-step instructions
- Prep
- Cook
- Total
- Serves
- 12
Before you start
Before beginning the assembly, ensure all components are at the correct temperature. The sponge layers must be completely room temperature or slightly chilled to prevent the frosting from softening.
Prepare your workspace by gathering an offset spatula, a sharp chef knife, and a clean cake stand. If the kitchen is warm, consider chilling the frosted cake for a few minutes before applying the final ganache to ensure the glaze sets quickly and maintains its beautiful, glossy drip appearance.
Ingredients at a glance (3)
- 3 layers chocolate sponge cake, store-bought or made ahead
- 2 cups chocolate frosting, store-bought or made ahead
- 1 cup dark chocolate ganache, store-bought or made ahead
Instructions
Layering the sponge
- Prepare the sponge layersPlace the first chocolate sponge layer on your cake stand or serving plate. Using an offset spatula, spread a generous, even layer of chocolate frosting across the surface of the sponge. Repeat this process with the second layer, stacking it carefully and ensuring the frosting is level.Look for The frosting should reach the edges of the cake layers evenly.Tip Ensure the sponge layers are completely cooled before frosting to prevent the cream from melting.
The layers should be evenly stacked with a consistent thickness of frosting between each. Ensure the cake is stable and the sides are relatively straight before proceeding to the next step of the assembly. The frosting should be applied with care to avoid crumbs mixing into the cream, which helps maintain a clean look for the final cake.
Frosting the exterior
- Stack and frost the exteriorPlace the final sponge layer on top. Apply the remaining chocolate frosting over the top and sides of the entire cake. Smooth the exterior with your spatula to create a polished, clean finish before adding the final ganache layer.Look for The cake should be fully coated in a smooth layer of frosting.Tip Use a warm, clean spatula to smooth the frosting for a professional appearance.
The entire cake should be covered in a smooth, even layer of frosting. There should be no visible gaps, and the surface should be prepared for the final ganache application by being as level as possible.
A smooth exterior is crucial for the ganache to flow evenly and create that signature glossy, professional finish that characterizes this decadent dessert.
Glazing and slicing
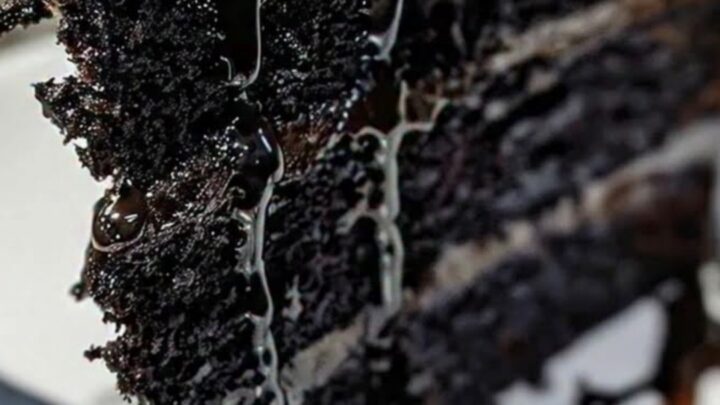
- Apply ganache and servePour the dark chocolate ganache over the top of the chilled cake, allowing it to drip naturally down the sides. Let it set for at least 20 minutes before using a warm chef knife to slice the cake neatly into portions for serving. If the ganache contains egg-based custard, ensure it is cooked to 160°F (71°C) during preparation.Look for The ganache should have a glossy, mirror-like finish as it sets.Safe temperature 160°F (71°C) internal temperature (egg dishes)Tip Wipe the knife blade with a clean cloth between each cut for the cleanest presentation.
The ganache should have a mirror-like finish and have set enough to stay in place. The slices should be clean, with no smearing of the frosting or ganache between the distinct sponge layers. Check that the ganache is firm enough to hold its shape but soft enough to cut through, and ensure the internal temperature of any egg-based custard is 160°F (71°C).
Common mistakes
Avoid rushing the assembly process by applying frosting to warm sponge layers, as this will cause the filling to slide and the layers to become unstable. Additionally, do not skip the chilling phase for the ganache, as a glaze that is too warm will run off the cake entirely instead of creating the desired elegant drip effect.
Always use a clean, warm knife for every slice to maintain the visual quality of the cake, as a dirty or cold knife will drag through the layers and ruin the presentation.
How to tell it’s done
The cake is considered finished when the ganache has cooled and set to a firm yet silky consistency. When slicing, the knife should pass through the cake with minimal resistance, creating clean lines that showcase the distinct layers.
The ganache should remain glossy and should not be runny, indicating it has reached the ideal temperature and viscosity for serving. For any egg-based components within the ganache, confirm the internal temperature has reached 160°F (71°C) to ensure it is cooked through and safe for consumption.
- Egg dishes: 160°F (71°C) in the thickest part
Up next · Part 3 of 3
2 variations · storage & make-ahead · 3 answers · printable card
Tips, FAQ & printable recipe (Part 3)← Back to the ingredients (Part 1)