Desserts · Part 1 of 3: Ingredients
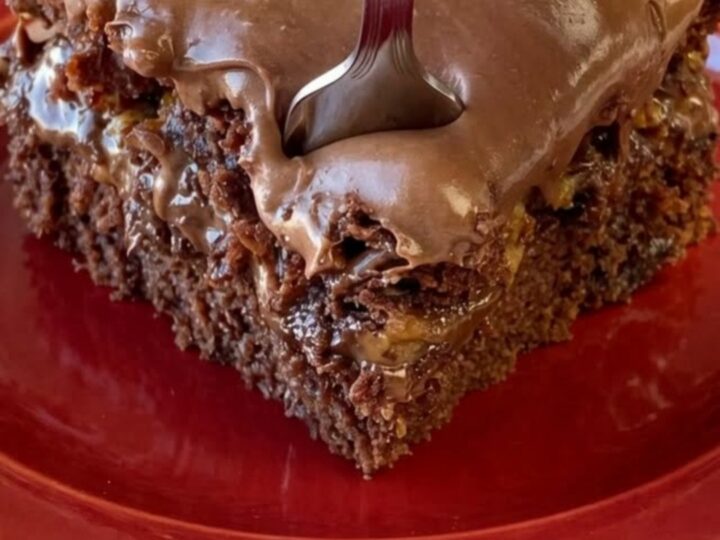
Decadent Sugar-Free Turtle Cake with Pecans
- Prep
- Cook
- Total
- Serves
- 12
Discover a decadent dessert that delivers pure chocolate satisfaction without the sugar. This sugar-free turtle cake combines a rich, moist sponge with layers of gooey, buttery caramel and toasted pecans for a sophisticated treat that feels indulgent yet remains balanced.
Perfect for gatherings or a quiet evening at home, this recipe proves that classic flavors can be recreated beautifully using alternative ingredients while maintaining the texture and depth that makes turtle cake a timeless favorite among dessert lovers everywhere.
The magic of this turtle cake lies in the balance between the fudgy chocolate base and the intense, sticky sweetness of the sugar-free caramel. By layering these components, each bite provides a complex contrast of textures, from the crunch of toasted pecans to the velvety smoothness of the chocolate frosting.
This recipe is designed to be accessible for any home baker, utilizing simple techniques to achieve a professional-looking result that will impress guests. Whether served at a dinner party or enjoyed as a weekend indulgence, this dessert offers a refined experience that satisfies the deepest chocolate cravings.
Ingredients
Cake
- 1 box sugar-free chocolate cake mix, prepared according to package directions
Filling
- 1 cup sugar-free caramel sauce
- 1 cup chopped pecans
Frosting
- 1 cup sugar-free chocolate frosting
Why this recipe works
The method relies on cooling the cake completely before assembly to maintain the structural integrity of the layers. By creating a stable foundation, the heavy caramel and pecan filling stay tucked inside the cake, ensuring each slice maintains its distinct layers when lifted onto a plate. This attention to temperature control during the assembly phase is the secret to achieving that professional look.
Using a high-quality sugar-free chocolate cake mix provides a consistent, reliable base that replicates the texture of a traditional flour-based cake. When paired with a thick, reduced sugar-free caramel, the moisture levels remain optimal, preventing the dessert from becoming dry.
The addition of pecans introduces a necessary element of crunch that cuts through the richness, balancing the overall flavor profile of the final dish effectively.
Notes and substitutions
When selecting a sugar-free chocolate cake mix, look for options that use high-quality cocoa powder to ensure a deep chocolate flavor. If the chosen mix requires additional ingredients like eggs or butter, follow the package instructions precisely to ensure the final sponge has the correct crumb density. This consistency is vital for supporting the weight of the caramel and nut layers without collapsing.
The choice of equipment, particularly the offset spatula, is crucial for achieving a smooth frosting finish. The metal spatula allows for precise control when spreading the chocolate topping, ensuring an even distribution that covers the entire surface.
If a square pan is not available, a round pan can be used, though the assembly steps will need to be adjusted to accommodate the different shape and layering process.
- pecans: chopped walnuts or toasted almonds for a different crunch
- sugar-free caramel sauce: a homemade reduction of sugar-free maple syrup and heavy cream
Equipment
- 9-inch square baking dish
- mixing bowl
- offset spatula
- serrated knife
- wire cooling rack
Up next · Part 2 of 3
3 steps · 40 min of cooking · what to look for at each stage
Step-by-step instructions (Part 2)