Dinner · Part 3 of 3: Tips & recipe card
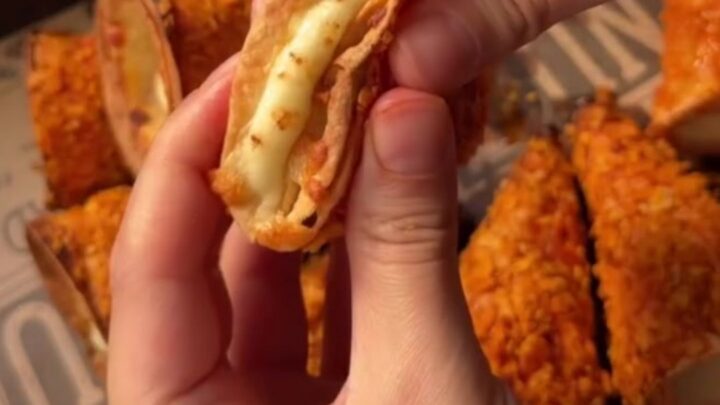
Crunchy Nacho Cheese Stuffed Cones Tips, FAQ & printable recipe
- Prep
- Cook
- Total
- Serves
- 4
Tips for success
For the crunchiest crust, use finely crushed nacho chips and press them firmly onto the ketchup glaze. The ketchup should be spread thinly but evenly; too much can make the coating soggy.
Bake the cones on a lower oven rack to encourage browning on the bottom. If you have time, chill the coated cones for 10 minutes before baking—this helps the crust adhere better.
To make the beef filling more flavorful, season it with a pinch of chili powder, cumin, or garlic powder, but keep it simple if you prefer a classic taste.
The ketchup glaze can be brushed on generously for a tangier result. For a spicier kick, mix a few drops of hot sauce into the ketchup before brushing. Always serve the cones hot—they lose their crunch as they cool.
Variations
- Chicken Fajita Cones: Swap the ground beef for cooked, shredded chicken mixed with sautéed peppers and onions. Use a sprinkle of fajita seasoning in the filling. The rest of the method stays the same.
- Veggie Black Bean Cones: Replace the beef with a mixture of black beans, corn, and diced bell peppers. Add a pinch of cumin and chili powder for depth. The cheese can be omitted for a dairy-free version.
- Spicy Chorizo Cones: Use fresh chorizo sausage instead of ground beef, cooking it until browned and crumbled. The spicy, seasoned meat pairs well with the cool, melted mozzarella.
- Breakfast Cones: Fill the cones with scrambled eggs, cooked breakfast sausage, and shredded cheddar. Bake until the cheese melts, and serve with a drizzle of hot sauce.
Storage and make-ahead
- Fridge
- Store leftover cones in an airtight container in the refrigerator for up to 2 days. Reheat in the oven to restore crispness.
- Freezer
- Freeze baked cones on a baking sheet until solid, then transfer to a freezer bag for up to 1 month. Reheat from frozen at 350°F (175°C) for 10-12 minutes.
- Reheat
- Reheat frozen cones in a 350°F (175°C) oven for 10-12 minutes, or until hot and crispy. Avoid the microwave.
Leftover cones can be stored in an airtight container in the refrigerator for up to 2 days. To reheat, place them on a baking sheet in a 350°F (175°C) oven for 5 to 7 minutes, or until heated through and crispy.
Avoid microwaving, as it makes the crust soft. The filling can also be stored separately and used to make tacos or nachos.
The cones can be assembled up to 4 hours ahead: shape, coat, and fill them, then cover and refrigerate. Bake just before serving, adding a couple of minutes to the cooking time if starting from cold. The ground beef can also be cooked a day ahead and refrigerated; reheat it briefly before filling the cones.
Serving ideas
Serve the cones hot, right after baking, with extra crushed chips on the side. They are perfect as a main course for a casual dinner, or as a fun appetizer for a party.
To eat, hold the cone like an ice cream cone and bite into the crunchy crust, or pull it apart to enjoy the cheesy center. Pair with a simple green salad or a bowl of salsa for dipping.
These cones are best enjoyed immediately, but they can be cut in half for smaller portions. If serving a crowd, make a double batch and arrange them on a platter with ramekins of sour cream, guacamole, or pico de gallo. The contrast of textures—crunchy, gooey, and savory—makes them an instant favorite.
Frequently asked questions
Can these cones be made ahead and baked later?
Why do the cones fall apart during baking?
Can the ketchup glaze be substituted?
What is the best way to reheat leftover cones?
Can the ground beef be replaced with a plant-based alternative?
Crunchy Nacho Cheese Stuffed Cones

Ingredients
- 4 large flour tortillas
- 1/4 cup ketchup
- 2 cups crushed nacho tortilla chips
- 1 1/2 cups shredded mozzarella cheese
- 1/2 lb ground beef
- 8 toothpicks
Instructions
- Roll each tortilla half into a cone shape, overlapping the edges to form a tight horn. Secure each cone with toothpicks along the seam. Brush the outside of each cone with ketchup, then press the coated cones into crushed nacho tortilla chips until the entire surface is covered. Place the coated cones on a baking sheet.
- In a skillet over medium heat, cook the ground beef, breaking it into small crumbles, until browned and cooked through, about 5 to 7 minutes. Drain any excess fat. Season lightly with salt and pepper if desired. Set aside to cool slightly.
- Stand the coated cones upright in a baking dish. Layer the shredded mozzarella and the cooked ground beef inside each cone, starting with a layer of cheese, then beef, then more cheese. Press the filling gently to pack it in.
- Place the baking dish in an oven preheated to 375°F (190°C). Bake for 10 to 12 minutes, until the cheese is fully melted and the cone edges are deep golden brown and crispy.
- Remove the baking dish from the oven and let the cones rest for 2 minutes. Carefully remove the toothpicks. Pull one cone apart to show the molten cheese stretch, then serve hot.
Estimated nutrition per serving
- Calories
- 520
- Protein
- 25 g
- Carbohydrates
- 48 g
- Fat
- 26 g
Next recipe

Crispy Doritos-Crusted Beef Cones
See the recipe → →This recipe is based on a short cooking video and is published under the pen name Clara Weller. It was checked before publication, but errors can slip through. Nutrition, when shown, is an estimate. Read more in our editorial policy and on our food safety page.
More recipes to try
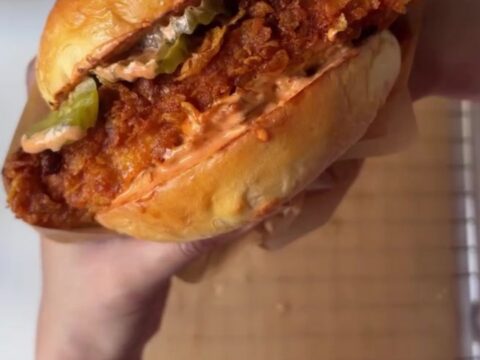
Crispy Fried Chicken Sandwich with Spicy Mayo
Total time: 35 min
Crispy Potato Veggie Patties with Spicy Kewpie Sauce
Total time: 32 min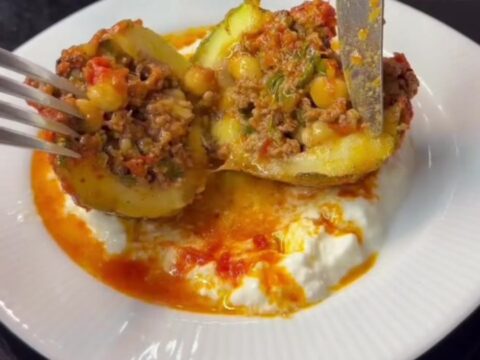
Stuffed Round Zucchini with Beef and Chickpeas
Total time: 1 h 10 min
Honeycomb Turkish Manti Dumplings with Garlic Yogurt and Sizzling Paprika Butter
Total time: 1 h 5 min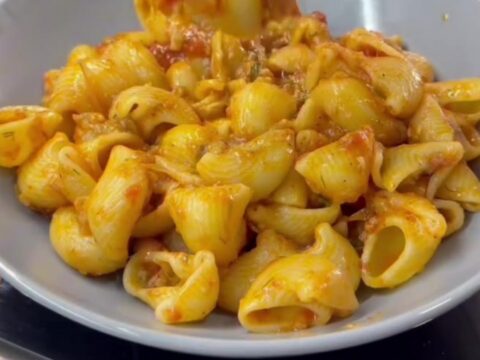
Roasted Vegetable Pipe Rigate Pasta with Melted Cheese
Total time: 45 min