Dinner · Part 1 of 3: Ingredients
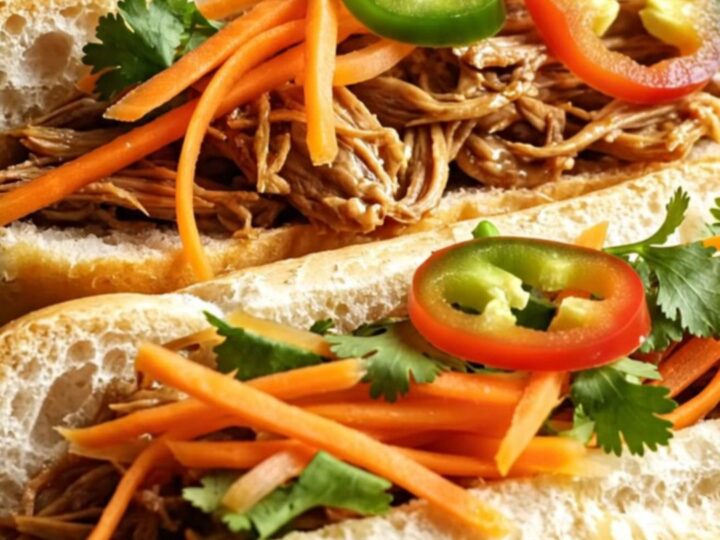
Crockpot Vietnamese Lemongrass Caramel Pulled Pork
- Prep
- Cook
- Total
- Serves
- 8
Elevate your weeknight dinner with this aromatic and deeply flavorful Vietnamese-inspired pulled pork. By combining the slow-cooker convenience with the complex, sweet-and-savory profile of traditional caramel pork, this dish delivers a sophisticated culinary experience that is surprisingly simple to assemble.
Whether you are prepping for a crowd or looking for a delicious meal-prep option, this recipe promises consistent, mouthwatering results that will leave everyone at the table asking for seconds every single time.
Vietnamese caramel pork, or Thit Kho, is a beloved classic known for its perfect balance of savory fish sauce and rich, caramelized sugar. By adapting this technique for the slow cooker, the method achieves a tender, fall-apart texture that is ideal for stuffing into crusty French baguettes.
The infusion of fragrant lemongrass and the subtle sweetness of coconut water create a bright, aromatic profile that cuts through the richness of the pork, making every bite a complex and satisfying exploration of texture and flavor.
Ingredients
Main
- 4 lb pork shoulder
Aromatics
- 3 stalks lemongrass stalks, bruised
Sauce
- 1/3 cup dark amber caramel sauce
- 1/4 cup fish sauce
Aromatics
- 6 cloves garlic cloves, smashed
Liquid
- 1 cup fresh coconut water
Serving
- crusty French banh mi baguettes, for serving
- pickled daikon-carrot ribbons, for serving
- fresh cilantro, for serving
- fresh jalapenos, for serving
Why this recipe works
The slow cooking method is ideal for tough cuts of meat like pork shoulder because it gently breaks down collagen over eight hours. This process transforms what would otherwise be a chewy piece of meat into succulent, tender strands that absorb the savory caramel sauce completely, resulting in a depth of flavor that is difficult to achieve with faster cooking methods.
Layering the ingredients allows the aromatics to infuse the liquid as it heats up, creating a fragrant poaching environment. As the coconut water and fish sauce reduce along with the caramel, the flavors concentrate into a thick, glossy glaze that coats every fiber of the pork.
This ensures that every bite is packed with the signature balance of salty, sweet, and herbal notes characteristic of this dish.
Notes and substitutions
When selecting a pork shoulder, aim for a piece with good marbling. The fat is essential for maintaining moisture during the long cooking time. If you find the pork is exceptionally fatty, you can trim the excess, but leaving some will contribute to the rich mouthfeel of the final shredded mixture. Always use a fresh piece of meat for the best results in this slow-cooked preparation.
The choice of fish sauce and caramel sauce makes a significant difference in the final outcome. Use a high-quality fish sauce for the cleanest salty profile.
If you cannot find a dark amber caramel sauce, you can create a simple version by cooking sugar until it reaches a deep golden brown, then carefully adding a small amount of warm water to stop the cooking process and achieve the desired consistency.
- fresh coconut water: use water or light chicken broth if coconut water is unavailable
- dark amber caramel sauce: brown sugar dissolved in a little water or palm sugar syrup
Equipment
- Slow cooker
- Chef knife
- Cutting board
- Tongs
- Two forks for shredding
Up next · Part 2 of 3
3 steps · 8 h of cooking · what to look for at each stage
Step-by-step instructions (Part 2)