Desserts · Part 2 of 3: Instructions
Crockpot Triple Chocolate Dump Cake Step-by-step instructions
- Prep
- Cook
- Total
- Serves
- 8
Before you start
Before beginning, ensure that the slow cooker insert is clean and dry. Melt the butter in a microwave-safe container or on the stovetop until completely liquid. Have all ingredients measured and ready to dump into the pot in the specified order.
There is no need to grease the slow cooker, as the butter in the recipe provides sufficient fat to prevent the cake from sticking to the ceramic surface during the cooking process.
Ingredients at a glance (4)
- 1 box chocolate cake mix
- 1 cup semisweet chocolate chips
- 1 packet instant chocolate pudding mix
- 3/4 cup unsalted butter, melted
Instructions
Layering the dump cake
- Layer the ingredientsPour the dry chocolate cake mix into the base of the slow cooker, spreading it out evenly. Scatter the chocolate chips over the cake mix layer. Sprinkle the instant chocolate pudding mix evenly over the chips.Look for The ingredients are layered evenly in the slow cooker base.Tip Do not stir the ingredients; the layering process is essential for the dump cake texture.
The cake mix, chocolate chips, and pudding mix should be layered cleanly without any mixing. The base of the slow cooker should be completely covered by the dry ingredients, creating an even foundation that will absorb the butter during the cooking phase.
Cooking the dessert
- Add butter and cookPour the melted butter evenly over the dry ingredients in the slow cooker. Cover the slow cooker with the lid and cook on high for 2 hours until the cake is set and the edges are bubbling.Look for The butter is poured and the lid is secured.Tip Use high quality melted butter for the best flavor results in this dessert.
The butter is poured over the top, and the lid is secured. During this phase, the slow cooker should remain undisturbed. The kitchen will begin to smell like warm chocolate as the butter melts through the layers, indicating the transformation is underway.
Resting before serving
- Cool and serveTurn off the slow cooker and let the cake rest for 15 minutes before serving. This allows the structure to settle and the flavors to meld together perfectly before scooping.Look for The cake is slightly cooled and firm enough to scoop.Tip Serve while warm for the best experience, as the chocolate remains gooey and soft.
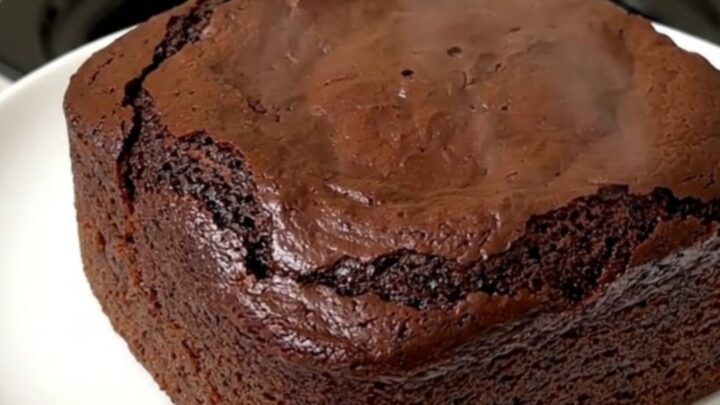
After the cooking time, the cake will appear glossy and rich. The resting period is crucial, as it allows the internal structure to firm up slightly, making it easier to scoop and ensuring the flavors are perfectly balanced for serving.
Common mistakes
A common mistake is stirring the ingredients after they are added. The dump cake method relies on the specific layering of dry ingredients followed by the butter, which allows the steam to cook everything evenly.
Stirring will lead to a dense, gummy texture rather than the desired light, pudding-like consistency.
Additionally, ensure the lid remains closed for the majority of the cooking time, as lifting it releases essential heat and moisture that are required for the cake to bake properly.
How to tell it’s done
The cake is done when the edges are firm and bubbling, and the center is set but still maintains a soft, moist texture. A toothpick inserted into the center should come out with a few moist crumbs attached, but not with raw batter.
Because of the nature of a dump cake, it will not be as dry as a traditional sponge cake; it should feel slightly tender and gooey throughout, especially where the chocolate chips have melted into the mixture.
Up next · Part 3 of 3
2 variations · storage & make-ahead · 3 answers · printable card
Tips, FAQ & printable recipe (Part 3)← Back to the ingredients (Part 1)