Dinner · Part 2 of 3: Instructions
Crockpot Sriracha Honey Beef Tips for an Easy Weeknight Dinner Step-by-step instructions
- Prep
- Cook
- Total
- Serves
- 4
Before you start
Before starting, ensure your slow cooker insert is clean and dry. Take the beef out of the refrigerator about 20 minutes before you begin to take the chill off, though do not let it sit out for more than 30 minutes for safety reasons.
Gather all ingredients and measure them out so the assembly process remains quick and efficient. If you are using fresh ginger, grate it finely to ensure it distributes evenly throughout the sauce rather than clumping in one spot.
Ingredients at a glance (4)
- 2 lb beef stew chunks
- 2 cups red pepper strips
- 1 tsp ground ginger
- 1 cup sriracha honey sauce
Instructions
Layering and Assembly
- Prepare the Slow CookerPlace the beef stew chunks into the bottom of the slow cooker insert. Ensure the beef is distributed in a relatively even layer to allow for consistent heat distribution during the long cooking process.Look for beef is arranged in the crockTip Pat the beef dry with paper towels before adding to the cooker for better browning results.
- Add Aromatics and SauceScatter the red pepper strips over the beef. Sprinkle the ground ginger evenly across the top, then pour the sriracha honey sauce over all the ingredients. Do not stir at this stage to keep the sauce concentrated.Look for sauce covers the beef and peppersTip Use a silicone spatula to scrape every bit of sauce from the measuring cup.
The slow cooker should be filled with the beef at the bottom, followed by the peppers, ginger, and the sriracha honey sauce on top. Everything is ready to begin the slow braising process without any premature mixing.
Slow Braising Phase
- Slow Cook the BeefCover the slow cooker with its lid. Cook on the low setting for 6 hours. This slow, low-temperature cooking allows the collagen in the beef to break down, resulting in a tender texture that pulls apart easily.Look for meat is now fork-tenderTip Avoid lifting the lid during the first 5 hours to maintain a steady internal temperature.
During this long cooking phase, the beef undergoes a transformation. You should notice the kitchen filling with a rich, savory aroma as the honey and sriracha blend with the beef juices, creating a deep, complex fragrance.
Final Glazing and Serving
- Check Temperature and ServeEnsure the beef has reached a safe internal temperature of 145°F (63°C). Once cooked, let the meat rest for 5 minutes before serving to allow the juices to redistribute throughout the beef chunks.Look for beef is tender and sauce has thickenedSafe temperature 145°F (63°C) internal temperature (steaks, chops and roasts)Tip Check the temperature in the thickest piece of beef to ensure accuracy.
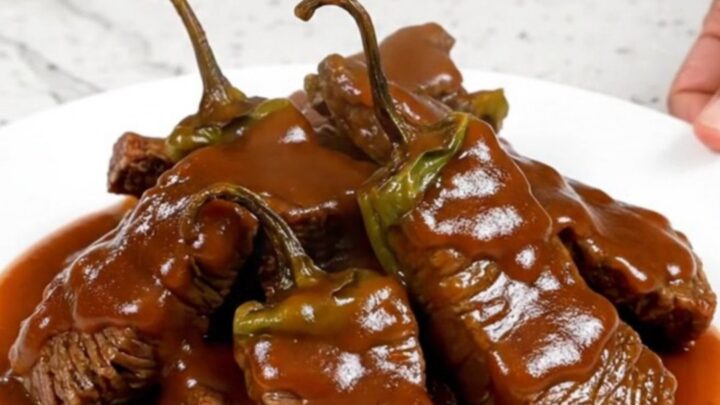
The beef should now be incredibly tender, and the sauce should have reduced to a thick, glossy consistency. The peppers should be soft and fully incorporated into the sauce, ready for immediate serving.
Common mistakes
A common mistake is overloading the slow cooker, which can prevent the ingredients from cooking evenly. Ensure the beef is spread in an even layer.
Another error is stirring the ingredients too early; leaving the sauce on top allows it to slowly drizzle down over the meat as it cooks, which helps in glazing the beef perfectly.
Finally, do not skip the resting period; even though it is slow-cooked, letting the meat rest for 5 minutes makes a significant difference in juiciness.
How to tell it’s done
The beef is done when it is fork-tender, meaning it easily pulls apart with gentle pressure. Using a digital meat thermometer, check that the center of the largest beef chunk has reached an internal temperature of at least 145°F (63°C).
The sauce should have thickened into a glossy, pourable glaze that coats the back of a spoon. If the sauce still seems too thin, remove the lid for the last 30 minutes of cooking to allow it to reduce.
- Steaks, chops and roasts: 145°F (63°C) in the thickest part, then a 3-minute rest
Up next · Part 3 of 3
2 variations · storage & make-ahead · 3 answers · printable card
Tips, FAQ & printable recipe (Part 3)← Back to the ingredients (Part 1)