Dinner · Part 1 of 3: Ingredients
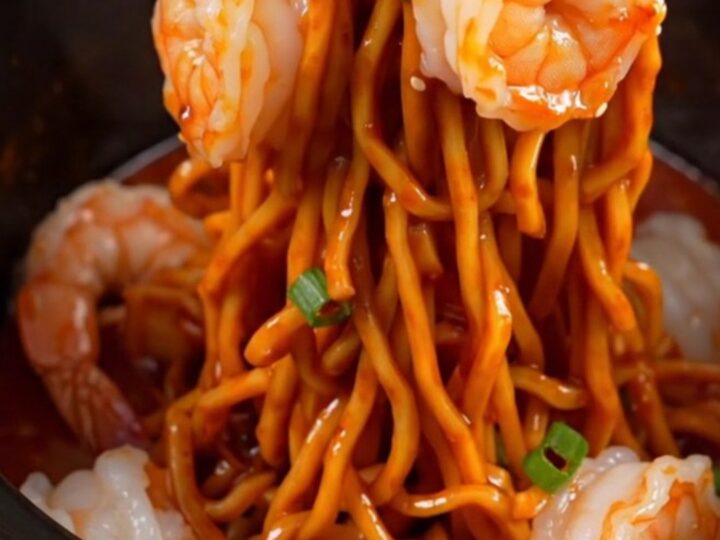
Crockpot Spicy Chili Crisp Garlic Butter Shrimp Noodles
- Prep
- Cook
- Total
- Serves
- 4
Discover the secret to a restaurant-quality meal made entirely in your slow cooker. This viral recipe combines the rich, savory depth of chili crisp with succulent jumbo shrimp and perfectly cooked spaghetti, resulting in a dish that is both comforting and sophisticated.
It is the ultimate solution for busy evenings when you want maximum flavor with minimal effort, proving that slow cooking is not just for stews and roasts, but for vibrant, high-impact pasta dishes that impress.
This recipe relies on the magic of slow infusion. By melting butter and oil with aromatic garlic, shallots, and fiery chili crisp over a low heat, you create a complex, flavor-dense sauce that serves as the foundation for the entire meal.
Adding the shrimp and pasta at the final stage ensures that the protein remains tender while the noodles soak up every drop of that savory liquid. It is a simple dump-and-go process that yields a deeply satisfying result, perfect for those who appreciate bold, spicy flavors and effortless preparation.
Ingredients
Sauce Base
- 1/2 cup olive oil
- 1 stick salted butter
- 3 tbsp crunchy chili crisp
- 8 garlic cloves, thinly sliced
- 2 shallots, thinly sliced
- 1 cup chicken broth
Main
- 1.5 lb jumbo shrimp, peeled and deveined
- 16 oz spaghetti
- 2 tbsp soy sauce
Garnish
- scallions for serving
- toasted sesame seeds for serving
Why this recipe works
The slow-cooker method is ideal for infusing fats with aromatics. By simmering the garlic, shallots, and chili crisp in butter and oil for two hours, the fat molecules absorb the spicy and savory compounds, creating a base that is far more flavorful than a quickly sautéed sauce. This long, gentle heat ensures the garlic mellows and the shallots soften, providing a sweet-heat balance that defines the dish.
Cooking the pasta directly in the sauce allows it to absorb the liquid as it hydrates. As the spaghetti cooks, it releases starch into the chili-butter mixture, which helps to thicken the sauce and ensures it clings to every noodle. This technique eliminates the need for separate pasta boiling, making the cleanup process significantly easier and concentrating all the delicious flavors into one single vessel.
Notes and substitutions
When selecting ingredients, use a high-quality crunchy chili crisp that contains plenty of garlic bits and chili flakes. The texture of the 'crunch' is vital to the final mouthfeel of the dish.
For the shrimp, ensure they are thoroughly peeled and deveined before adding them to the slow cooker to maintain the best quality. Using salted butter provides a savory baseline, but you can adjust the final seasoning with a touch more soy sauce if you prefer a saltier profile.
The Crockpot serves as the primary tool, so ensure yours is in good working order. If you find that your slow cooker runs particularly hot, you might want to check the pasta a few minutes early to prevent it from overcooking.
Always use tongs for handling the noodles, as they are the best tool for tossing the pasta with the shrimp without breaking the delicate seafood. If you want to customize the heat, feel free to add more chili crisp.
- Chicken broth: Vegetable broth can be used for a lighter flavor profile.
- Jumbo shrimp: Large shrimp or even scallops work well in this sauce.
Equipment
- Crockpot
- Chef knife
- Cutting board
- Tongs
Up next · Part 2 of 3
3 steps · 2 h 15 min of cooking · what to look for at each stage
Step-by-step instructions (Part 2)