Desserts · Part 1 of 3: Ingredients
Crockpot Pumpkin Pecan Crunch Cake
- Prep
- Cook
- Total
- Serves
- 8
Ditch the traditional pumpkin pie this season for something far more indulgent. This slow cooker pumpkin pecan crunch cake combines a velvety, spiced custard with a buttery, caramelized pecan topping that transforms your kitchen into a sanctuary of autumnal warmth. It is the perfect low-effort, high-reward dessert for busy hosts who want to serve something spectacular without the stress of monitoring a standard oven for hours.
The magic of this dessert lies in the slow-cooking process, which allows the pumpkin custard to develop a deep, rich flavor while the dry cake mix and butter transform into a golden, crunchy streusel.
By layering the ingredients directly into the stoneware, you create a complex texture profile that ranges from silky and smooth to crisp and nutty. It is an impressive showstopper that requires minimal active prep time, making it ideal for holiday gatherings or cozy weekend dinners at home.
Ingredients
Custard Base
- 29 oz pumpkin puree
- 12 oz evaporated milk
- 3 large eggs
- 1 cup granulated sugar
- 2 tsp pumpkin pie spice
Topping
- 1 box (approx 15 oz) yellow cake mix
- 1 cup chopped pecans
- 1/2 cup butter, melted
Garnish
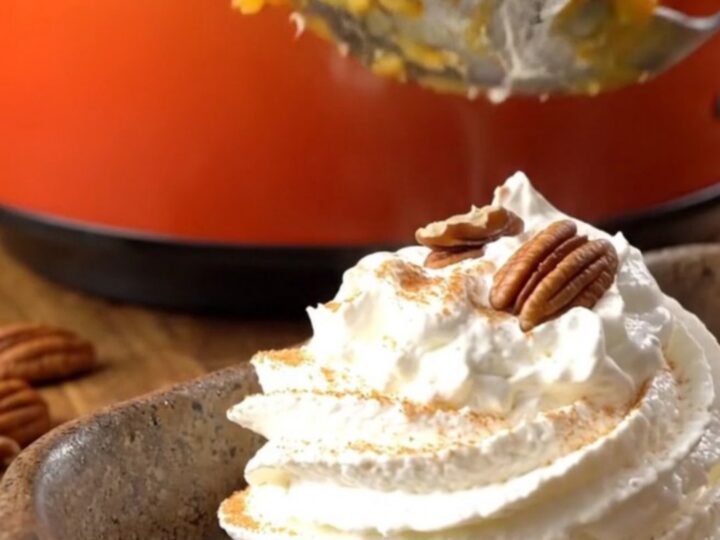
- 1 cup cinnamon whipped cream, for serving
Why this recipe works
The slow cooker method uses gentle, indirect heat to coax the best texture out of the pumpkin custard. Because the heat is distributed slowly and evenly, the eggs and pumpkin puree emulsify into a rich, silky layer that is far more tender than a standard baked pie filling. This low-temperature environment prevents the eggs from scrambling, resulting in a smooth, custard-like consistency that is the hallmark of a perfectly executed dessert.
The layering technique is essential for the structure of the crunch cake. By keeping the dry cake mix on top, you ensure it does not become waterlogged by the custard.
As the butter melts and the steam rises, the top layer absorbs just enough moisture to bind into a golden, caramelized streusel while the bottom remains light and fluffy. This contrast between the silky base and the crisp topping is what makes this simple dump-cake feel like a gourmet masterpiece.
Notes and substitutions
When choosing your ingredients, ensure you are using pure pumpkin puree and not pre-sweetened pumpkin pie filling, as the sugar content is already balanced in this recipe. Using evaporated milk provides the necessary richness and body that makes the custard stand out.
If you prefer a more pronounced spice profile, you can add an extra half-teaspoon of cinnamon or nutmeg to the base mixture before cooking. Always use high-quality butter, as it is the primary fat source for the crunchy top.
Your choice of slow cooker matters. A standard 6-quart stoneware vessel provides the ideal surface area for the cake to set properly. If your slow cooker runs particularly hot, you may want to check the internal temperature of the custard at the three-hour mark.
If you are using a newer model with high-intensity heat settings, keep a close watch to ensure the edges do not become too dark. Always use a reliable digital probe thermometer to verify that the eggs have reached the required temperature.
- yellow cake mix: spice cake mix for an extra layer of seasonal flavor
- pecans: walnuts for a slightly earthier crunch
Equipment
- 6-quart slow cooker
- whisk
- large mixing bowl
- measuring cups
- measuring spoons
Up next · Part 2 of 3
3 steps · 3 h 30 min of cooking · what to look for at each stage
Step-by-step instructions (Part 2)