Dinner · Part 1 of 3: Ingredients
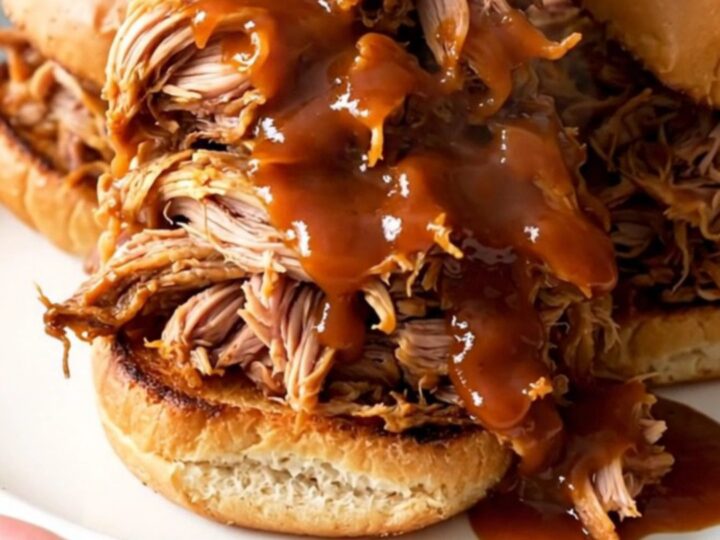
Crockpot Pumpkin Barbecue Pulled Pork Sliders
- Prep
- Cook
- Total
- Serves
- 8
Master the art of the perfect slow-cooked meal with this flavorful pumpkin barbecue pulled pork. This dish combines the deep, smoky notes of barbecue sauce with the subtle sweetness of pumpkin, resulting in a unique flavor profile that transforms a standard pork roast into a memorable centerpiece. It is a reliable method that delivers consistent, melt-in-your-mouth results every time, making it an ideal choice for busy schedules or relaxed weekend gatherings.
The magic of this recipe lies in the slow, low-temperature cooking environment of the slow cooker, which gently breaks down the connective tissues in the pork shoulder. By incorporating pumpkin puree, the sauce gains a velvety body and an earthy sweetness that balances the tanginess of the barbecue sauce perfectly.
The brown sugar adds a necessary depth of flavor that caramelizes as the pork cooks, creating a rich, savory coating that clings to every strand of shredded meat. When served on toasted pretzel buns, the contrast between the soft, savory pork and the slightly salty, chewy bread creates an exceptional texture combination.
Ingredients
- 3 lb pork shoulder, trimmed of excess fat
- 1 cup pumpkin puree
- 1/2 cup brown sugar
- 1 cup barbecue sauce
- 8 pretzel slider buns, toasted
Why this recipe works
The slow cooker method provides a moist heat environment, which is essential for rendering the fat and tenderizing the tough collagen found in pork shoulder. By cooking for eight hours, the meat reaches a state where it can be shredded effortlessly, ensuring that every bite is saturated with the flavorful cooking liquid.
The pumpkin puree acts as a natural thickener, giving the sauce a luxurious consistency that would otherwise be difficult to achieve with standard barbecue sauce alone.
This approach works because it allows the ingredients to meld over an extended period without the need for constant supervision. The brown sugar and barbecue sauce create a glaze that infuses the meat as it cooks, while the pumpkin adds a subtle, complex sweetness that elevates the dish beyond a traditional barbecue recipe.
This combination of ingredients ensures that the pork remains succulent and flavorful, providing a depth of character that makes it stand out at any table.
Notes and substitutions
Choose a pork shoulder that has a good balance of lean meat and fat marbling, as this will ensure the most tender final result. While boneless roasts are easier to handle, bone-in options can provide additional flavor and moisture during the long cooking process. Ensure the pumpkin puree is plain and not a pre-spiced pie filling, as the spices in pie filling would clash with the savory barbecue sauce and alter the intended profile of the dish.
The choice of barbecue sauce can significantly change the outcome of this dish. A smoky or hickory-flavored sauce works exceptionally well with the pumpkin, while a spicier sauce can provide a nice contrast to the sweetness of the brown sugar.
If you prefer a different texture for the buns, you can substitute the pretzel slider buns for soft potato rolls or even ciabatta rolls, provided they are sturdy enough to hold the juicy pulled pork without becoming soggy.
- pork shoulder: pork butt or boneless pork roast
- pretzel slider buns: brioche rolls or regular slider buns
Equipment
- slow cooker
- measuring cups
- tongs
- forks for shredding
- serving plate
Up next · Part 2 of 3
3 steps · 8 h of cooking · what to look for at each stage
Step-by-step instructions (Part 2)