Dinner · Part 1 of 3: Ingredients
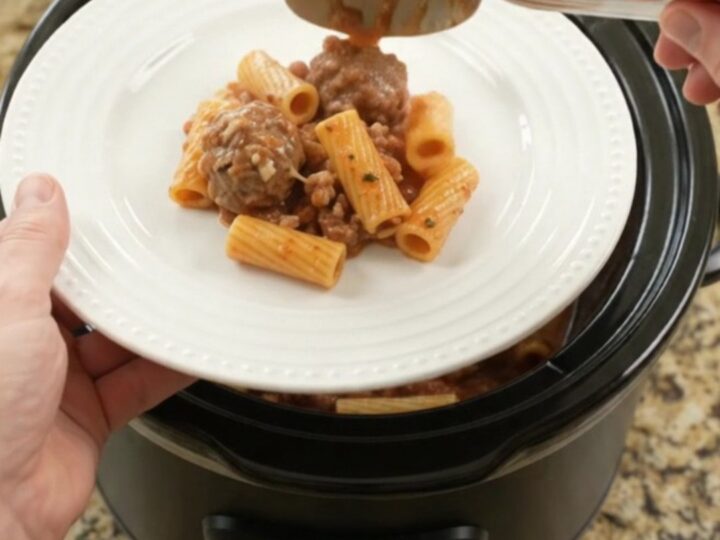
Crockpot Mozzarella Meatball Rigatoni: Dump-and-Forget Dinner
- Prep
- Cook
- Total
- Serves
- 6
This Crockpot Mozzarella Meatball Rigatoni is the ultimate dump-and-forget dinner: tender beef meatballs, al dente pasta, and a rich, cheesy sauce—all made in the slow cooker with zero fuss. Just layer the ingredients, set the timer, and come back to a bubbling, comforting meal.
Imagine coming home to the smell of slow-simmered meatballs and garlicky tomato sauce, with creamy melted cheese pulling from every spoonful. That's what this Crockpot Mozzarella Meatball Rigatoni delivers, and it couldn't be easier.
You don't even boil the pasta first—the slow cooker does all the work, turning sturdy rigatoni into perfectly al dente tubes that soak up the rich sauce. This is the kind of dinner that makes busy weeknights feel special, with minimal prep and maximum comfort.
Ingredients
- 2 lb homestyle Italian beef meatballs
- 16 oz rigatoni pasta
- 24 oz roasted garlic tomato basil sauce
- 8 oz cream cheese, softened
- 2 cups shredded whole-milk mozzarella
Why this recipe works
The beauty of this recipe lies in its simplicity. By layering raw meatballs, dried pasta, and sauce in the slow cooker, you let the gentle, steady heat do the work.
The meatballs stay incredibly tender as they simmer in the sauce, releasing their juices into the liquid, while the pasta absorbs the tomato flavor and softens to just the right bite. The cream cheese melts into the sauce, creating a velvety, luxurious texture that clings to every ridge of the rigatoni.
The cheese is the star. A block of cream cheese adds a subtle tang and richness that balances the acidity of the tomatoes, while a generous shower of whole-milk mozzarella blankets the top, melting into golden, stretchy strands.
As the slow cooker bubbles, the cheeses meld into the sauce, turning it into a creamy, satisfying bolognese-style coating that makes every forkful irresistible. It's a one-pot wonder that looks and tastes like you spent hours in the kitchen—but you didn't.
Notes and substitutions
For the best results, use good-quality homestyle Italian beef meatballs—they're seasoned and ready to go. If you prefer to make your own, that works too. The rigatoni is key: its ridges and tube shape hold the sauce beautifully and stand up to long cooking without turning mushy. Choose a roasted garlic tomato basil sauce for depth of flavor; a plain marinara works, but the roasted garlic adds a sweet, mellow note that complements the meatballs.
This recipe is incredibly forgiving. You can swap the beef meatballs for turkey or chicken, or even use a plant-based alternative. If you want a little heat, add red pepper flakes with the sauce.
And don't worry if the cream cheese looks like it's not melting at first—give it time, and it will blend into the sauce as you stir. For a crispier top, you can broil the pasta bake for a few minutes after slow cooking, but it's delicious as is.
- rigatoni pasta: Use penne, ziti, or any short tube pasta that holds up to slow cooking.
- roasted garlic tomato basil sauce: Substitute with your favorite marinara or pasta sauce; add extra garlic and basil if desired.
- whole-milk mozzarella: Part-skim mozzarella or a blend of Italian cheeses work well.
- beef meatballs: Use turkey or chicken meatballs; adjust cooking time to ensure they reach 165°F (74°C).
Equipment
- 6-quart slow cooker
- Measuring cups and spoons
- Large spoon for stirring
- Serving spoon
Up next · Part 2 of 3
5 steps · 4 h of cooking · what to look for at each stage
Step-by-step instructions (Part 2)