Desserts · Part 1 of 3: Ingredients
Crockpot Gingerbread Pear Butterscotch Dump Cake
- Prep
- Cook
- Total
- Serves
- 8
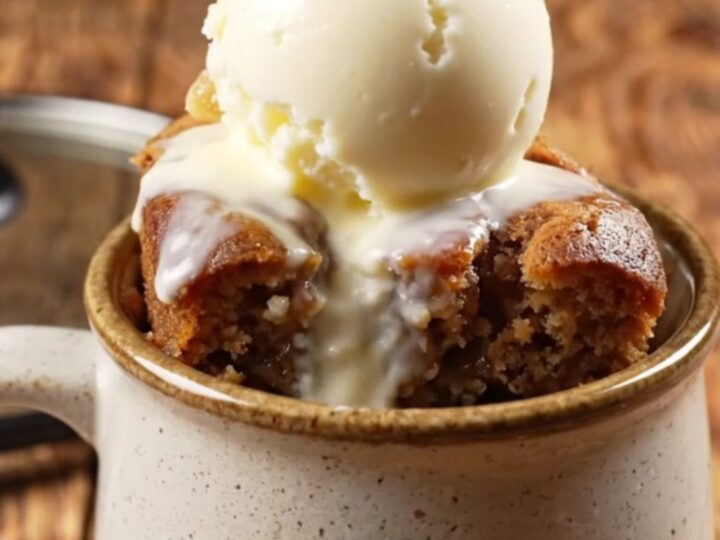
This Crockpot gingerbread pear butterscotch dump cake turns five simple ingredients into a dessert that fills your kitchen with the cozy scents of winter.
Tender cinnamon-spiced pears, a dark molasses gingerbread crust, and pockets of melted butterscotch come together with almost no effort. Just layer everything in the slow cooker, walk away, and come back to a warm, syrupy cake that begs for a scoop of vanilla bean ice cream.
Dump cakes are the ultimate shortcut dessert, and this slow cooker version takes that convenience to a new level. You simply layer sliced pears, gingerbread mix, butterscotch morsels, and butter in the crock, then let the gentle heat do all the work.
After nearly three hours, the pears soften into a jammy base, the butterscotch melts into golden pools, and the gingerbread mix transforms into a moist, spiced topping. Serve it warm straight from the slow cooker with ice cream for a dessert that tastes like a holiday hug.
Ingredients
- 5 cups peeled Anjou pear slices
- 1 tsp ground cinnamon
- 1 box gingerbread cake and cookie mix
- 1 cup butterscotch morsels
- 1/2 cup salted butter, sliced (1 stick)
For serving
- Vanilla bean ice cream, for serving
- Candied ginger bits, for serving
Why this recipe works
The slow cooker's low, steady heat works magic on the pears. Unlike an oven, which blasts high heat from all sides, the crock gently steams and braises the fruit, turning it silky and tender without losing its shape. The cinnamon infuses into the pears as they cook, creating a fragrant, spiced base that pairs perfectly with the bold gingerbread flavor.
Layering the dry gingerbread mix on top—rather than stirring it in—lets it absorb just enough moisture from the melting butter and pear juices to form a soft, cake-like crust.
The butterscotch morsels melt into sticky pockets, while the butter bastes the top, giving it a rich, golden finish. This 'dump and go' method eliminates mixing bowls and fuss, making it nearly impossible to mess up.
Notes and substitutions
Use ripe but firm Anjou pears for the best texture. They hold up well during the long cook time and offer a mild sweetness that lets the gingerbread and butterscotch shine. If pears are out of season, Bosc or Bartlett pears work well, or you can swap in apples for a similar result. Peel the pears first—the skins would become tough and chewy after slow cooking.
Gingerbread cake and cookie mix is widely available in the baking aisle, especially during the fall and winter months. If you can't find it, a spice cake mix with a teaspoon of ground ginger added works beautifully.
The salted butter is essential for balancing the sweetness; if using unsalted butter, add a pinch of salt to the mix. For the best texture, let the cake rest for 5 minutes after cooking before scooping.
- Anjou pears: Bosc or Bartlett pears, or firm ripe apples such as Honeycrisp or Granny Smith
- Gingerbread cake mix: Spice cake mix or yellow cake mix with 1 tsp ground ginger and 1/2 tsp ground cloves added
- Salted butter: Unsalted butter plus 1/4 tsp salt
- Butterscotch morsels: Caramel bits or white chocolate chips (white chocolate chips will melt more quickly)
Equipment
- 6-quart slow cooker
- Vegetable peeler
- Chef's knife
- Cutting board
- Measuring cups
- Measuring spoons
- Rubber spatula
- Ice cream scoop
Up next · Part 2 of 3
7 steps · 2 h 45 min of cooking · what to look for at each stage
Step-by-step instructions (Part 2)