Dinner · Part 1 of 3: Ingredients
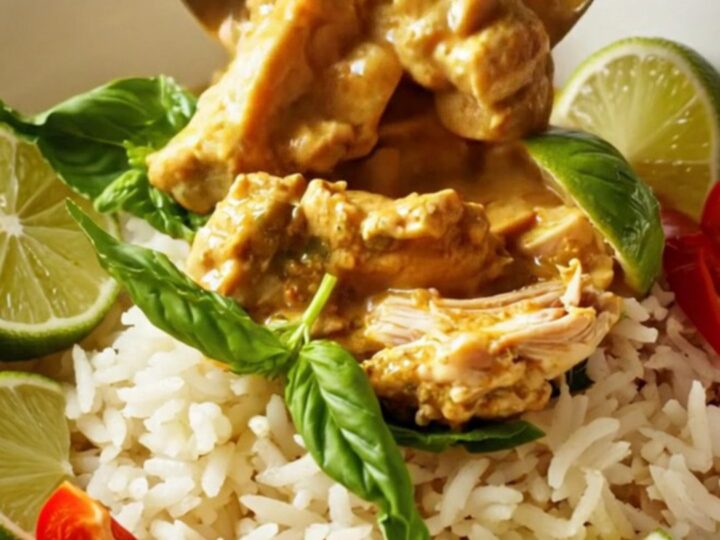
Crockpot Coconut Red Curry Chicken for an Easy Weeknight Dinner
- Prep
- Cook
- Total
- Serves
- 4
Transform your kitchen into a sanctuary of warmth with this effortless Crockpot Coconut Red Curry Chicken. This recipe brings the bold, aromatic flavors of Thai cuisine to your home without the need for constant supervision, making it an ideal choice for busy schedules or relaxed weekend evenings when you want a meal that feels truly special.
This slow-cooked masterpiece relies on the magic of gentle, consistent heat to transform simple pantry staples and fresh poultry into a rich, velvety curry. By layering chicken thighs with creamy coconut milk, vibrant red curry paste, and crisp vegetables, you create a complex flavor profile that develops over several hours.
The result is a comforting, restaurant-quality meal that is as satisfying to prepare as it is to eat, ensuring that every bite is infused with the essence of ginger, garlic, and lemongrass found in the curry paste.
Ingredients
Main Ingredients
- 2 lb boneless skinless chicken thighs
- 2 red bell peppers, sliced
- 14 oz can coconut milk
- 3 tbsp red curry paste
- 1 tbsp fish sauce
- 1 tbsp brown sugar
Finishing
- 1/2 cup fresh Thai basil leaves
- 1 tbsp lime juice
Main Ingredients
- 1 cup canned bamboo shoots, drained
Why this recipe works
The slow cooking method is essential for this dish because it allows the tough connective tissues in the chicken thighs to break down gradually. This process ensures the meat remains succulent and tender, absorbing the spicy and sweet notes of the red curry paste and coconut milk.
By keeping the temperature steady and low, you prevent the coconut milk from curdling, which can happen with high-heat stovetop methods, resulting in a smooth and luxurious sauce.
Additionally, the dump-and-go approach minimizes active preparation time while maximizing flavor development. Because the ingredients are sealed within the slow cooker, the aromas of the basil, lime, and peppers are trapped and intensified.
This method allows the natural juices from the bell peppers and chicken to meld with the coconut base, creating a balanced and harmonious sauce that coats the shredded chicken perfectly without requiring extra thickeners or complicated steps.
Notes and substitutions
When selecting chicken, always opt for boneless skinless thighs rather than breasts. Thighs have a higher fat content which prevents them from drying out during the four-hour slow cooking process, ensuring the meat stays moist even after shredding. If you prefer a milder curry, start with two tablespoons of red curry paste and adjust to three tablespoons depending on your preference for heat and spice intensity.
For the best texture, use full-fat coconut milk from a can rather than the carton variety intended for drinking. The higher fat content provides the necessary body for the sauce to cling to the chicken and rice.
If you cannot find fresh Thai basil, regular sweet basil is a suitable substitute, though it will have a slightly more anise-forward profile. Ensure your bamboo shoots are thoroughly drained to avoid adding excess water to the sauce.
- Thai basil: Regular Italian basil works if Thai basil is unavailable, though the flavor profile will be slightly different.
- Fish sauce: Substitute with soy sauce or salt if necessary, though fish sauce provides the authentic depth.
Equipment
- Slow cooker
- Two forks for shredding
- Measuring spoons
- Knife and cutting board
Up next · Part 2 of 3
3 steps · 4 h of cooking · what to look for at each stage
Step-by-step instructions (Part 2)