Appetizers · Part 1 of 3: Ingredients
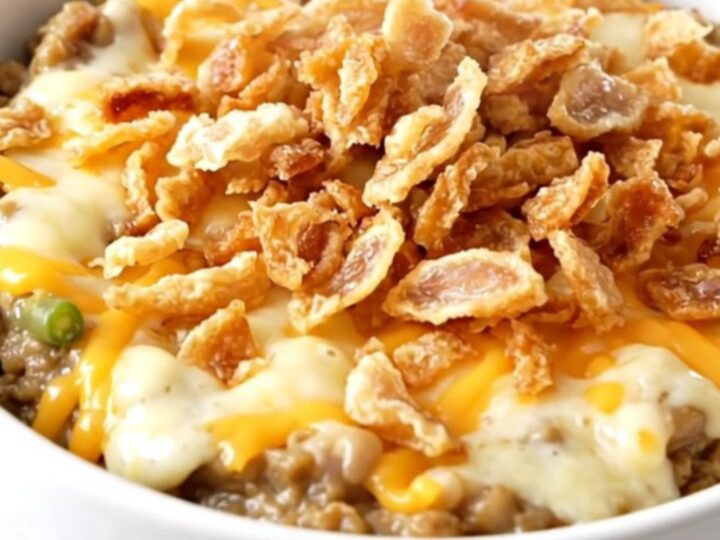
Crockpot Cheesy Green Bean Dip with Crispy Onions
- Prep
- Cook
- Total
- Serves
- 8
Elevate your appetizer game with this effortless slow cooker dip that combines creamy textures with savory, melted cheese and a satisfying crunch. Perfect for game days, holidays, or casual gatherings, this dish requires minimal hands-on effort while delivering maximum comfort food appeal.
The combination of earthy green beans, rich mushroom soup, and sharp cheddar creates a balanced profile that appeals to everyone. Simply layer the ingredients, set the slow cooker, and prepare for a crowd-pleasing snack that disappears in minutes.
Developing a reliable appetizer for large groups often requires finding the perfect balance between flavor and simplicity. This cheesy green bean dip achieves this by utilizing the slow cooker to slowly melt the cheese and tenderize the beans, creating a cohesive, velvety base.
The inclusion of condensed mushroom soup provides a savory umami depth, while the final addition of crispy fried onions adds a necessary textural contrast. Whether serving as a dip for crackers or crusty bread, this recipe offers a warm, inviting experience that is both easy to assemble and consistently delicious.
Ingredients
main
- 1 lb green beans, trimmed and cut into bite-sized pieces
- 2 cups shredded cheddar cheese
- 1 tsp garlic powder
- 1 can (10.5 oz) condensed mushroom soup
topping
- 1 cup crispy fried onions, for topping
Why this recipe works
The slow cooker method is ideal for this dip because it gently heats the cheese and mushroom soup, preventing the sauce from breaking or separating. By cooking on low heat, the cheddar melts into the mushroom soup, creating an emulsified, creamy consistency that coats the green beans perfectly. This gentle heat also ensures that the green beans soften without becoming mushy, maintaining a pleasant bite.
Another advantage is the consistent temperature maintenance throughout the cooking time. Because the dip remains in the slow cooker, it stays at a perfect serving temperature for an extended period, which is essential for a cheese-based dip.
This method allows the garlic powder to infuse throughout the mixture, ensuring a uniform flavor profile in every scoop, while the controlled environment makes it nearly impossible to overcook the ingredients.
Notes and substitutions
When choosing ingredients, opt for high-quality sharp cheddar if possible, as it provides a bolder flavor that cuts through the creaminess of the mushroom soup.
Freshly shredded cheese is recommended over pre-shredded varieties, as it melts more smoothly and avoids the anti-caking agents that can affect the final texture of the dip. Ensure the green beans are trimmed properly to avoid any woody ends that could detract from the dip's consistency.
Regarding equipment, any standard slow cooker with a capacity of at least three quarts will work well. If the dip appears too thick after cooking, a small splash of milk can be stirred in to reach the desired consistency. The crispy fried onions are a vital finishing element; keep them stored in an airtight container until the very last second to ensure they provide the maximum crunch upon serving.
- sharp cheddar cheese: Monterey Jack or a blend of mozzarella and cheddar for a milder flavor
- condensed cream of mushroom soup: condensed cream of celery or cream of chicken soup
Equipment
- Slow cooker
- Measuring cups
- Measuring spoons
- Serving bowl
Up next · Part 2 of 3
3 steps · 2 h of cooking · what to look for at each stage
Step-by-step instructions (Part 2)