Dinner · Part 2 of 3: Instructions
Crockpot Carolina Gold Barbecue Baby Back Ribs Step-by-step instructions
- Prep
- Cook
- Total
- Serves
- 4
Before you start
Ensure the ribs are fully thawed if previously frozen. Pat the ribs dry with paper towels to help the rub adhere better. Chop the onion into uniform pieces so they soften consistently.
Clear your workspace and ensure your slow cooker is on a flat, heat-resistant surface away from the edge of the counter. Have your measuring tools ready and verify that you have enough space to stand the ribs upright along the inner walls of the ceramic insert.
Ingredients at a glance (4)
- 2 lb baby back ribs, cut into sections
- 1 medium sweet onion, chopped
- 2 tbsp rib rub
- 1 cup Carolina gold barbecue sauce
Instructions
Arrangement
- Prepare the slow cookerPlace the rib sections upright along the inside walls of the slow cooker insert. This arrangement allows for even cooking and heat circulation around the meat throughout the long braising process.Look for Ribs standing securely along the inner wall.Tip Ensure the ribs are positioned vertically to maximize space and allow the sauce to coat every piece evenly during the cooking cycle.
The ribs should be standing upright against the walls of the slow cooker insert. Ensure they are packed snugly enough to stay upright but not so tightly that the sauce cannot reach the surfaces. Check that the ceramic insert is properly seated in the base and the power cord is connected securely to a wall outlet.
Seasoning
- Season and sauceScatter the chopped sweet onion over the ribs. Sprinkle the rib rub generously over the meat, then pour the Carolina gold barbecue sauce over the top to coat the ribs thoroughly.Look for Sauce dripping down the sides of the ribs.Tip Distribute the onion evenly so that the aromatics infuse the meat as they soften during the slow cooking phase.
The ribs are evenly coated with the rib rub and the sweet onions are distributed over the top. The sauce should be poured in a steady stream, ensuring it runs down the sides of the ribs. Check that the seasoning is applied to the meaty side of the ribs before adding the sauce to ensure the spices penetrate the meat.
Braising
- Cook and serveCover and cook on low for 6 hours until the meat is tender. Once finished, ensure the internal temperature of the pork reaches 145°F (63°C) and let the meat rest for 5 minutes before serving.Look for Meat pulling away from the bone.Safe temperature 145°F (63°C) internal temperature (steaks, chops and roasts)Tip Use a meat thermometer in the thickest part of the rib to ensure the temperature is reached without touching the bone.
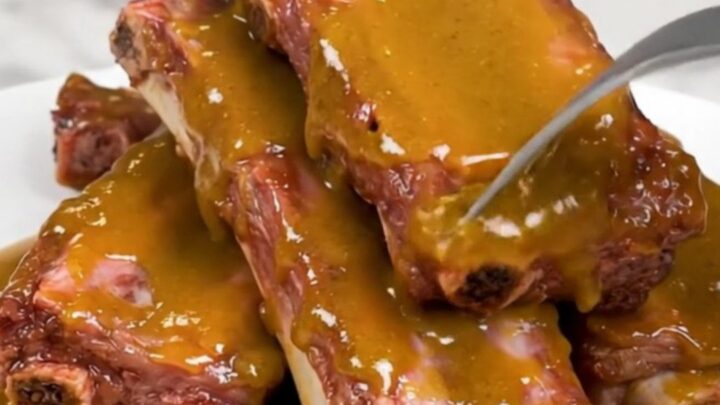
The ribs should look glossy and tender. The sauce will have combined with the onion juices to create a rich, thick glaze at the bottom of the slow cooker.
Check the internal temperature with a thermometer to ensure safety, and confirm that the meat is tender enough to be easily pierced with a fork before turning off the heat.
Common mistakes
Avoid overcrowding the slow cooker, as this prevents even heat distribution and results in unevenly cooked meat. Do not lift the lid repeatedly during the cooking process, as each time you open the cooker, heat escapes and significantly extends the required cooking time.
Ensure the ribs are not touching the heating element directly if it is exposed. Finally, do not add too much liquid, as the onions and the pork will release their own moisture during the slow cooking process.
How to tell it’s done
The ribs are done when the meat is visibly pulling away from the ends of the bones and feels tender when tested with a fork. Using a digital meat thermometer, ensure the internal temperature of the meat reaches at least 145°F (63°C).
The sauce should appear thickened and glossy, clinging to the ribs rather than pooling at the bottom of the cooker. Always allow the meat to rest for at least 5 minutes before serving to let the juices redistribute.
- Steaks, chops and roasts: 145°F (63°C) in the thickest part, then a 3-minute rest
Up next · Part 3 of 3
2 variations · storage & make-ahead · 3 answers · printable card
Tips, FAQ & printable recipe (Part 3)← Back to the ingredients (Part 1)