Appetizers · Part 2 of 3: Instructions
Crockpot Cajun Boiled Peanuts for a Savory Snack Step-by-step instructions
- Prep
- Cook
- Total
- Serves
- 8
Before you start
Before beginning, ensure your slow cooker insert is clean and dry. Gather all ingredients and prepare the jalapenos by slicing them into thin rings, removing the seeds if a milder flavor is desired.
Have a glass measuring pitcher ready to pour the water, and prepare a slotted spoon for the final service. Check that you have enough space on your kitchen counter to accommodate the slow cooker safely throughout the long cooking process.
Ingredients at a glance (4)
- 2 lb raw peanuts in the shell
- 2 jalapeno peppers, sliced into rings
- 1/4 cup Cajun seasoning
- 8 cups water
Instructions
Preparation and seasoning
- Combine ingredientsPlace the raw peanuts in the shell into the slow cooker insert. Scatter the sliced jalapeno rings over the peanuts, then sprinkle the Cajun seasoning evenly over the top.Look for ensure the seasoning is distributed throughout the peanutsTip use a large slow cooker to ensure the peanuts are fully submerged in liquid
The peanuts are neatly layered in the slow cooker with the jalapeno rings and Cajun seasoning scattered throughout. The assembly is ready for the addition of water, ensuring all dry components are evenly distributed to facilitate consistent flavor development once the cooking begins.
Slow cooking process
- Add water and cookPour the water over the seasoned peanuts until they are completely covered. Set the slow cooker to high heat and cook for 8 hours until the shells are softened and the peanuts are tender.Look for the liquid should completely submerge all the peanutsTip check the water level halfway through to ensure the peanuts remain covered
During this phase, the aroma of Cajun spices and peppers fills the kitchen. The water is gently simmering, and the peanuts are slowly absorbing the liquid.
The shells are gradually darkening and softening, indicating that the flavors are successfully penetrating the exterior of the peanuts.
Final resting and service
- Rest and serveTurn off the slow cooker and allow the peanuts to rest in the seasoned liquid for at least 30 minutes before serving. Use a slotted spoon to transfer the peanuts to a serving bowl.Look for the peanuts should be warm and fragrant with spicesTip letting the peanuts soak longer in the cooling liquid enhances the flavor absorption
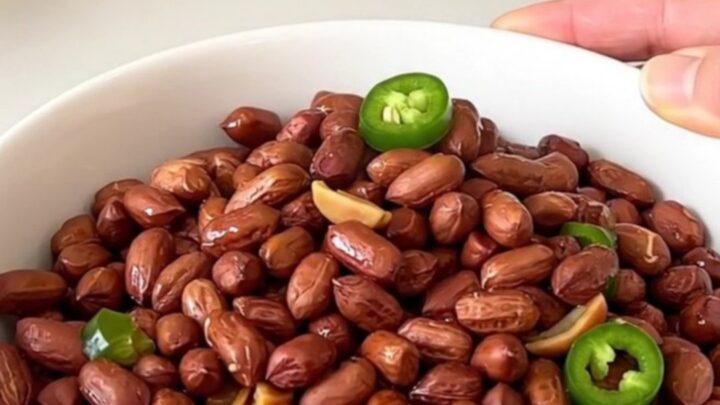
After the resting period, the peanuts are tender and warm. The liquid has infused the nuts with a savory, spicy character. Before serving, verify that the peanuts are soft enough for your preference and that the spice level is balanced, then transfer to a bowl for immediate enjoyment.
Common mistakes
A common mistake is using roasted peanuts, which will disintegrate during the long boiling process; always use raw, green, or dried-raw peanuts in the shell.
Another error is failing to keep the peanuts fully submerged in the liquid throughout the cooking time, which leads to uneven seasoning and texture. Ensure the water level is checked periodically and topped up with boiling water if the liquid evaporates too much.
How to tell it’s done
The peanuts are finished when the shells are soft to the touch and easily yield under light pressure. The interior nuts should be tender, creamy, and fully infused with the savory, spicy brine.
Because there are no raw proteins involved, the doneness is purely based on the desired texture of the peanut kernel, which should be soft and buttery rather than crunchy.
Up next · Part 3 of 3
2 variations · storage & make-ahead · 3 answers · printable card
Tips, FAQ & printable recipe (Part 3)← Back to the ingredients (Part 1)