Dinner · Part 1 of 3: Ingredients
Easy Crock Pot Taco Hash Brown Casserole
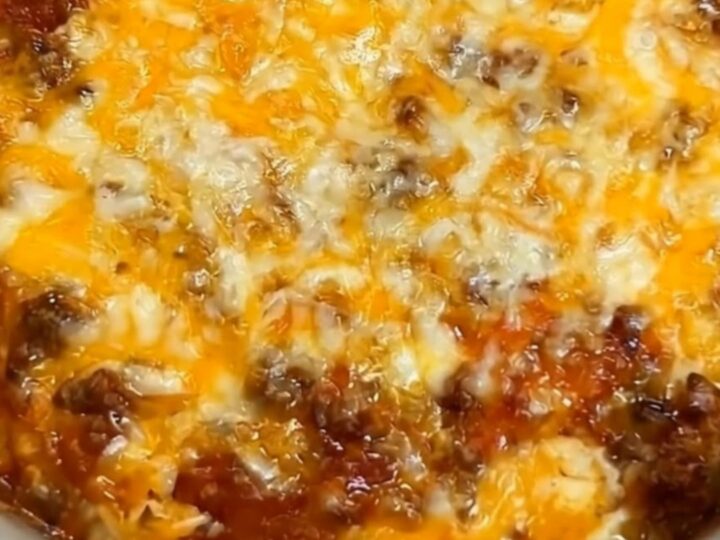
- Prep
- Cook
- Total
- Serves
- 6
Discover the ultimate weeknight comfort food with this incredibly simple Crock Pot Taco Hash Brown Casserole. This dish brings together the savory, bold flavors of seasoned beef with the satisfying texture of crispy hash browns, all topped with a generous layer of perfectly melted, gooey cheese. It is a hands-off recipe that delivers a hearty, delicious meal that the entire family will look forward to after a long day.
When time is limited but a warm, satisfying meal is required, this slow cooker casserole is the perfect solution. By combining common pantry staples like ground beef, frozen hash browns, and your favorite taco seasoning, this dish creates a balanced profile of textures and flavors.
The slow cooking process allows the spices to infuse deeply into the potatoes, while the cheese creates a comforting, cohesive finish that makes every scoop irresistible. It is a straightforward approach to dinner that prioritizes ease and flavor above all else.
Ingredients
Main Ingredients
- 1 lb ground beef, browned and drained
- 30 oz frozen hash browns, thawed
- 1 packet taco seasoning
Toppings
- 2 cups shredded cheddar cheese
Why this recipe works
The slow cooker method is ideal for this casserole because it allows the hash browns to soften and absorb the savory juices from the seasoned beef without becoming mushy.
By layering the ingredients, the flavors meld together over several hours, creating a rich and unified dish that develops a depth of flavor impossible to achieve with quick stovetop methods. The gentle heat ensures the ingredients cook through evenly, resulting in a consistent texture throughout the entire pot.
Using a slow cooker also simplifies the cooking process significantly, as it requires minimal attention once the ingredients are assembled. This method is particularly effective for recipes involving potatoes, as they act as a sponge for the seasoning and fat, resulting in a savory base that pairs perfectly with the melted cheese topping.
The consistent, low-temperature environment is perfect for melting cheese into a smooth, stretchy consistency, which is the hallmark of a successful, comforting casserole.
Notes and substitutions
For the best results, use a high-quality shredded cheddar cheese, as it melts more smoothly than pre-shredded varieties that often contain anti-caking agents. If you prefer a bit more heat, feel free to use a pepper jack cheese or add a few diced jalapeños to the beef mixture before layering.
Ensure that the hash browns are completely thawed before placing them in the slow cooker to avoid an excess of water, which could dilute the flavor of the seasoned beef.
The choice of slow cooker matters as well, as different models have slightly varying heat intensities. If your slow cooker tends to run hot, check the casserole about 30 minutes earlier than the suggested time. If you do not have a slow cooker, this recipe can be adapted for the oven by using a baking dish, though the cooking time will be significantly reduced to about 30 to 40 minutes at 375°F (190°C) until the cheese is browned and the center is hot.
- Ground beef: Ground turkey or ground chicken can be used for a lighter alternative.
- Cheddar cheese: A shredded Mexican blend or pepper jack works well for a different flavor profile.
Equipment
- Slow cooker
- Large skillet
- Measuring cups
- Serving spoon
- Mixing bowl
Up next · Part 2 of 3
3 steps · 4 h of cooking · what to look for at each stage
Step-by-step instructions (Part 2)