Dinner · Part 2 of 3: Instructions
Crispy Turkish Crown Pizza Ring with Sucuk and Kaşar Step-by-step instructions
- Prep
- Cook
- Total
- Serves
- 8
Before you start
Before starting, take the pizza dough out of the refrigerator and let it sit at room temperature for about 30 minutes. This makes it easier to roll and fold. Preheat the oven to 400°F (200°C) and line a baking sheet with parchment paper.
Prepare the egg wash by beating the egg with a tablespoon of water. Have all toppings ready: slice the sucuk, shred the kaşar cheese, and measure the sauce and sesame seeds.
Ingredients at a glance (7)
- 1 lb pizza dough, store-bought or homemade
- 1/2 cup tomato pizza sauce
- 1 tsp dried oregano
- 6 oz sucuk (Turkish fermented sausage), thinly sliced
- 2 cups kaşar cheese, shredded
- 1 egg, beaten with 1 tbsp water
- 2 tbsp toasted sesame seeds
Instructions
Assembling the Crown
- Prepare the Dough and SaucePlace the pizza dough on a large sheet of parchment paper. Roll it into a large circle, about 12 inches in diameter. Center an inverted bowl (about 6 inches wide) on the dough. Spread the tomato pizza sauce evenly around the bowl in a ring, leaving a 1-inch border. Sprinkle the dried oregano over the sauce. Arrange the sucuk slices on top of the sauce, then scatter the shredded kaşar cheese over the sucuk.Look for The dough forms a neat ring around the bowl, with sauce and toppings covering the inner area.Tip Keep the sauce and toppings away from the outer edge so the crust can seal and puff.
- Cut and Fold the Dough PointsUsing a sharp knife or pizza cutter, cut the dough from the outer edge toward the bowl in even intervals, creating about 12 to 16 points. Carefully lift each dough point and fold it over the filling, tucking the tip under the dough on the other side of the ring. Continue until all points are folded, forming a crown-like ring. Remove the bowl from the center.Look for The dough points overlap slightly, enclosing the filling in a wreath shape.Tip Space the cuts evenly for a uniform crown. If the dough sticks, dust lightly with flour.
At the end of this phase, the dough is rolled into a circle with the bowl centered, the sauce and toppings are spread in a neat ring, and the dough points are folded over to create a wreath.
The egg wash and sesame seeds coat the dough evenly. The assembly should look tidy and symmetrical, with no gaps where filling can escape.
Baking to Golden Perfection
- Brush with Egg Wash and Sprinkle SesameBrush the exposed dough points with the beaten egg wash, making sure to cover the tops and sides. Sprinkle the toasted sesame seeds generously over the egg-washed dough.Look for The dough shines with a golden sheen and is speckled with sesame seeds.Tip Use a pastry brush for even coverage; this helps the crust turn golden and adds crunch.
- Bake the Crown PizzaPreheat the oven to 400°F (200°C). Transfer the parchment paper with the crown pizza onto a baking sheet. Bake for 18 to 22 minutes, until the crust is deep golden brown and the cheese is bubbling. The internal temperature of the egg wash on the crust should reach at least 160°F (71°C) to ensure the egg is fully cooked.Look for The crust puffs and turns golden, and the cheese melts into a bubbly, golden ring.Safe temperature 160°F (71°C) internal temperature (egg dishes)Tip Rotate the baking sheet halfway through for even browning. If the top browns too quickly, tent loosely with foil.
After baking, the crown pizza should be puffed and golden, with the sesame seeds toasted and fragrant. The cheese is bubbling and slightly browned, and the crust feels firm to the touch. The kitchen smells of toasted dough and melted cheese. The pizza should be allowed to rest before slicing to let the cheese set.
Slicing and Serving
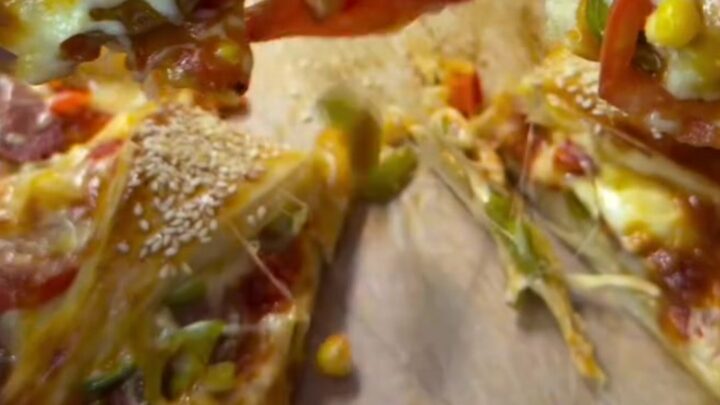
- Cool Slightly and SliceRemove the crown pizza from the oven and let it rest on the baking sheet for 5 minutes. Use a pizza cutter or roller cutter to slice through the ring, following the natural divisions between the dough points. Lift a slice with a spatula to see the cheese stretch.Look for The cheese pulls into long, gooey strings as the slice is lifted.Tip Letting it rest briefly helps the cheese set slightly, making slices cleaner without losing the stretch.
When sliced, the cheese pulls into long, gooey strings, and the sucuk adds a spicy, savory kick. The slices are sturdy enough to hold without falling apart. The crown pizza is best served warm, straight from the oven, with extra sauce for dipping if desired.
Common mistakes
A common mistake is overfilling the ring, which can cause the dough to tear or the filling to leak out during baking. Keep the toppings within the border and don’t pile them too high.
Another issue is underbaking the crust—make sure the oven is fully preheated and bake until the crust is a deep golden brown, not just pale. If the dough points unfold during baking, press them down gently before baking to ensure they stay in place.
How to tell it’s done
The crown pizza is done when the crust is deep golden brown and sounds hollow when tapped, and the cheese is bubbling and lightly browned in spots. The internal temperature of the egg wash on the crust should reach at least 160°F (71°C) to ensure the egg is fully cooked.
If you have a thermometer, insert it into the thickest part of a dough point. Once done, let the pizza rest for 5 minutes before slicing to allow the cheese to set slightly.
- Egg dishes: 160°F (71°C) in the thickest part
- Ground meat: 160°F (71°C) in the thickest part
Up next · Part 3 of 3
4 variations · storage & make-ahead · 5 answers · printable card
Tips, FAQ & printable recipe (Part 3)← Back to the ingredients (Part 1)