Breakfast · Part 3 of 3: Tips & recipe card
Crispy Traditional Chilaquiles with Smoky Guajillo Salsa Tips, FAQ & printable recipe
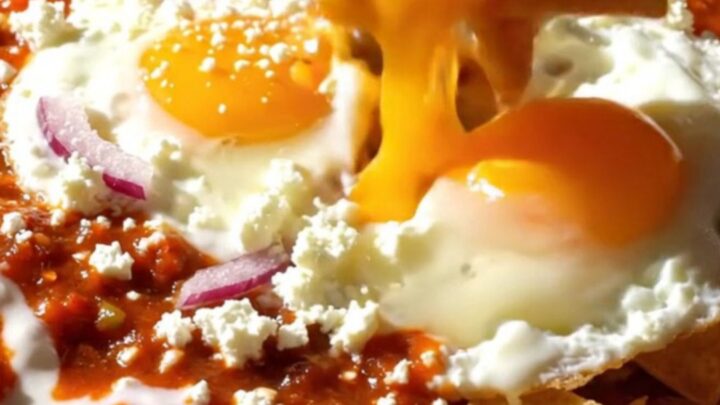
- Prep
- Cook
- Total
- Serves
- 2
Tips for success
For an even deeper flavor, consider charring the garlic cloves along with the tomatoes. This adds a nutty, mellow quality that balances the heat of the guajillo chilies.
If you prefer a spicier dish, you can leave a few seeds in the chilies during the blending process, though this will increase the heat significantly, so adjust according to your preference for spice.
To maintain the best texture, serve the chilaquiles immediately upon removing them from the heat. The longer they sit in the salsa, the more they will absorb the liquid and soften.
If you are serving a crowd, prepare the salsa in advance and keep it warm, then fry the chips and cook the eggs in batches to ensure every plate remains hot and crunchy.
Variations
- Verde Chilaquiles: Replace the guajillo chilies and Roma tomatoes with roasted tomatillos, serrano peppers, and fresh cilantro to create a bright, tangy green salsa version of this classic breakfast dish.
- Hearty Chilaquiles: Add shredded rotisserie chicken or cooked chorizo to the skillet during the final minute of cooking for a heartier meal that stays true to the traditional preparation.
Storage and make-ahead
- Fridge
- Keep in an airtight container for up to 2 days.
- Reheat
- Reheat gently in a skillet over low heat until warmed through, though the texture will be softer than when freshly prepared.
Store any leftovers in an airtight container in the refrigerator for up to 2 days. Be aware that the chips will lose their crunch significantly as they sit in the salsa. If you plan on having leftovers, it is often best to store the salsa and the fried chips separately, combining them only when you are ready to heat and eat the dish.
The smoky guajillo salsa can be prepared up to three days in advance and kept in the refrigerator. The tortillas can be fried a day ahead and stored in a dry, airtight container to keep them crisp. When you are ready to serve, simply heat the salsa in your skillet, toss in the chips, and finish with the fresh eggs as directed in the recipe steps.
Serving ideas
Serve these chilaquiles directly from the cast-iron skillet for a rustic, authentic presentation. Place the skillet on a heat-safe trivet in the center of the table and provide large spoons for easy serving.
The heat of the iron will keep the dish warm while you enjoy your meal, and the presentation highlights the beautiful, vibrant colors of the salsa, eggs, and fresh toppings.
Accompany the dish with a side of fresh cilantro or thinly sliced red onion to add a bright, fresh note to the smoky, savory flavors. For those who enjoy extra heat, a side of your favorite hot sauce or pickled jalapeños works perfectly.
Serve alongside a warm cup of coffee or traditional Mexican hot chocolate to round out a complete and satisfying breakfast experience.
Frequently asked questions
Can these be made without frying the tortillas?
What is the best way to keep the chips from getting soggy?
Can this recipe be prepared for a larger group?
Crispy Traditional Chilaquiles with Smoky Guajillo Salsa
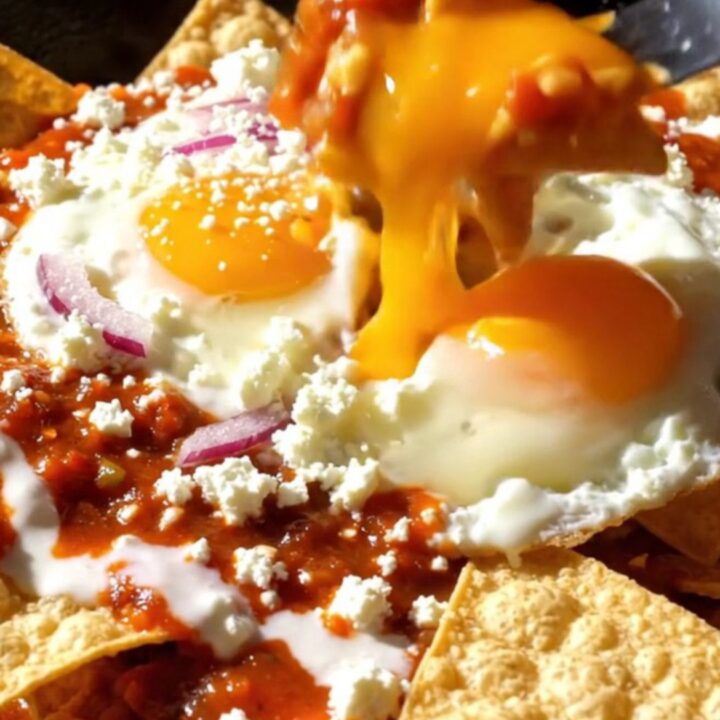
Ingredients
- 4 rehydrated guajillo chilies
- 3 roasted Roma tomatoes
- 2 garlic cloves
- 100 ml broth
- 150 g freshly fried corn tortilla triangles
- 2 eggs
- 30 ml Mexican crema
- 40 g queso fresco
Instructions
- Combine the rehydrated guajillo chilies, roasted Roma tomatoes, garlic cloves, and broth in a high-speed blender. Process the ingredients on high until the mixture reaches a smooth, velvety consistency. Ensure all chili skins are fully incorporated into the sauce for the best texture.
- Heat a cast-iron skillet over medium-high heat until it reaches approximately 185°F (85°C). Pour the blended salsa into the hot skillet. Add the crispy corn tortilla triangles to the bubbling sauce and toss them gently with a spatula for exactly 45 seconds. This quick cooking time ensures the chips are evenly coated while maintaining their structural crunch.
- Crack the eggs directly into the skillet alongside the coated chips. Cook until the whites are fully set and the yolks reach 160°F (71°C) for safety, while remaining slightly runny if desired. Remove from heat immediately. Drizzle with Mexican crema and crumble the queso fresco over the top before serving.
Estimated nutrition per serving
- Calories
- 420
- Protein
- 14.5 g
- Carbohydrates
- 38 g
- Fat
- 24 g
- Fiber
- 5 g
- Sugar
- 3 g
- Sodium
- 450 mg
Next recipe

Five-Minute Turkish Feta and Dill Breakfast Cake
See the recipe → →This recipe is based on a short cooking video and is published under the pen name Clara Weller. It was checked before publication, but errors can slip through. Nutrition, when shown, is an estimate. Read more in our editorial policy and on our food safety page.
More recipes to try
Crispy Pancetta and Egg Baked Avocados
Total time: 17 min
One-Skillet Smoky Shakshuka with Warm Pita
Total time: 25 min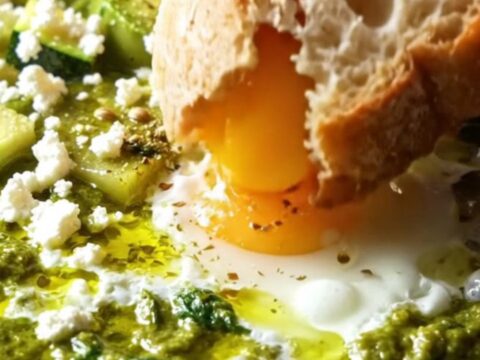
Vibrant Green Shakshuka with Spinach and Feta
Total time: 21 min
Fairfax-Style Soft Scramble Egg Sandwich
Total time: 10 min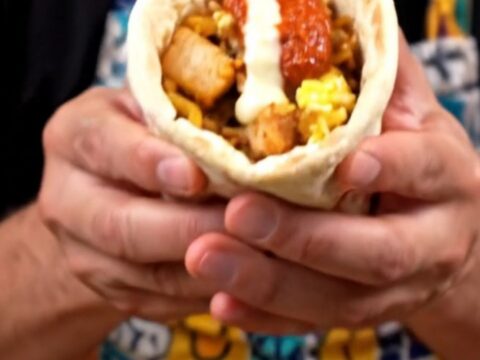
NYC Halal Cart Style Chicken and Rice Breakfast Wrap
Total time: 16 min