Appetizers · Part 1 of 3: Ingredients
Crispy Rice Spicy Tuna Bites: Crunchy Appetizer
- Prep
- Cook
- Total
- Serves
- 4
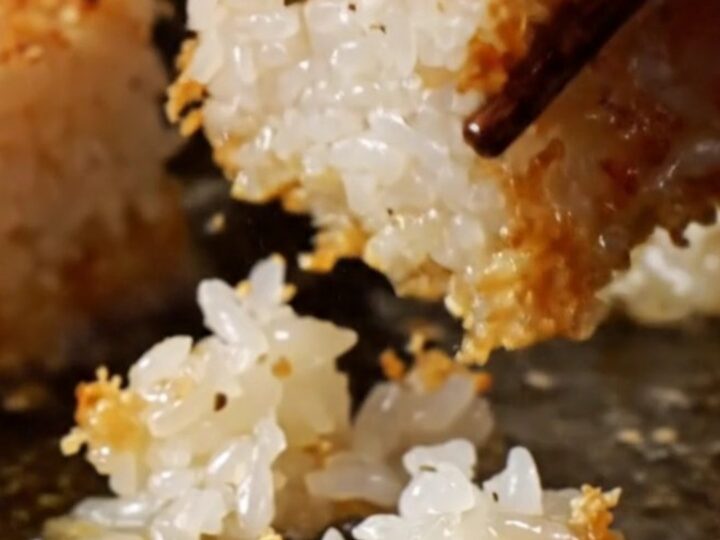
Golden, shatter-crisp rice cubes topped with velvety spicy tuna, a kick of jalapeño, and a drizzle of sriracha aioli. These crispy rice spicy tuna bites are the ultimate crunchy appetizer – perfect for parties, game day, or a fun weeknight treat. Each bite delivers a satisfying crunch, creamy heat, and fresh flavor that will have everyone reaching for more.
Crispy rice spicy tuna bites have become a favorite in Japanese-inspired cuisine, and for good reason. The contrast between the crunchy, golden rice and the cool, spicy tuna is irresistible. This recipe simplifies the process: press chilled sushi rice into neat blocks, shallow-fry until perfectly crisp, then top with a quick spicy tuna mixture.
With just a handful of ingredients and a few simple steps, you can create restaurant-quality appetizers at home. Whether you're hosting a dinner party or just craving something special, these bites deliver big flavor in a small package.
Ingredients
- 2 cups cooked sushi rice, chilled
- 200 g sushi-grade ahi tuna, diced
- 30 ml spicy mayo
- 10 ml soy sauce
- 1 tsp sesame oil
- 1/2 cup neutral oil (such as canola or vegetable)
- 1 jalapeño, thinly sliced
- Sriracha aioli, for drizzling, to taste
Why this recipe works
The magic of these crispy rice bites lies in the contrast between the crunchy exterior and the tender, seasoned interior.
When you press chilled sushi rice into blocks and shallow-fry them at a high temperature, the outside turns golden and glass-like while the inside stays moist and slightly chewy. This textural interplay is what makes each bite so satisfying.
The spicy tuna topping is equally important. Diced ahi tuna tossed with spicy mayo, soy sauce, and sesame oil creates a creamy, savory, and slightly tangy mixture that complements the neutral rice perfectly.
The jalapeño adds a fresh, bright heat, while the sriracha aioli brings a final layer of richness and spice. Together, these elements create a balanced, crave-worthy bite.
Notes and substitutions
Sushi-grade ahi tuna is essential for this recipe because it's served raw. Look for fish labeled 'sushi-grade' or 'sashimi-grade' at a trusted fishmonger or high-end grocery store. If you can't find ahi, other sushi-grade fish like salmon or yellowtail work well. Keep the tuna chilled until you're ready to mix it.
For the rice, use short-grain sushi rice that has been cooked and chilled. The rice should be seasoned with a little rice vinegar and sugar (if you have it), but plain cooked rice works too.
Make sure the rice is well-chilled before pressing – this helps it hold its shape during frying. If you don't have a mold, use a small rectangular container lined with plastic wrap.
- sushi-grade ahi tuna: sushi-grade salmon or yellowtail, diced
- spicy mayo: 3 tbsp mayonnaise mixed with 1 tsp sriracha
- soy sauce: tamari or coconut aminos for a gluten-free option
- sriracha aioli: store-bought aioli or extra spicy mayo
Equipment
- 2-inch square mold or small container
- Large skillet
- Tongs
- Chef's knife
- Cutting board
- Mixing bowl
- Paper towels
Up next · Part 2 of 3
7 steps · 12 min of cooking · what to look for at each stage
Step-by-step instructions (Part 2)