Dinner · Part 1 of 3: Ingredients
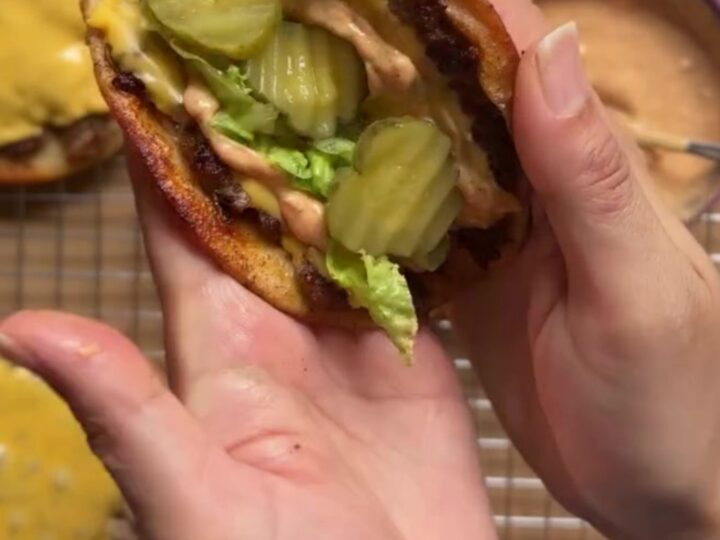
Crispy Smash Burger Tacos with Secret Sauce
- Prep
- Cook
- Total
- Serves
- 4
Smash burger tacos take everything you love about a crispy-edged burger and wrap it in a warm tortilla. Thin patties are smashed onto flour tortillas, seared until deeply caramelized, then topped with melted cheese, crunchy lettuce, dill pickles, and a tangy secret sauce.
This is a weeknight dinner that comes together in under 20 minutes, using just one skillet and a handful of pantry staples. The result is a handheld meal that is both familiar and exciting, with a satisfying crunch in every bite.
These smash burger tacos are the ultimate quick dinner for when you want something indulgent but easy. The method is simple: press seasoned ground beef onto a tortilla, sear it meat-side down in a hot skillet until the edges turn lacy and crisp, flip, add cheese, and finish with fresh toppings and a creamy sauce.
The contrast of textures—crispy beef, soft tortilla, cool lettuce, and briny pickles—makes every bite interesting. Best of all, the entire meal cooks in minutes, making it perfect for busy evenings when you need dinner on the table fast.
Ingredients
- 4 small flour tortillas
- 12 oz 80/20 ground beef
- salt, to taste
- black pepper, to taste
- 4 slices American cheese slices
Secret Burger Sauce
- 1 cup mayonnaise
- 3 tbsp ketchup
- 1 tbsp Dijon mustard
- 2 tbsp minced onion
- 1 tbsp sweet relish
- 1 tbsp white vinegar
Topping
- 1 cup shredded iceberg lettuce
- 1/2 cup dill pickle chips
Why this recipe works
Smashing the beef directly onto the tortilla creates maximum surface contact with the hot skillet, which is the secret to a deep, caramelized crust.
The thin patty cooks quickly, so the exterior becomes crisp and browned while the interior stays juicy. Because the beef is pressed thin, it cooks through in just a few minutes, eliminating the need for long cooking times.
Cooking the taco meat-side down first allows the beef to render its fat and crisp up, while the tortilla steams and then toasts on the second side. The result is a sturdy, flavorful base that holds up to the toppings without becoming soggy. The high heat and brief cooking time ensure the beef stays tender and never overcooks.
Notes and substitutions
For the best crust, use 80/20 ground beef—the higher fat content helps the patty brown and crisp without drying out. If you use leaner beef, the patties may be less crispy and more prone to sticking.
Small flour tortillas are ideal because they are pliable and hold the thin patty well; corn tortillas can be used but may need to be heated first to prevent cracking.
The secret sauce is a quick stir-together of mayonnaise, ketchup, Dijon mustard, minced onion, sweet relish, and vinegar. It is tangy, creamy, and slightly sweet, and it ties all the flavors together. Feel free to adjust the vinegar or mustard to taste. For a spicier kick, add a pinch of cayenne or a dash of hot sauce.
- 80/20 ground beef: Ground turkey or chicken (use 93/7 for less fat, but the patties may be less crispy).
- American cheese: Cheddar, Monterey Jack, or pepper jack slices.
- Small flour tortillas: Corn tortillas (use two per taco if they tear easily).
- White vinegar: Apple cider vinegar or white wine vinegar.
Equipment
- Cast-iron skillet or griddle
- Burger press or heavy spatula
- Mixing bowl
- Whisk
- Cutting board
- Chef's knife
Up next · Part 2 of 3
8 steps · 6 min of cooking · what to look for at each stage
Step-by-step instructions (Part 2)