Dinner · Part 1 of 3: Ingredients
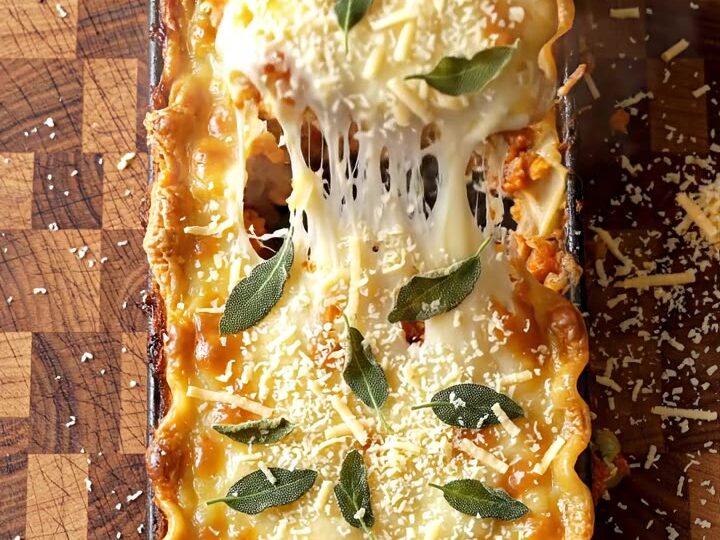
Crispy Skillet Butternut Sage Lasagna with Brown Butter Fontina
- Prep
- Cook
- Total
- Serves
- 6
This butternut sage lasagna brings together the earthy sweetness of roasted squash, the nutty depth of brown butter, and the creamy, blistered top of melted fontina. It’s all baked in a cast-iron skillet, so the edges turn crisp and golden while the center stays luscious.
The wavy lasagna ribbons soak up the sage-infused béchamel, making each bite rich and comforting. Finished with crispy fried sage and a shower of parmesan, this is a one-pan dinner that feels both rustic and elegant.
A skillet lasagna that skips the boiling pot and the deep baking dish. Instead, layers of no-boil noodles, roasted butternut squash, and a foamy sage brown butter béchamel are stacked right in a cast-iron pan.
The high sides of the skillet help the edges get wonderfully crisp, while the fontina melts into a golden, blistered crust. This recipe celebrates the classic fall pairing of squash and sage, but it’s simple enough for a weeknight and impressive enough for company.
Ingredients
- 1 medium (about 2 lb) butternut squash, peeled, seeded, thinly sliced
- 1/2 cup fresh sage leaves, plus more for frying
- 8 oz fontina cheese, grated (about 2 cups)
- 1/2 cup freshly grated parmesan cheese, plus more for serving
- 12 sheets no-boil lasagna noodles (wavy ribbons)
- 6 tbsp unsalted butter
- 1/4 cup all-purpose flour
- 3 cups whole milk
- 1 tsp kosher salt, plus more to taste
- 1/2 tsp freshly ground black pepper
- 2 tbsp olive oil, for roasting
Why this recipe works
Cooking the lasagna in a cast-iron skillet creates a larger surface area for the cheese to brown and blister. The direct heat of the pan firms up the edges, giving you crispy, craggy bits that contrast with the creamy interior. The skillet also retains heat well, so the lasagna stays warmer longer at the table.
The brown butter béchamel is the backbone of this dish. Browning the butter with sage before adding the flour and milk adds a nutty, herbal depth that infuses every layer. The sauce is thick enough to coat the noodles without making them soggy, and it helps the squash and cheese meld together into a cohesive, luxurious casserole.
Notes and substitutions
Fontina is the star cheese here—it melts beautifully and has a mild, nutty flavor that pairs perfectly with butternut squash.
For the best texture, buy a solid block and grate it yourself; pre-shredded cheese often contains anti-caking agents that affect melting. Parmesan adds a salty, savory punch that balances the sweetness of the squash.
No-boil lasagna noodles are a time-saver and work perfectly in this recipe because they absorb moisture from the béchamel as they bake.
If you only have traditional noodles, boil them until al dente and pat them dry before layering. The squash should be sliced thinly—about 1/8-inch—so it cooks through in the same time as the noodles.
- fontina cheese: Gruyère or provolone for a similar nutty, melty texture.
- no-boil lasagna noodles: Regular lasagna noodles, boiled until al dente and patted dry.
- butternut squash: Delicata or acorn squash, sliced thinly (peel if using acorn).
- whole milk: 2% milk, but the béchamel will be slightly less creamy.
Equipment
- 10-inch cast-iron skillet
- Box grater
- Baking sheet
- Parchment paper
- Medium saucepan
- Whisk
- Chef's knife
- Cutting board
Up next · Part 2 of 3
5 steps · 55 min of cooking · what to look for at each stage
Step-by-step instructions (Part 2)