Dinner · Part 2 of 3: Instructions
Crispy Sicilian Grandma-Style Pan Pizza Step-by-step instructions
- Prep
- Cook
- Total
- Serves
- 8
Before you start
Before beginning the recipe, ensure the oven rack is positioned in the center to allow for even airflow and heat distribution. Gather all necessary ingredients and verify that the pizza dough is at room temperature if it was stored in the refrigerator, as this significantly improves its elasticity and ability to stretch.
Prepare the square baking pan by thoroughly coating every corner with olive oil to ensure the crust does not adhere to the surface during the high-heat baking process.
Ingredients at a glance (6)
- 500 grams pizza dough
- 2 tbsp olive oil
- 8 oz mozzarella cheese, shredded
- 1 cup crushed plum tomatoes
- fresh basil leaves, for serving
- 1 tbsp olive oil, for finishing
Instructions
Dough preparation and proofing
- Prepare the pan and proofGenerously coat the bottom and sides of a 12x12 inch square baking pan with olive oil. Place the pizza dough into the center of the pan and stretch it gently to reach the corners. Cover and allow the dough to proof in the oiled pan until it is relaxed and fills the pan base, ensuring it is ready for the toppings.Look for The dough should appear relaxed and fully cover the bottom of the square pan.Tip If the dough snaps back while stretching, let it rest for another ten minutes before trying again.
The dough should be soft, pliable, and fully stretched to the corners of the oiled pan. It needs to look slightly puffy after proofing, indicating that it has developed enough air to rise properly during the baking process. Check that the surface is lightly coated in oil to prevent drying out before the toppings are added.
Baking for texture and flavor
- Add toppings and bakePreheat the oven to 475 degrees Fahrenheit. Sprinkle the shredded mozzarella evenly over the proofed dough. Place the pan into the oven and bake for eighteen minutes. The high heat is essential for creating the signature airy structure and achieving the golden brown crust that characterizes this style of pizza.Look for The crust should be golden brown and the cheese should show dark brown blisters.Tip Ensure the oven is fully preheated before putting the pizza in to guarantee maximum crust expansion.
The pizza should be baking at a steady 475 degrees Fahrenheit. By the end of this phase, the aroma of toasted dough and bubbling cheese should be prominent.
The crust must be visibly golden and the cheese should appear melted and slightly blistered, confirming that the high heat has achieved the desired crispy transformation.
Garnishing and final assembly
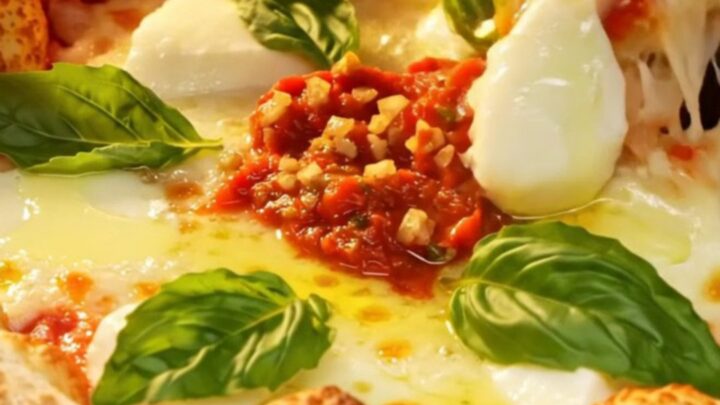
- Final garnish and serveRemove the pizza from the oven once the crust is crispy and the cheese is bubbly. Dollop the crushed plum tomatoes over the hot cheese, then finish with fresh basil leaves and a final drizzle of olive oil. Use a sharp chef knife to slice the pizza into squares and serve immediately to maintain the crunch.Look for The tomatoes are vibrant and the basil is wilted slightly by the residual heat of the crust.Tip Use a serrated knife to cut through the crispy bottom crust without crushing the airy interior.
The final assembly requires the pizza to be removed from the oven and topped with the fresh components. The tomatoes should be dolloped evenly, and the basil should be fresh and aromatic. Once sliced, the pizza should display a distinct contrast between the crisp, fried bottom and the soft, airy interior of the dough.
Common mistakes
A common mistake is using an insufficient amount of olive oil in the pan, which prevents the crust from frying properly and can lead to the dough sticking to the bottom. Another error is failing to preheat the oven sufficiently, which results in a dense, chewy crust rather than one that is airy and crisp.
Additionally, overloading the pizza with too many toppings can create excess moisture, preventing the dough from achieving its signature crispy texture throughout the baking time.
How to tell it’s done
The pizza is considered done when the bottom crust is golden brown and crispy, which can be checked by lifting a corner with a spatula. The cheese should be melted with visible brown blisters on the surface, indicating the caramelization of the milk solids.
The overall structure should feel firm to the touch, and the edges of the dough should be crisp and slightly pulled away from the sides of the pan.
Up next · Part 3 of 3
2 variations · storage & make-ahead · 3 answers · printable card
Tips, FAQ & printable recipe (Part 3)← Back to the ingredients (Part 1)