Appetizers · Part 1 of 3: Ingredients
Crispy Rice Salmon Nigiri with Spicy Mayo & Jalapeño
- Prep
- Cook
- Total
- Serves
- 4
These viral crispy rice salmon nigiri bites are the perfect balance of textures and temperatures: warm, shatteringly crisp sushi rice topped with cold, melt-in-your-mouth fresh salmon.
A dot of spicy kewpie mayo, a slice of jalapeño, and a drizzle of sweet soy glaze take them over the top. They’re surprisingly simple to make at home and are guaranteed to impress at any gathering.
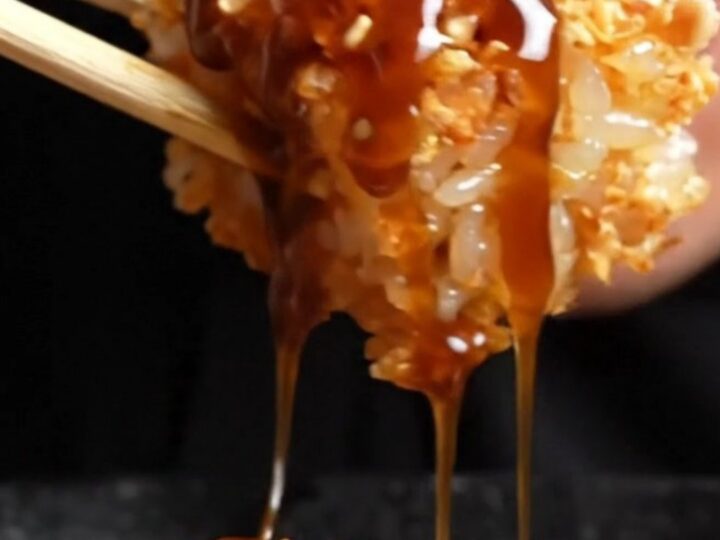
Crispy rice has taken over social media for good reason—it’s a crunchy, savory canvas for all your favorite sushi flavors. This recipe starts with seasoned sushi rice that’s pressed, chilled, and pan-fried until golden and blistered.
Each piece is then topped with silky sashimi salmon, a kick of spicy mayo, and a bright jalapeño wheel. Finished with sweet soy glaze and sesame seeds, these little bites are as beautiful as they are delicious.
Ingredients
- 2 cups cooked sushi rice, seasoned with rice vinegar and sugar
- 8 oz sashimi-grade salmon, thinly sliced
- 1/2 cup neutral oil (such as canola or vegetable), for frying
- 1/4 cup spicy kewpie mayo (mix 1/4 cup kewpie mayo with 1-2 tsp sriracha)
- 1 jalapeño, thinly sliced into wheels
- 2 tbsp sweet soy glaze
- 1 tsp sesame seeds, for garnish
Why this recipe works
The key to these crispy rice bites is the contrast between the warm, crunchy exterior and the cool, tender interior.
Pressing the rice firmly and chilling it ensures it holds together during frying, while a hot skillet creates a deep golden crust that shatters with every bite. The rice stays creamy and slightly chewy inside, providing a satisfying textural experience.
The salmon is served raw, which means it must be sushi-grade and very fresh. The warmth of the rice gently takes the chill off the fish, allowing its buttery flavor to shine.
Spicy kewpie mayo adds a tangy, creamy heat, while the jalapeño provides a fresh, vegetal crunch. Sweet soy glaze ties everything together with a hint of caramelized sweetness.
Notes and substitutions
Sushi rice is essential here—it’s stickier than regular rice, which helps the blocks hold their shape. If you don’t have seasoned sushi rice, you can season warm cooked short-grain rice with a mixture of rice vinegar, sugar, and salt. Make sure it’s fully cooled before pressing.
Sashimi-grade salmon is a must because it’s eaten raw. Look for it at a trusted fishmonger or Japanese grocery store. If you can’t find it, you can substitute with sushi-grade tuna or hamachi. Spicy kewpie mayo can be made by mixing regular mayo with sriracha; adjust the heat to your preference.
- sashimi-grade salmon: Use sushi-grade tuna or hamachi (yellowtail) for a different flavor. Smoked salmon can be used, but it will not be raw.
- spicy kewpie mayo: Mix regular mayonnaise with sriracha or your favorite hot sauce to taste.
- sweet soy glaze: Combine 2 tbsp soy sauce with 1 tbsp honey or maple syrup and a pinch of sugar, simmered until slightly thickened.
- neutral oil: Use a high-smoke-point oil like grapeseed or avocado oil for frying.
Equipment
- Rectangular dish or pan (about 8x8 inches)
- Plastic wrap or parchment paper
- Sharp knife
- Large skillet
- Tongs
- Small piping bag or zip-top bag
- Chopsticks (optional, for serving)
Up next · Part 2 of 3
5 steps · 10 min of cooking · what to look for at each stage
Step-by-step instructions (Part 2)