Dinner · Part 2 of 3: Instructions
Crispy Pickle-Brined Chicken Tenders Step-by-step instructions
- Prep
- Cook
- Total
- Serves
- 4
Before you start
Before beginning, ensure all ingredients are measured and ready. Keep the chicken refrigerated until the very last moment to maintain food safety. Set up a breading station with a wide, shallow dish for the flour mixture to make the dredging process efficient and clean.
Ensure the frying pot is placed on a stable burner and that you have a wire rack ready to drain the cooked tenders once they are removed from the oil.
Ingredients at a glance (9)
- 1 1/2 lb chicken tenders
- 1 cup dill pickle brine
- 1/2 cup buttermilk
- 1 1/2 cups all-purpose flour
- 2 tbsp cornstarch
- 1 tbsp dried dill
- peanut oil for frying, for serving
- fried pickle chips for serving
- fresh dill fronds for serving
Instructions
Marinating
- Brining the chickenPlace the chicken tenders into a bowl and pour the dill pickle brine and buttermilk over them. Cover the bowl and refrigerate for at least one hour. This process allows the acidic brine to penetrate the meat, ensuring it remains succulent during the high-heat frying process.Look for The chicken should be fully submerged in the liquid mixture.Tip Ensure the chicken stays cold in the refrigerator while it marinates.
The chicken should be fully submerged in the pickle and buttermilk brine. After an hour in the refrigerator, the meat will have absorbed the tangy flavors, making it ready for the flour coating. Ensure the chicken is kept cold throughout this process to maintain quality.
Dredging
- Preparing the dredgeIn a shallow dish, combine the all-purpose flour, cornstarch, and dried dill. Whisk the ingredients together thoroughly until they are evenly distributed. Remove the chicken tenders from the brine, allowing any excess liquid to drip off before pressing each piece firmly into the flour mixture to ensure a thick, even coating.Look for The tenders should be completely coated with no wet spots visible.Tip Pressing the flour into the meat helps create those signature craggy ripples.
The tenders should be coated in a thick, even layer of flour. By pressing the flour firmly into the meat, you create the rough, craggy surface texture that becomes crispy during frying.
Check that there are no bare spots on the chicken pieces before proceeding to the oil.
Frying
- Frying the tendersHeat the peanut oil in a deep pot to 365°F (185°C). Carefully add the coated tenders to the hot oil in small batches to avoid crowding the pan. Fry for 6 minutes, or until the internal temperature reaches 165°F (74°C). Remove the tenders and drain on a wire rack. Garnish with fried pickle chips and fresh dill fronds before serving.Look for Look for a deep golden-brown color and a crisp, craggy texture.Safe temperature 165°F (74°C) internal temperature (poultry)Tip Using a thermometer ensures the oil stays at the correct temperature for the best results.
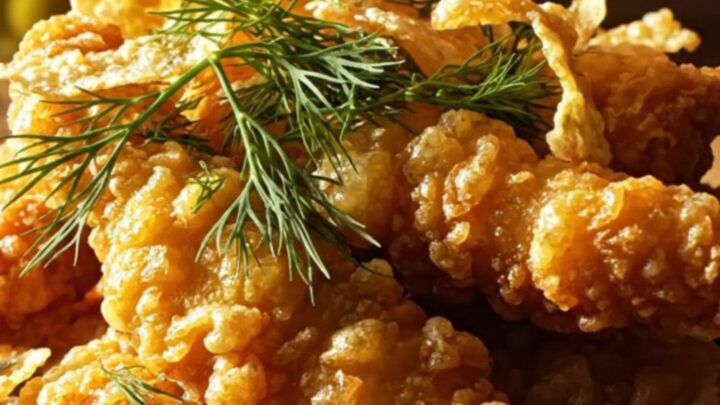
The tenders should emerge from the oil with a beautiful, craggy, golden-brown crust. They should sound crisp when tapped and feel firm to the touch. Ensure the internal temperature has reached 165°F (74°C) for food safety and the best possible texture.
Common mistakes
A common mistake is overcrowding the pot, which drops the oil temperature and leads to greasy, soggy tenders. Fry in small batches to keep the heat consistent.
Another error is failing to press the flour into the chicken; surface contact is essential for the craggy texture. Finally, avoid using oil that isn't hot enough, as this will result in a heavy, oily coating that lacks the desired crunch.
How to tell it’s done
The chicken tenders are perfectly done when the coating is a deep, uniform golden-brown and the internal temperature of the thickest part of the meat reaches 165°F (74°C).
The meat should be juicy and white all the way through, with no pink remaining. Use a digital meat thermometer to verify the temperature to ensure safety without overcooking the delicate meat.
- Poultry: 165°F (74°C) in the thickest part
Up next · Part 3 of 3
2 variations · storage & make-ahead · 3 answers · printable card
Tips, FAQ & printable recipe (Part 3)← Back to the ingredients (Part 1)