Appetizers · Part 1 of 3: Ingredients
Crispy Parmesan Zucchini Fries with Garlic Yogurt Dip
- Prep
- Cook
- Total
- Serves
- 4
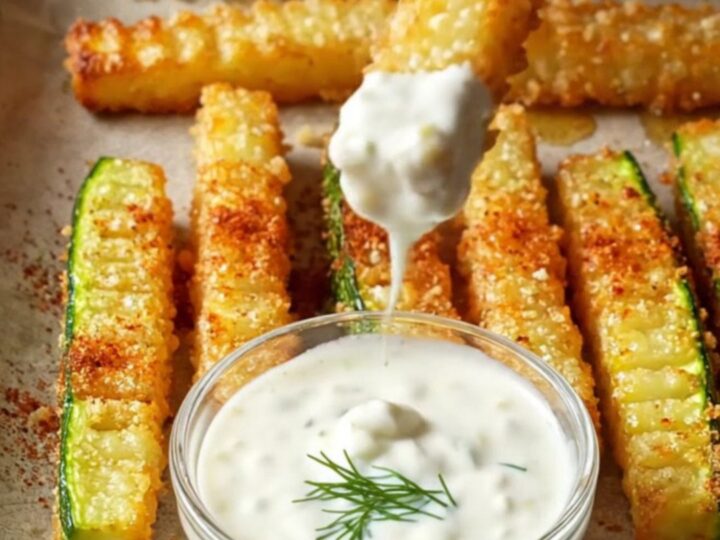
These crispy Parmesan zucchini fries are the ultimate snack or side dish. The secret? Scoring the zucchini with a fork before coating them. Those deep ridges give the seasoned breadcrumb mixture something to grip, so every bite is packed with flavor and crunch.
Baked until golden and blistered, they're far lighter than fried versions but just as satisfying. Serve them with a cold garlic herb yogurt dip for a creamy, tangy contrast that makes them utterly addictive.
Zucchini fries are a favorite way to enjoy summer squash, but they often turn out soggy. This recipe solves that problem with a simple technique: dragging a fork down the zucchini to create ridges.
Those ridges help the Parmesan-breadcrumb coating cling to the vegetable, so you get a crispy exterior and a tender interior every time. Roasted at high heat, these fries develop a deep golden color and a satisfying crunch. The cold garlic yogurt dip adds a refreshing finish that balances the savory, cheesy coating.
Ingredients
- 3 firm green zucchinis
- 3 tbsp olive oil
- 1/2 cup grated Parmesan cheese
- 1/2 cup breadcrumbs
- 1 tsp garlic powder
- 1 tsp paprika
- 1 tsp salt
- 1 tsp dried oregano
Garlic Yogurt Dip
- 1 cup plain yogurt
- 1 garlic clove, minced
- 2 tbsp chopped fresh herbs (dill, parsley, or chives)
- 1 tsp lemon juice
Why this recipe works
Scoring the zucchini with a fork is the key to this recipe. The ridges create more surface area, giving the seasoned coating something to adhere to.
Without this step, the breadcrumb mixture tends to slide off the slippery zucchini skin, leaving you with bare, bland pieces. The deep grooves also allow the olive oil and seasonings to penetrate the flesh, so every bite is flavorful.
Roasting at 400°F (200°C) achieves the perfect balance: the exterior crisps up while the interior stays tender and juicy. The high heat also helps the Parmesan cheese melt and brown, creating a golden, blistered crust. Unlike deep-frying, this method requires minimal oil and no fuss, making it an easy weeknight side dish or party appetizer.
Notes and substitutions
Choose firm, medium-sized zucchinis with shiny skin. Avoid overly large ones, as they can be watery and seedy. The fork-scoring technique works best on firm vegetables, so don't skip it.
Use freshly grated Parmesan cheese for the best flavor and melting properties; pre-shredded varieties often contain anti-caking agents that can affect the coating.
Plain yogurt works well for the dip, but Greek yogurt will make it thicker and creamier. Feel free to adjust the herbs to your preference — dill, parsley, and chives all complement the zucchini nicely. If you don't have fresh herbs, use 1 teaspoon of dried herbs instead. The dip can be made ahead and stored in the refrigerator for up to 2 days.
- Parmesan cheese: Use nutritional yeast for a dairy-free version, or pecorino Romano for a sharper flavor.
- Breadcrumbs: Use panko breadcrumbs for extra crunch, or crushed cornflakes for a gluten-free option.
- Plain yogurt: Use Greek yogurt for a thicker dip, or sour cream for a tangier taste.
- Fresh herbs: Use 1 teaspoon dried herbs if fresh are not available.
Equipment
- Fork
- Cutting board
- Chef's knife
- Large bowl
- Baking sheet
- Parchment paper
- Chef tweezers (optional)
Up next · Part 2 of 3
7 steps · 20 min of cooking · what to look for at each stage
Step-by-step instructions (Part 2)