Dinner · Part 1 of 3: Ingredients
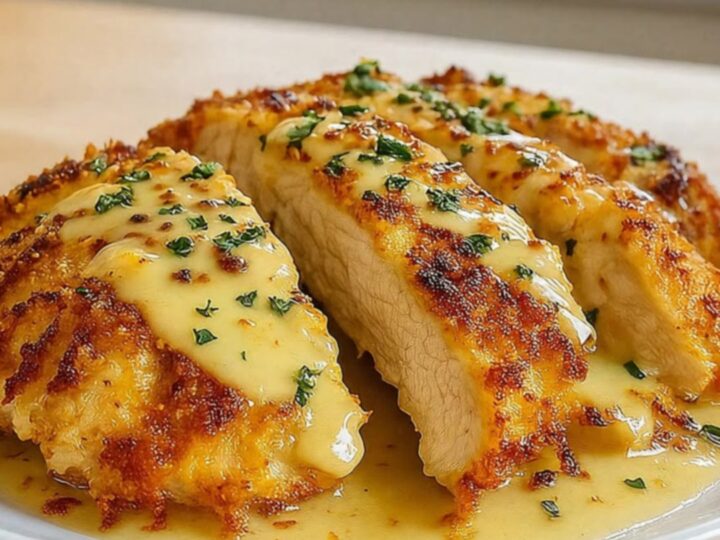
Crispy Parmesan Crusted Chicken with Creamy Garlic Sauce
- Prep
- Cook
- Total
- Serves
- 4
Elevate your weeknight dinner with this restaurant-style parmesan crusted chicken recipe. The secret lies in the perfect balance of a crunchy, golden cheese crust and a luxurious, creamy garlic sauce.
This dish offers a sophisticated flavor profile that remains accessible for any home cook looking to impress at the dinner table. With minimal prep and a focus on high-quality pantry staples, this recipe transforms basic chicken breasts into a gourmet meal that feels indulgent and satisfying for everyone.
Crispy parmesan crusted chicken is a classic dish that pairs the hearty texture of a breaded crust with the smooth, rich notes of a garlic-infused cream sauce. By searing the chicken rather than baking it, the breadcrumbs and parmesan cheese caramelize into a distinctively crunchy exterior that contrasts beautifully with the juicy, tender chicken inside.
This preparation ensures that the flavors are bold and the textures are varied, providing a complete dining experience that is both comforting and elevated in style. Perfect for busy weeknights when a quick but impressive meal is required.
Ingredients
Chicken
- 4 pieces boneless skinless chicken breasts
Crust
- 1 cup breadcrumbs
- 1/2 cup grated parmesan cheese
Sauce
- 3 cloves minced garlic
- 1 cup heavy cream
Garnish
- fresh parsley, for serving
Why this recipe works
The method of pressing the parmesan-breadcrumb mixture directly onto the chicken creates a cohesive shell that protects the meat while searing. This technique seals in the natural moisture of the chicken, ensuring it remains tender throughout the cooking process.
Because the cheese melts slightly during the searing phase, it acts as a binder that locks the crumbs in place, resulting in a consistent, golden-brown crust that does not fall off when sliced.
Simmering the garlic cream sauce in the same pan used to cook the chicken incorporates the flavorful browned bits left behind from the searing process. This deglazing technique intensifies the garlic and dairy flavors, bridging the gap between the savory, salty crust and the rich sauce.
The reduction process concentrates the cream, allowing it to cling perfectly to the chicken without becoming greasy, which creates a harmonious balance of flavors in every bite.
Notes and substitutions
For the best results, use freshly grated parmesan cheese instead of pre-packaged, powdered versions. Freshly grated cheese contains moisture and fat that help it melt and bond properly with the breadcrumbs, resulting in a much crunchier and more flavorful crust. If fresh parmesan is unavailable, ensure the store-bought variety is high quality to avoid a grainy texture on the finished dish.
A large, heavy-bottomed non-stick skillet is the ideal tool for this recipe. It allows for even heat distribution across the surface of the chicken, which is critical for achieving a uniform golden color. If the skillet is too thin, the crust may burn in specific spots before the chicken is fully cooked through. Always ensure the oil is shimmering before adding the chicken to prevent sticking.
- heavy cream: half and half can be used for a lighter sauce consistency
- breadcrumbs: panko breadcrumbs provide an even crunchier texture
Equipment
- large non-stick skillet
- chef knife
- cutting board
- mixing bowl
- tongs
- meat thermometer
Up next · Part 2 of 3
3 steps · 20 min of cooking · what to look for at each stage
Step-by-step instructions (Part 2)